Time Attack - Day 50 + 51 - OnGrid @ The Ridge - GT Class configuration change and a win!
So after my previous time attack event with OnGrid, I ran my bes time ever, dropping into sub 1:50 territory, but got positively demolished by some much higher end and heavily modified cars. I did notice however that my car would be far far more competitive in GT class, and I was only a few modifications away... so the plan for this event was to "detune" my car to compete in the GT class, which was pretty much just remove aero, drop front tire sizes down 295, add passenger seat, send it!
Leading up to the event
So first and foremost, I needed to remove most of the aero. I couldn't have a wing, and I couldn't have a splitter. I could however run a spoiler... which created a fund esign goal for me. I wanted a spoiler. I could bolt on where the wing went. So the plan was, add brackets that utilize the wing chassis mounts I had for attaching the spoiler.
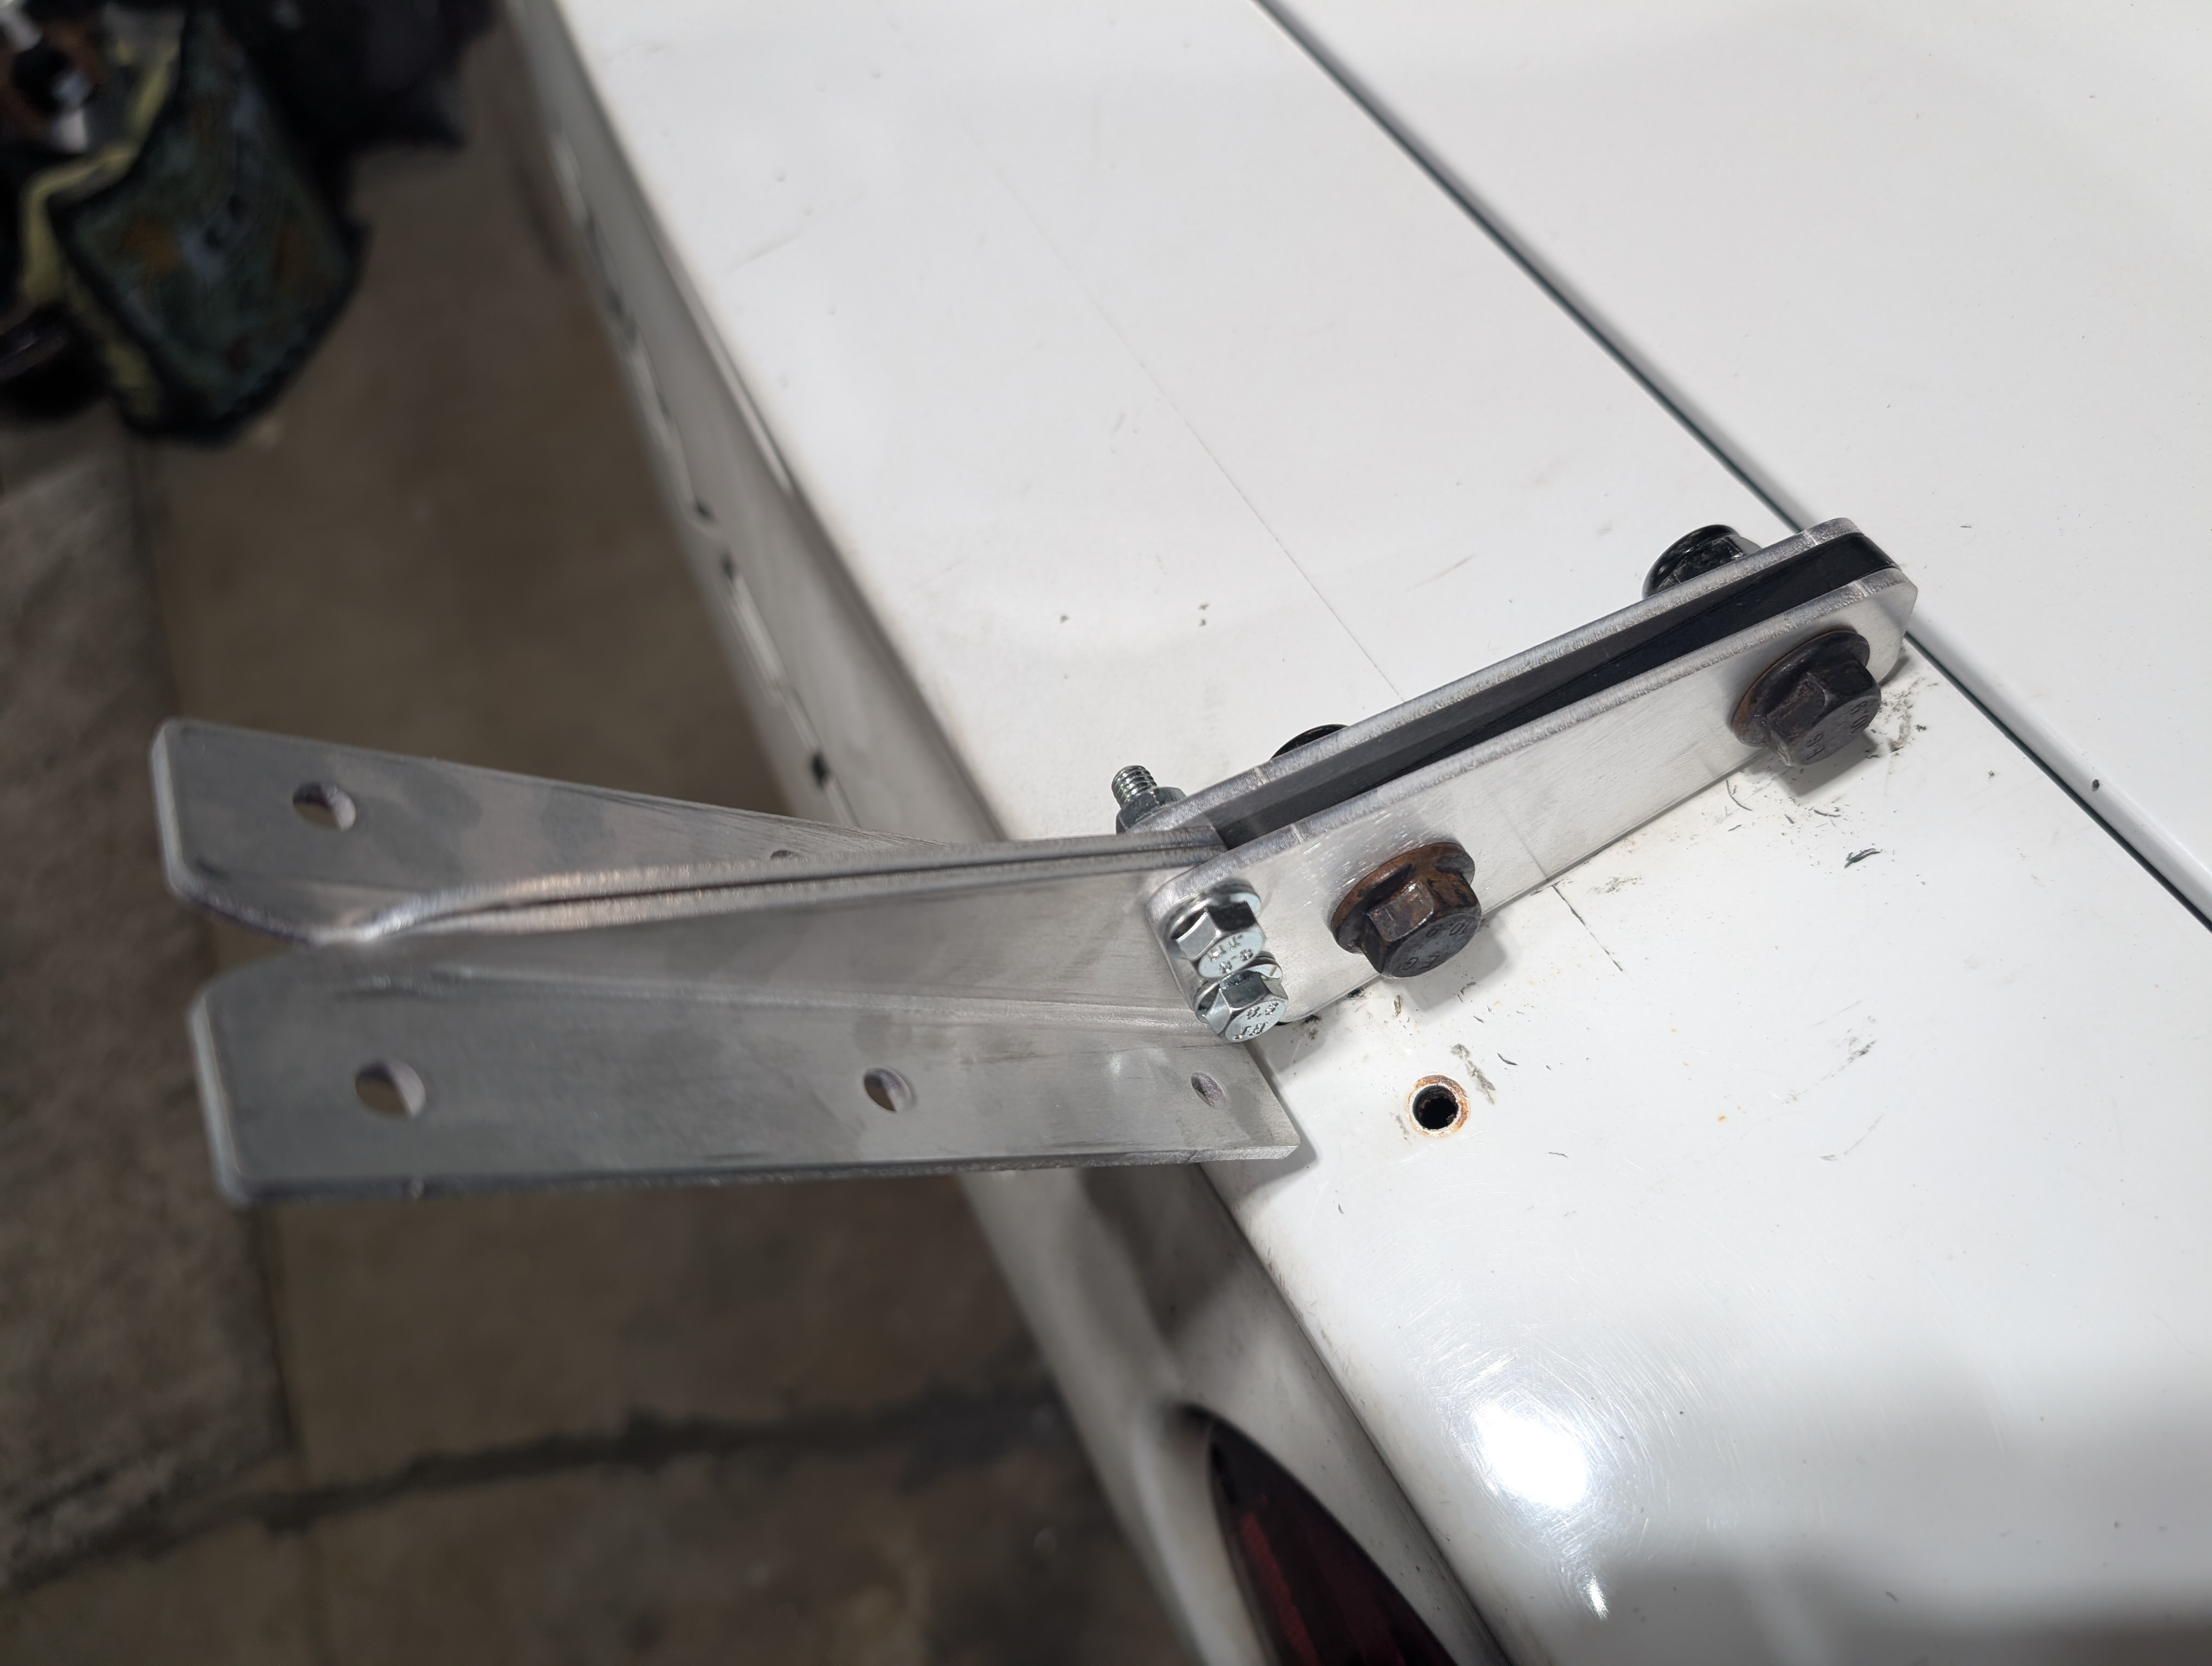
Brackets were reasonable enough to design in OnShape so that was no big deal. That did get me thinking though... man I wish my resin 3d printer didn't stink to use... it would be perfect to prototype these brackets with. So I fired up the 3d printer I had to try and make them and... it was broken.
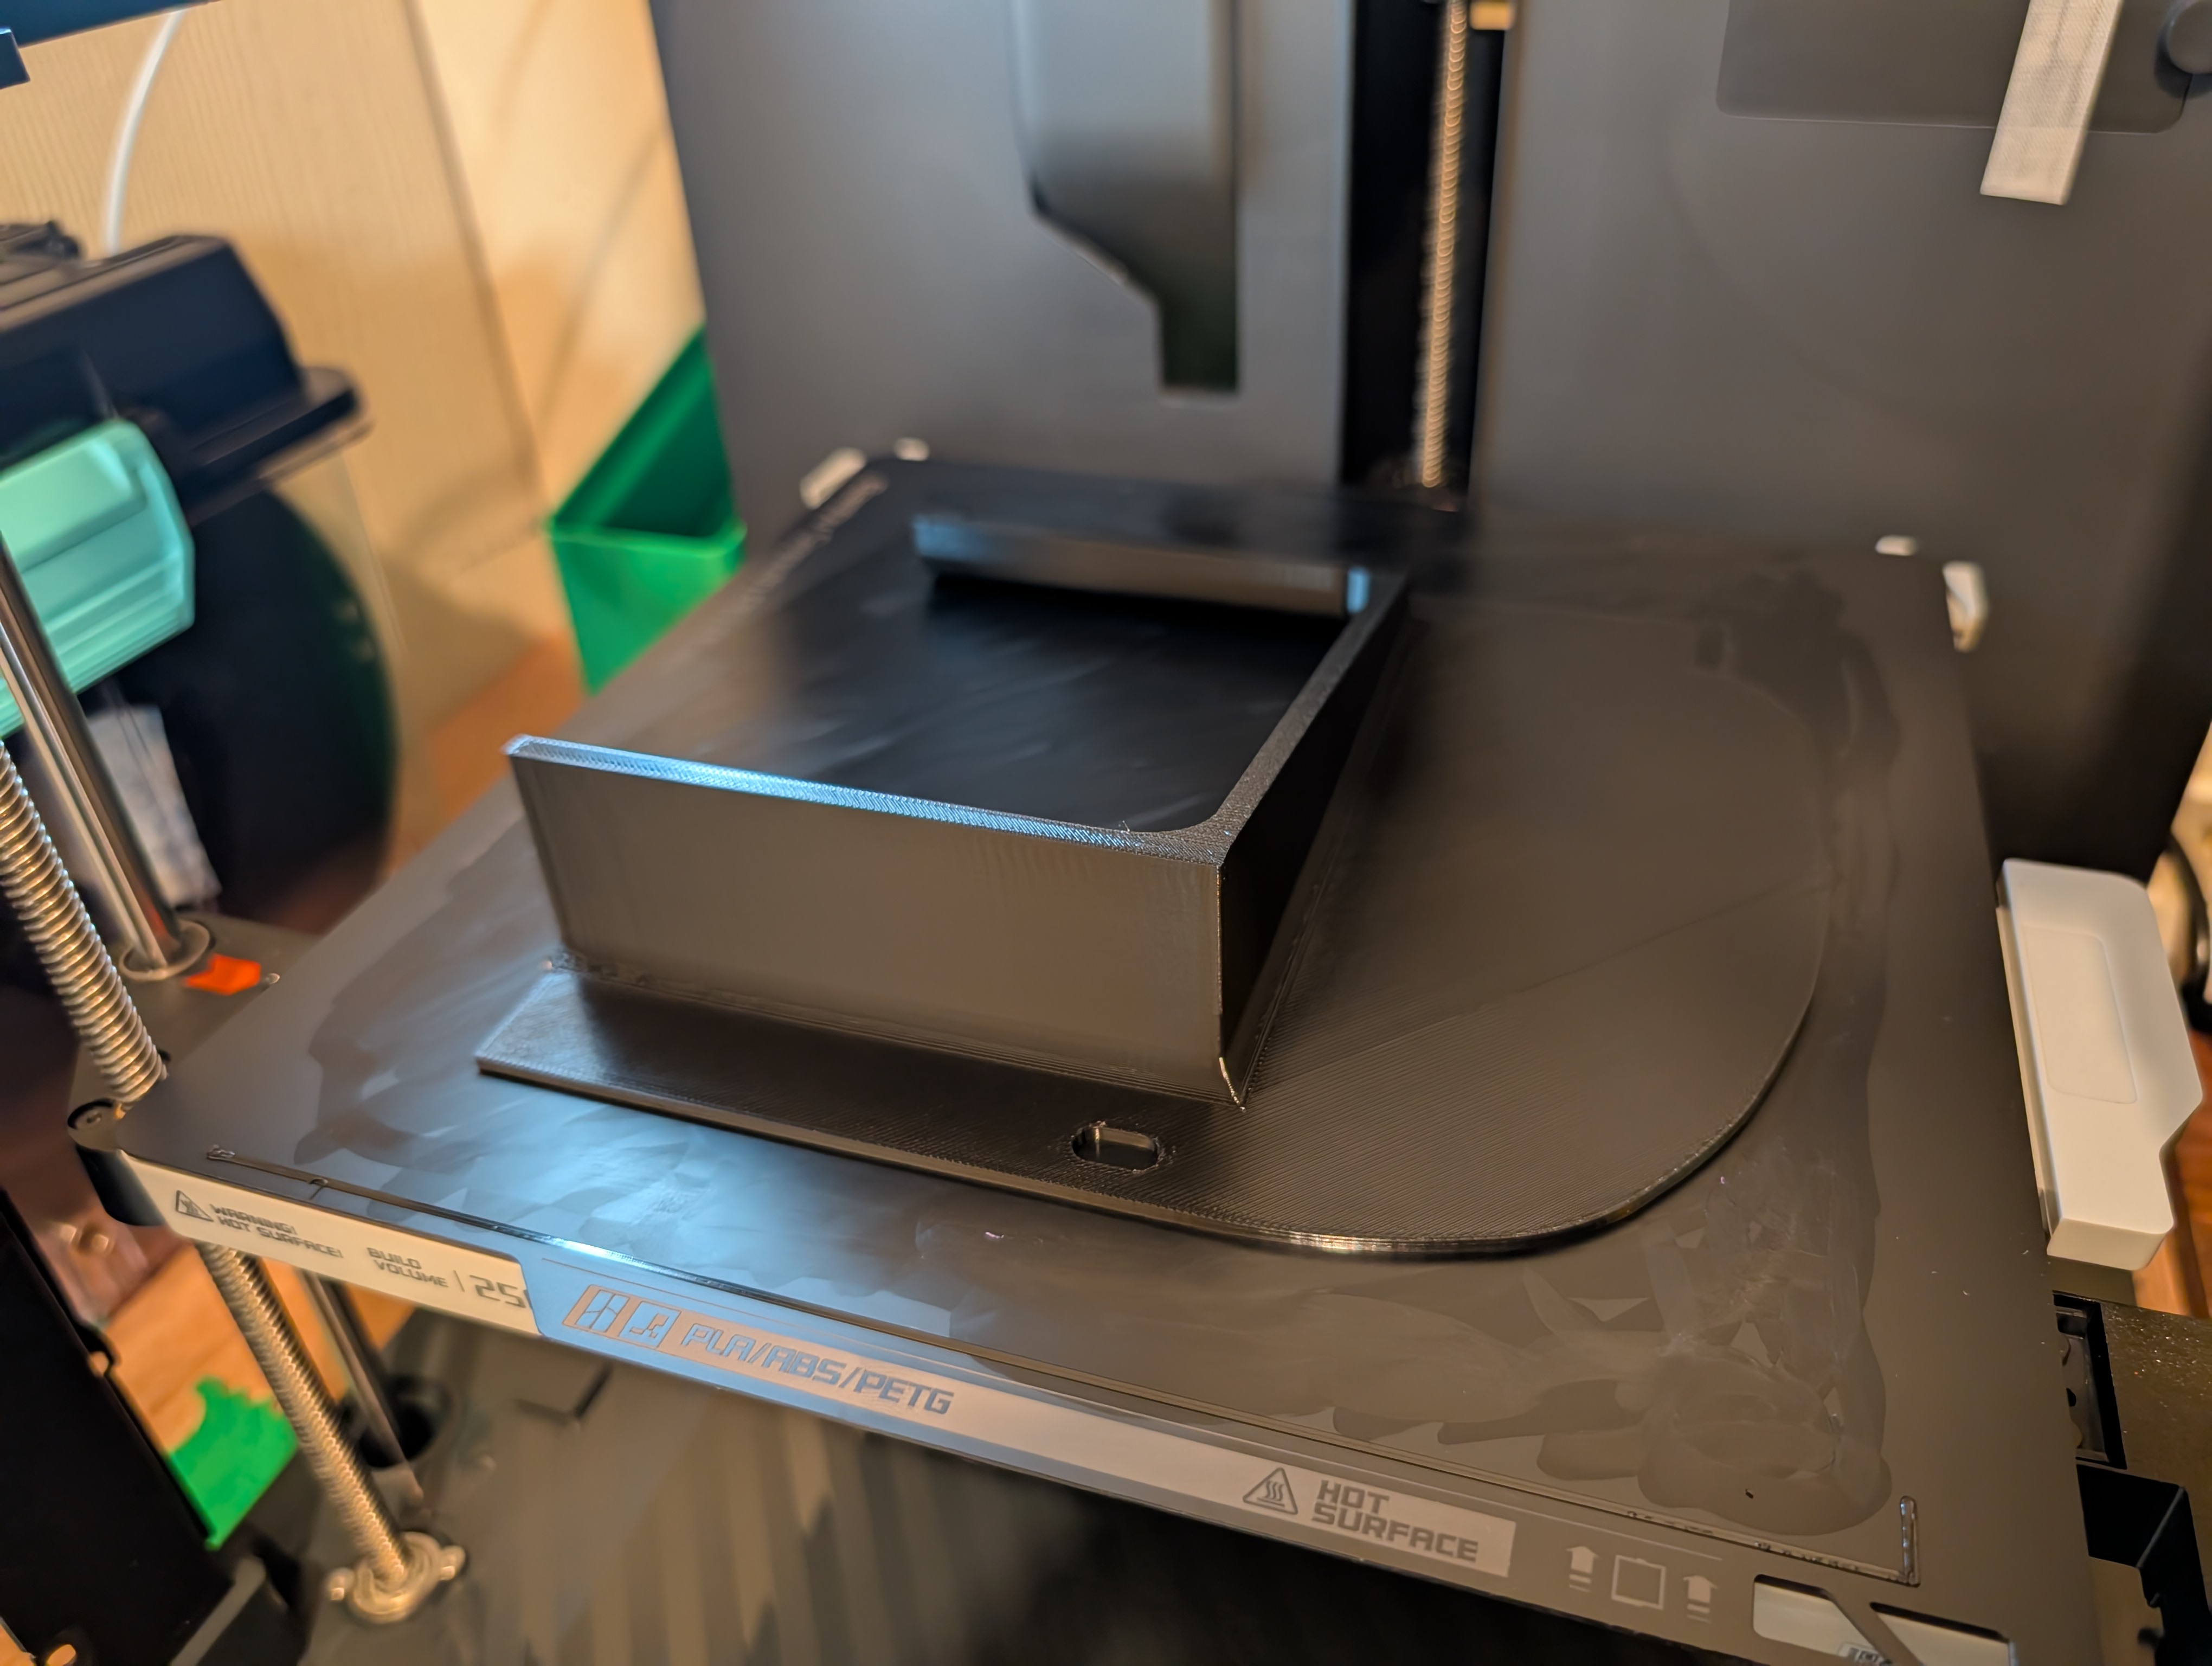
That was the straw that broke the camels back, and I decided to try out an FDM 3d printer. Lucky me, I caught a huge sale on Bambu P1P printers and got one. More info to come on that in an article over at C5 Corvettes. Sure, it was too late to do the brackets I already had for the spoiler mount, but I'd be ready for any future projects!

The 3d printer fit great into my shop closet, right alongside my other resin printing setup. I'll probably be fixing up the resin printer and selling it. The FDM printing is just so much easier to live with as a hobbyist, and the print quality and strength it can acheive isn't quite there yet with the resin printing.
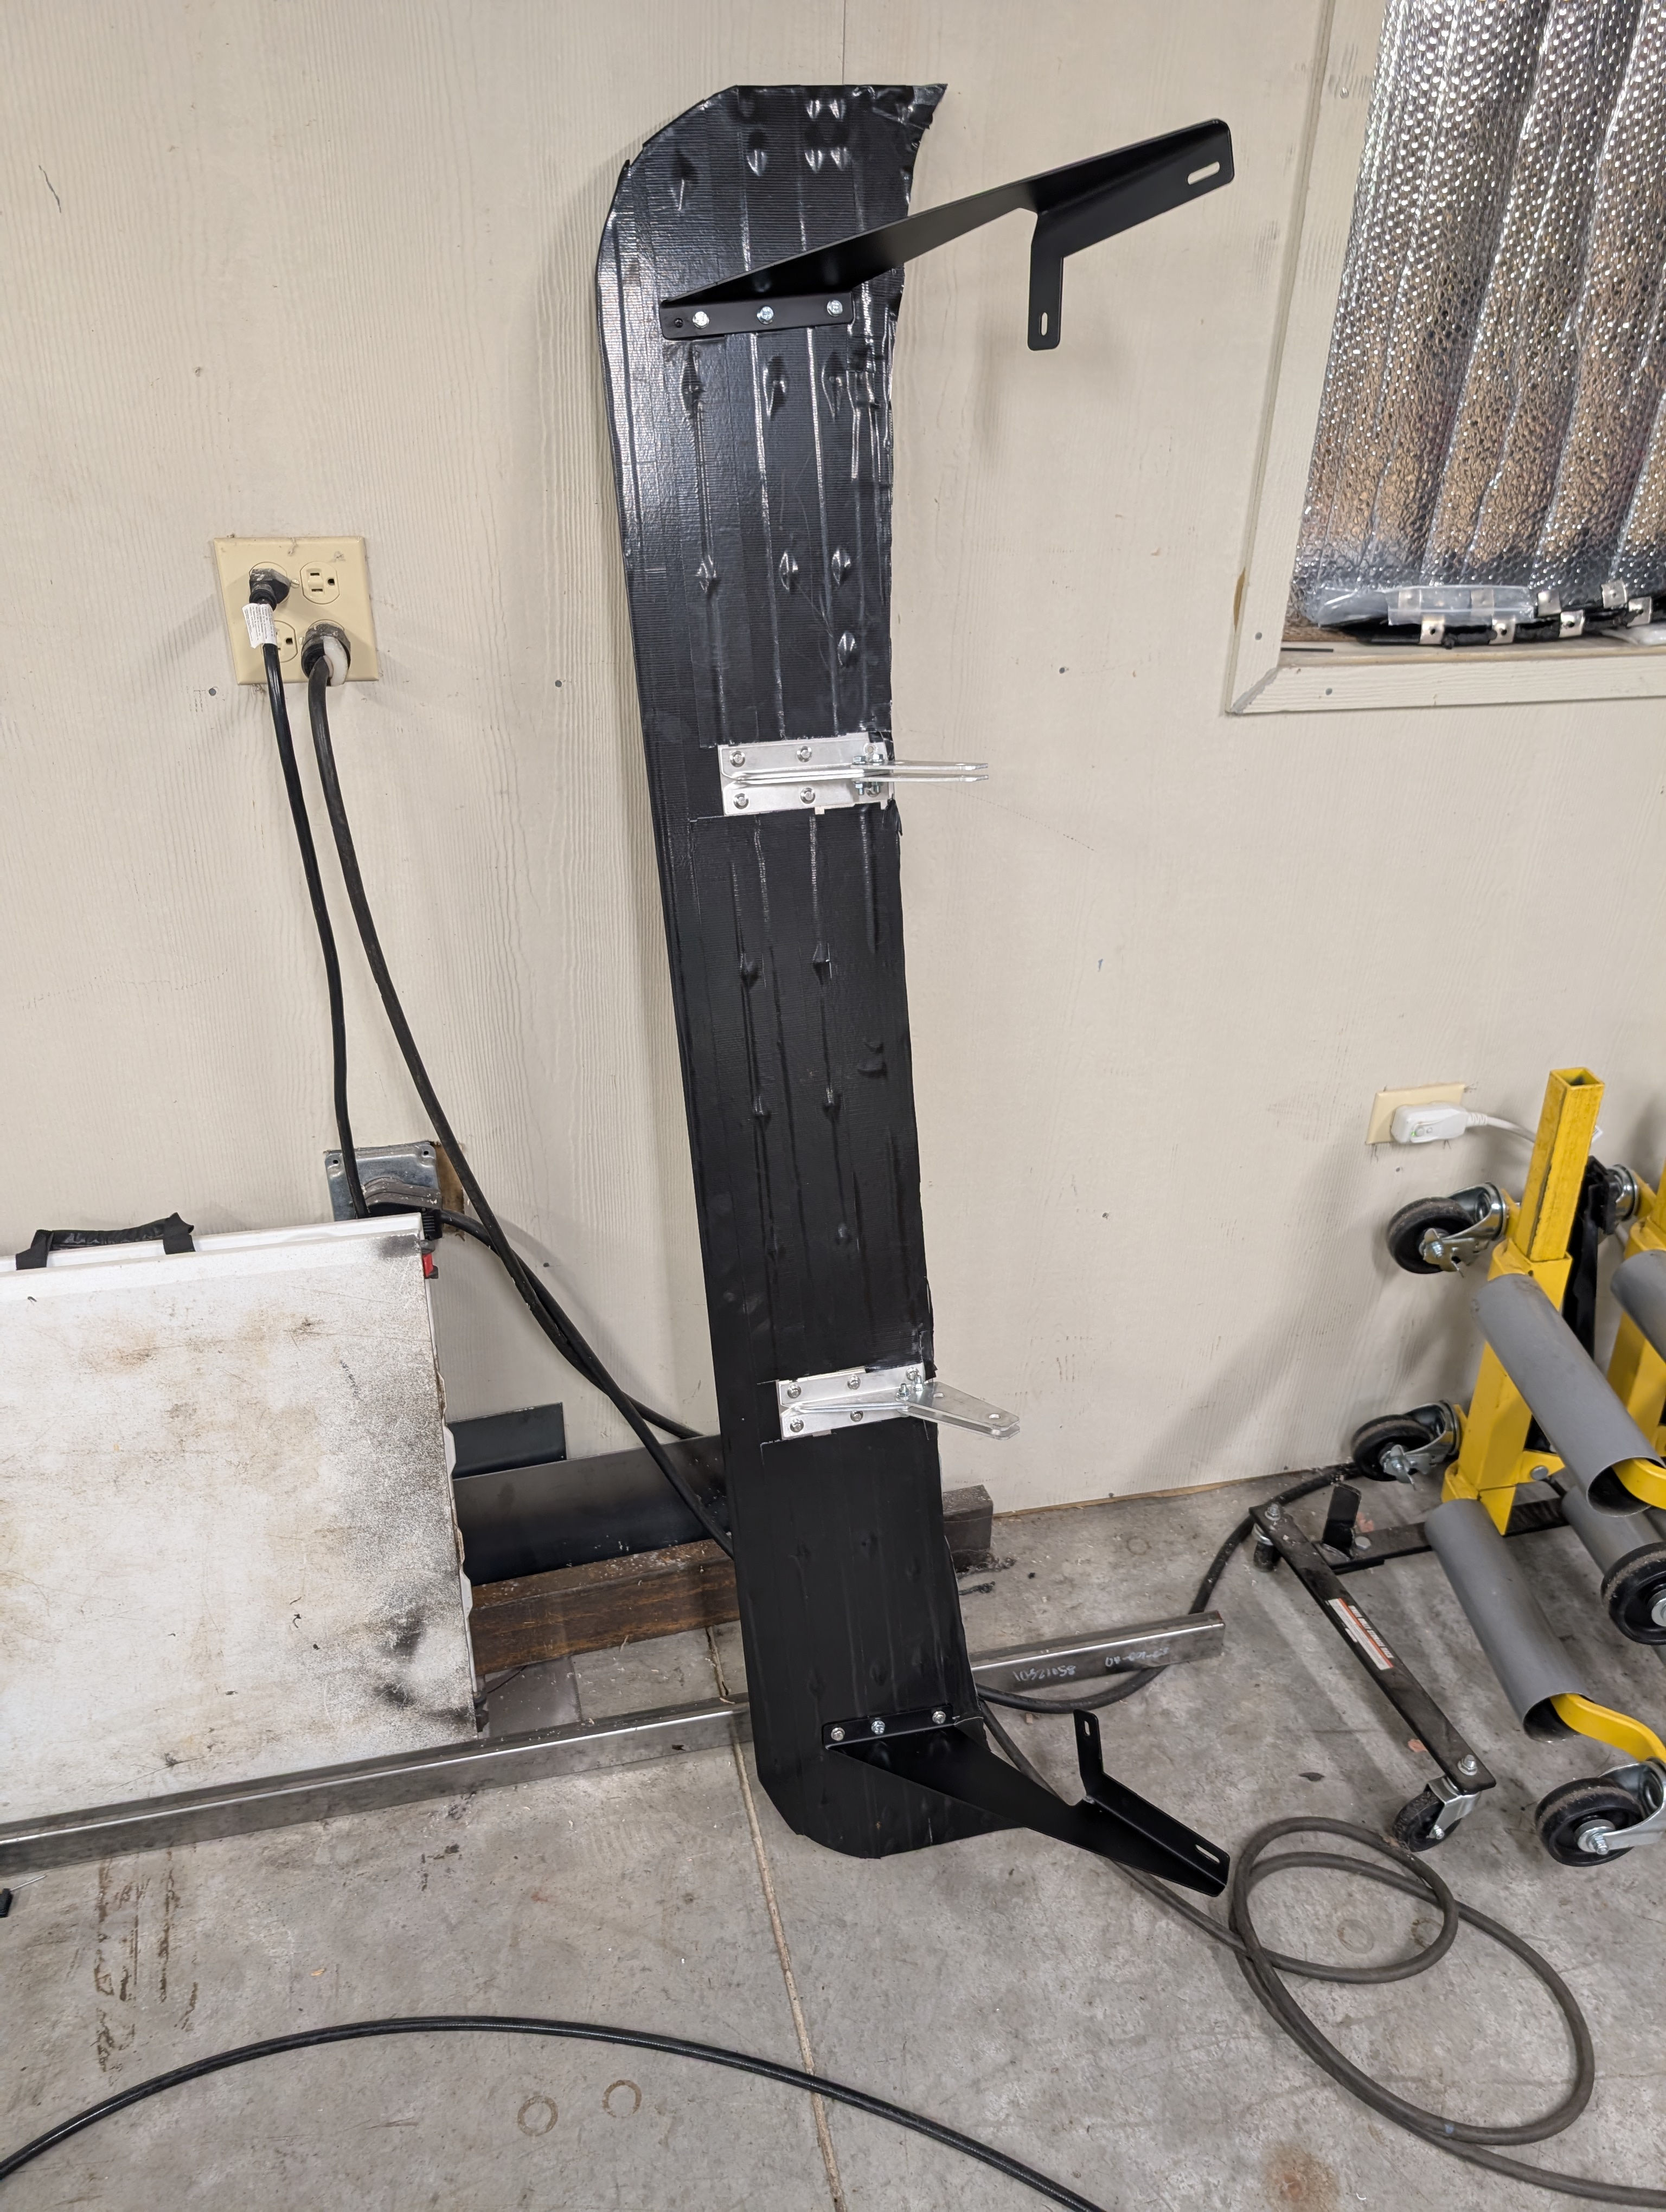
It wouldn't be long though before I had my next 3d printing idea in mind. While I had a spoiler largely designed up and made... the aluminum just wasn't sturdy enough and would flex at the ends. Gorilla tape helped, but even with two full lengths of angle aluminum behind the spoiler, it would still flex.
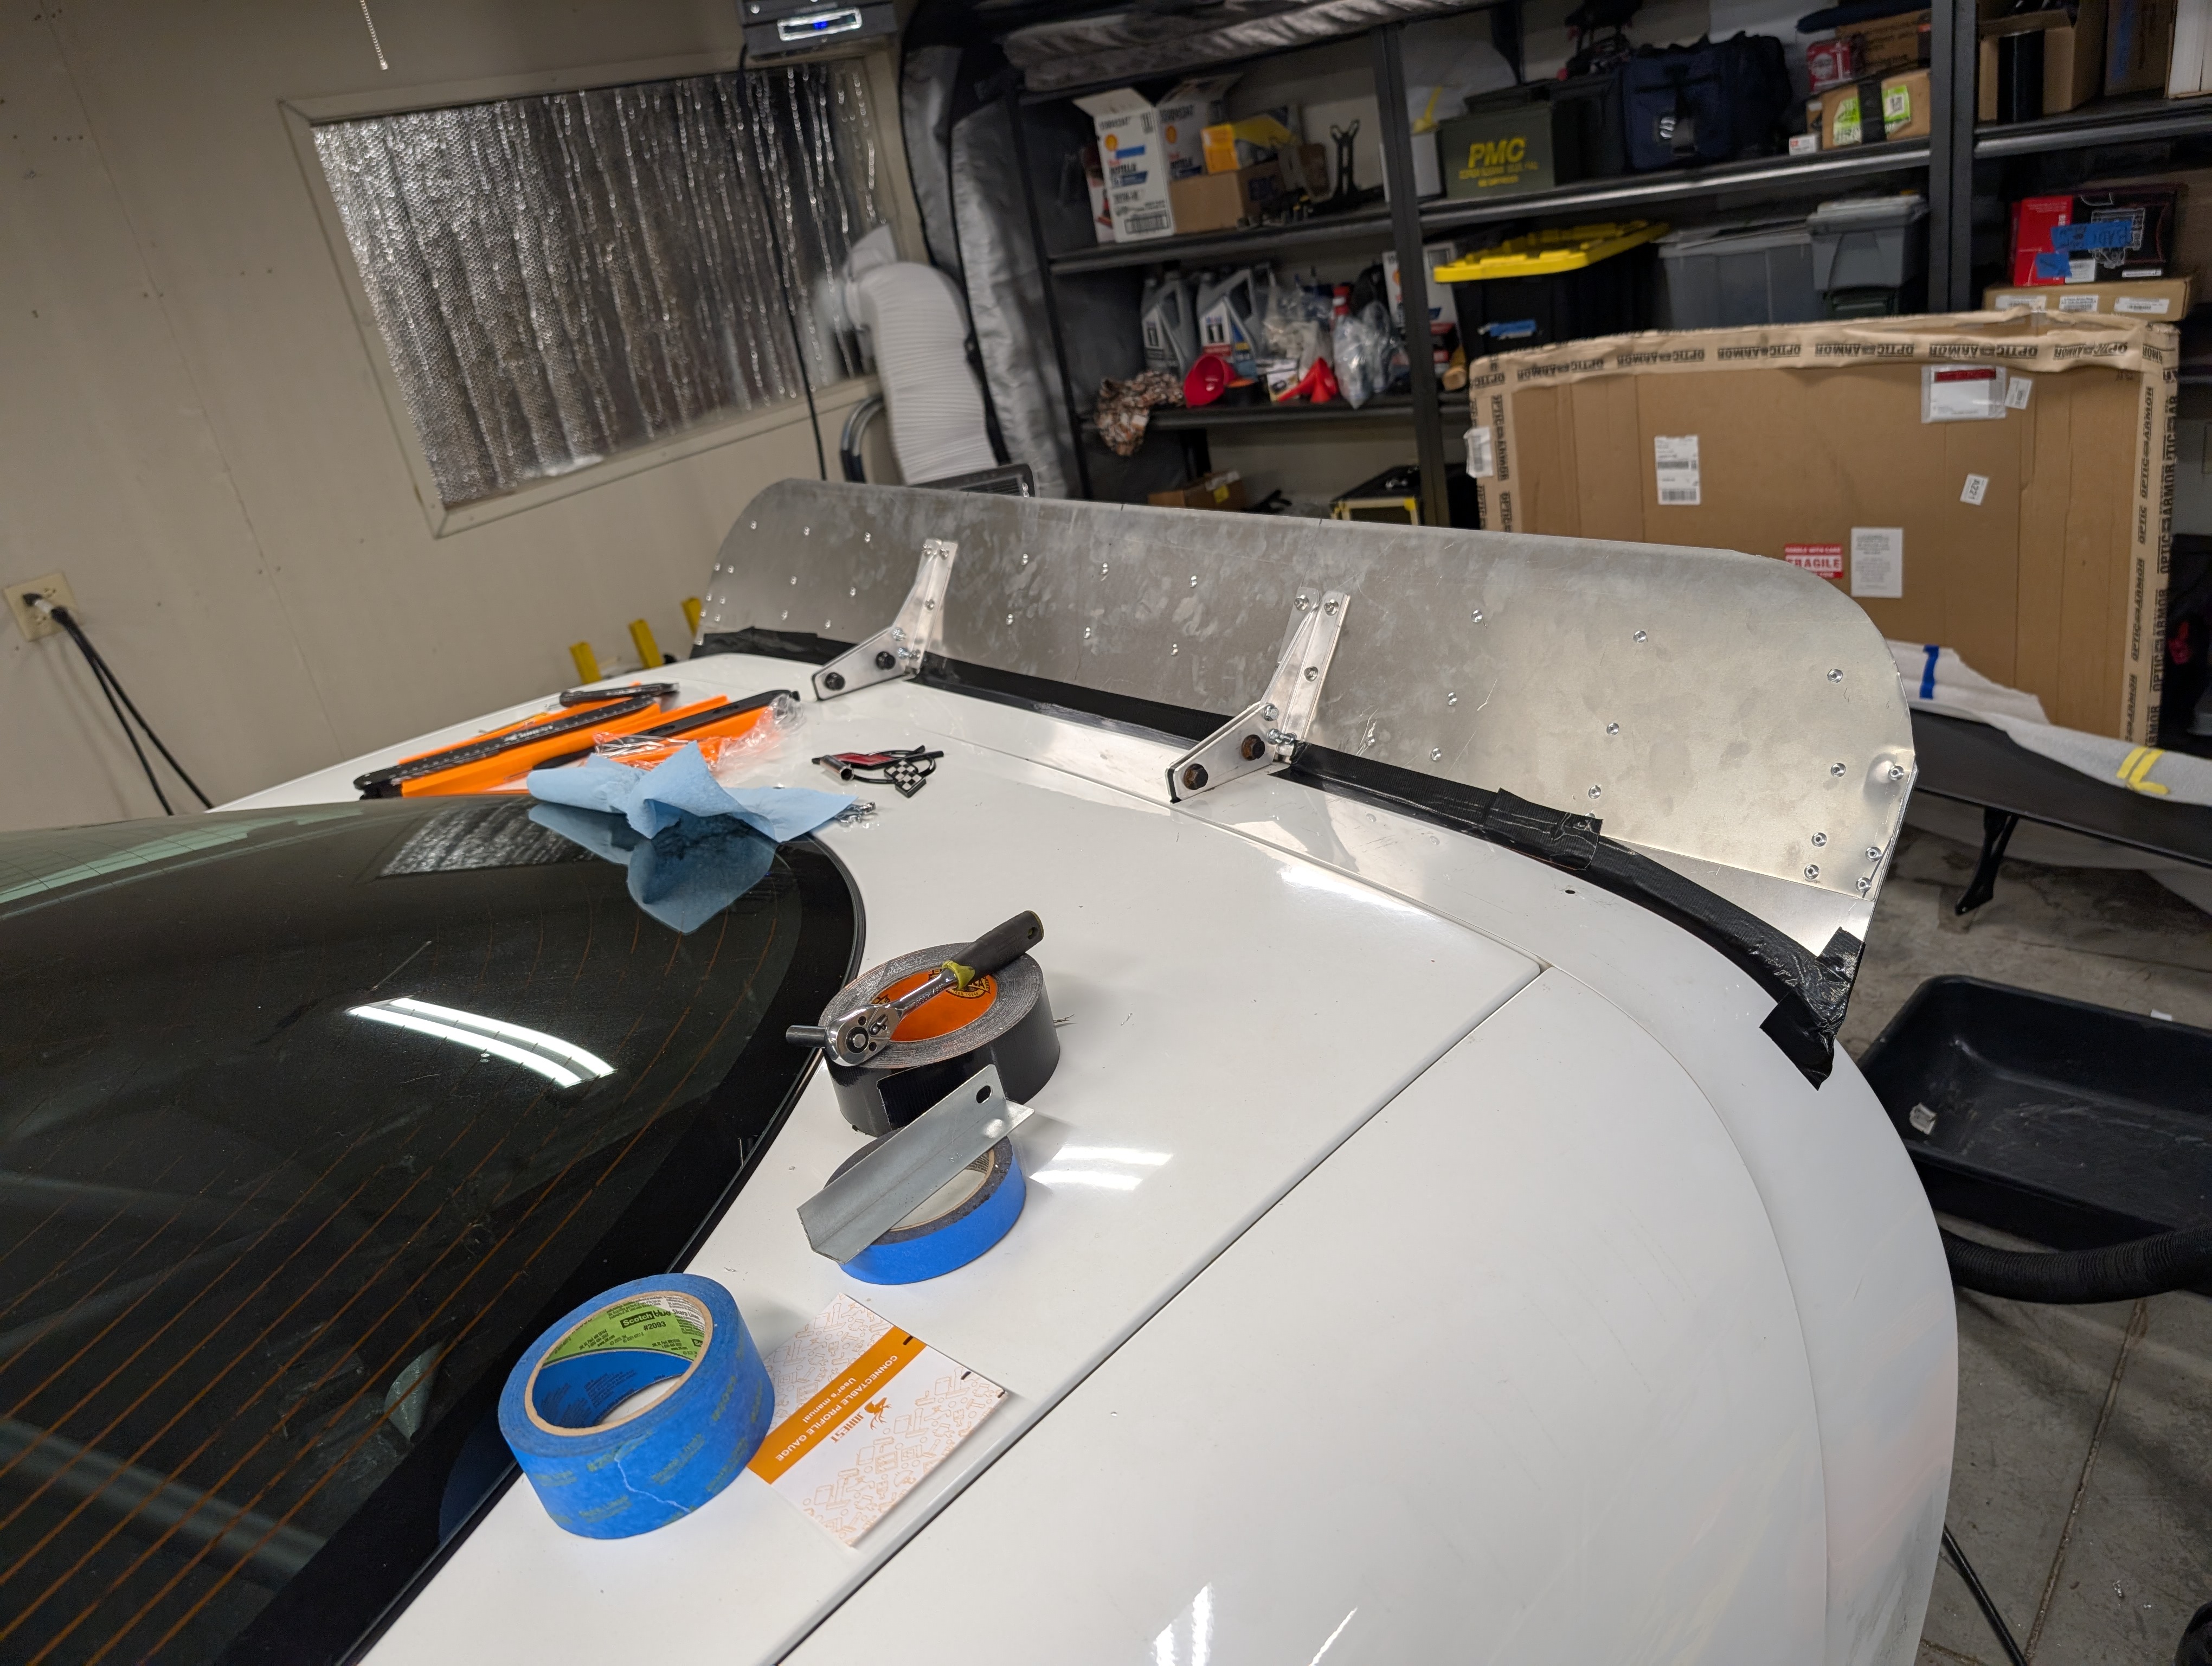
Fortunately another fellow shared some brackets with me that he'd made for attaching his spoiler to some bolts on the trunk mount. I took the design and spent a bunch of time refining it to ensure that the trunk could open perfectly with no contact... but as you can see by the misalignment above, I had some things to learn about dimensions! Another challenge was that my printer couldn't do a piece like this in one single print, so I had to split it along a plane, and then take measurements from that and... well there was just a lot to learn there!
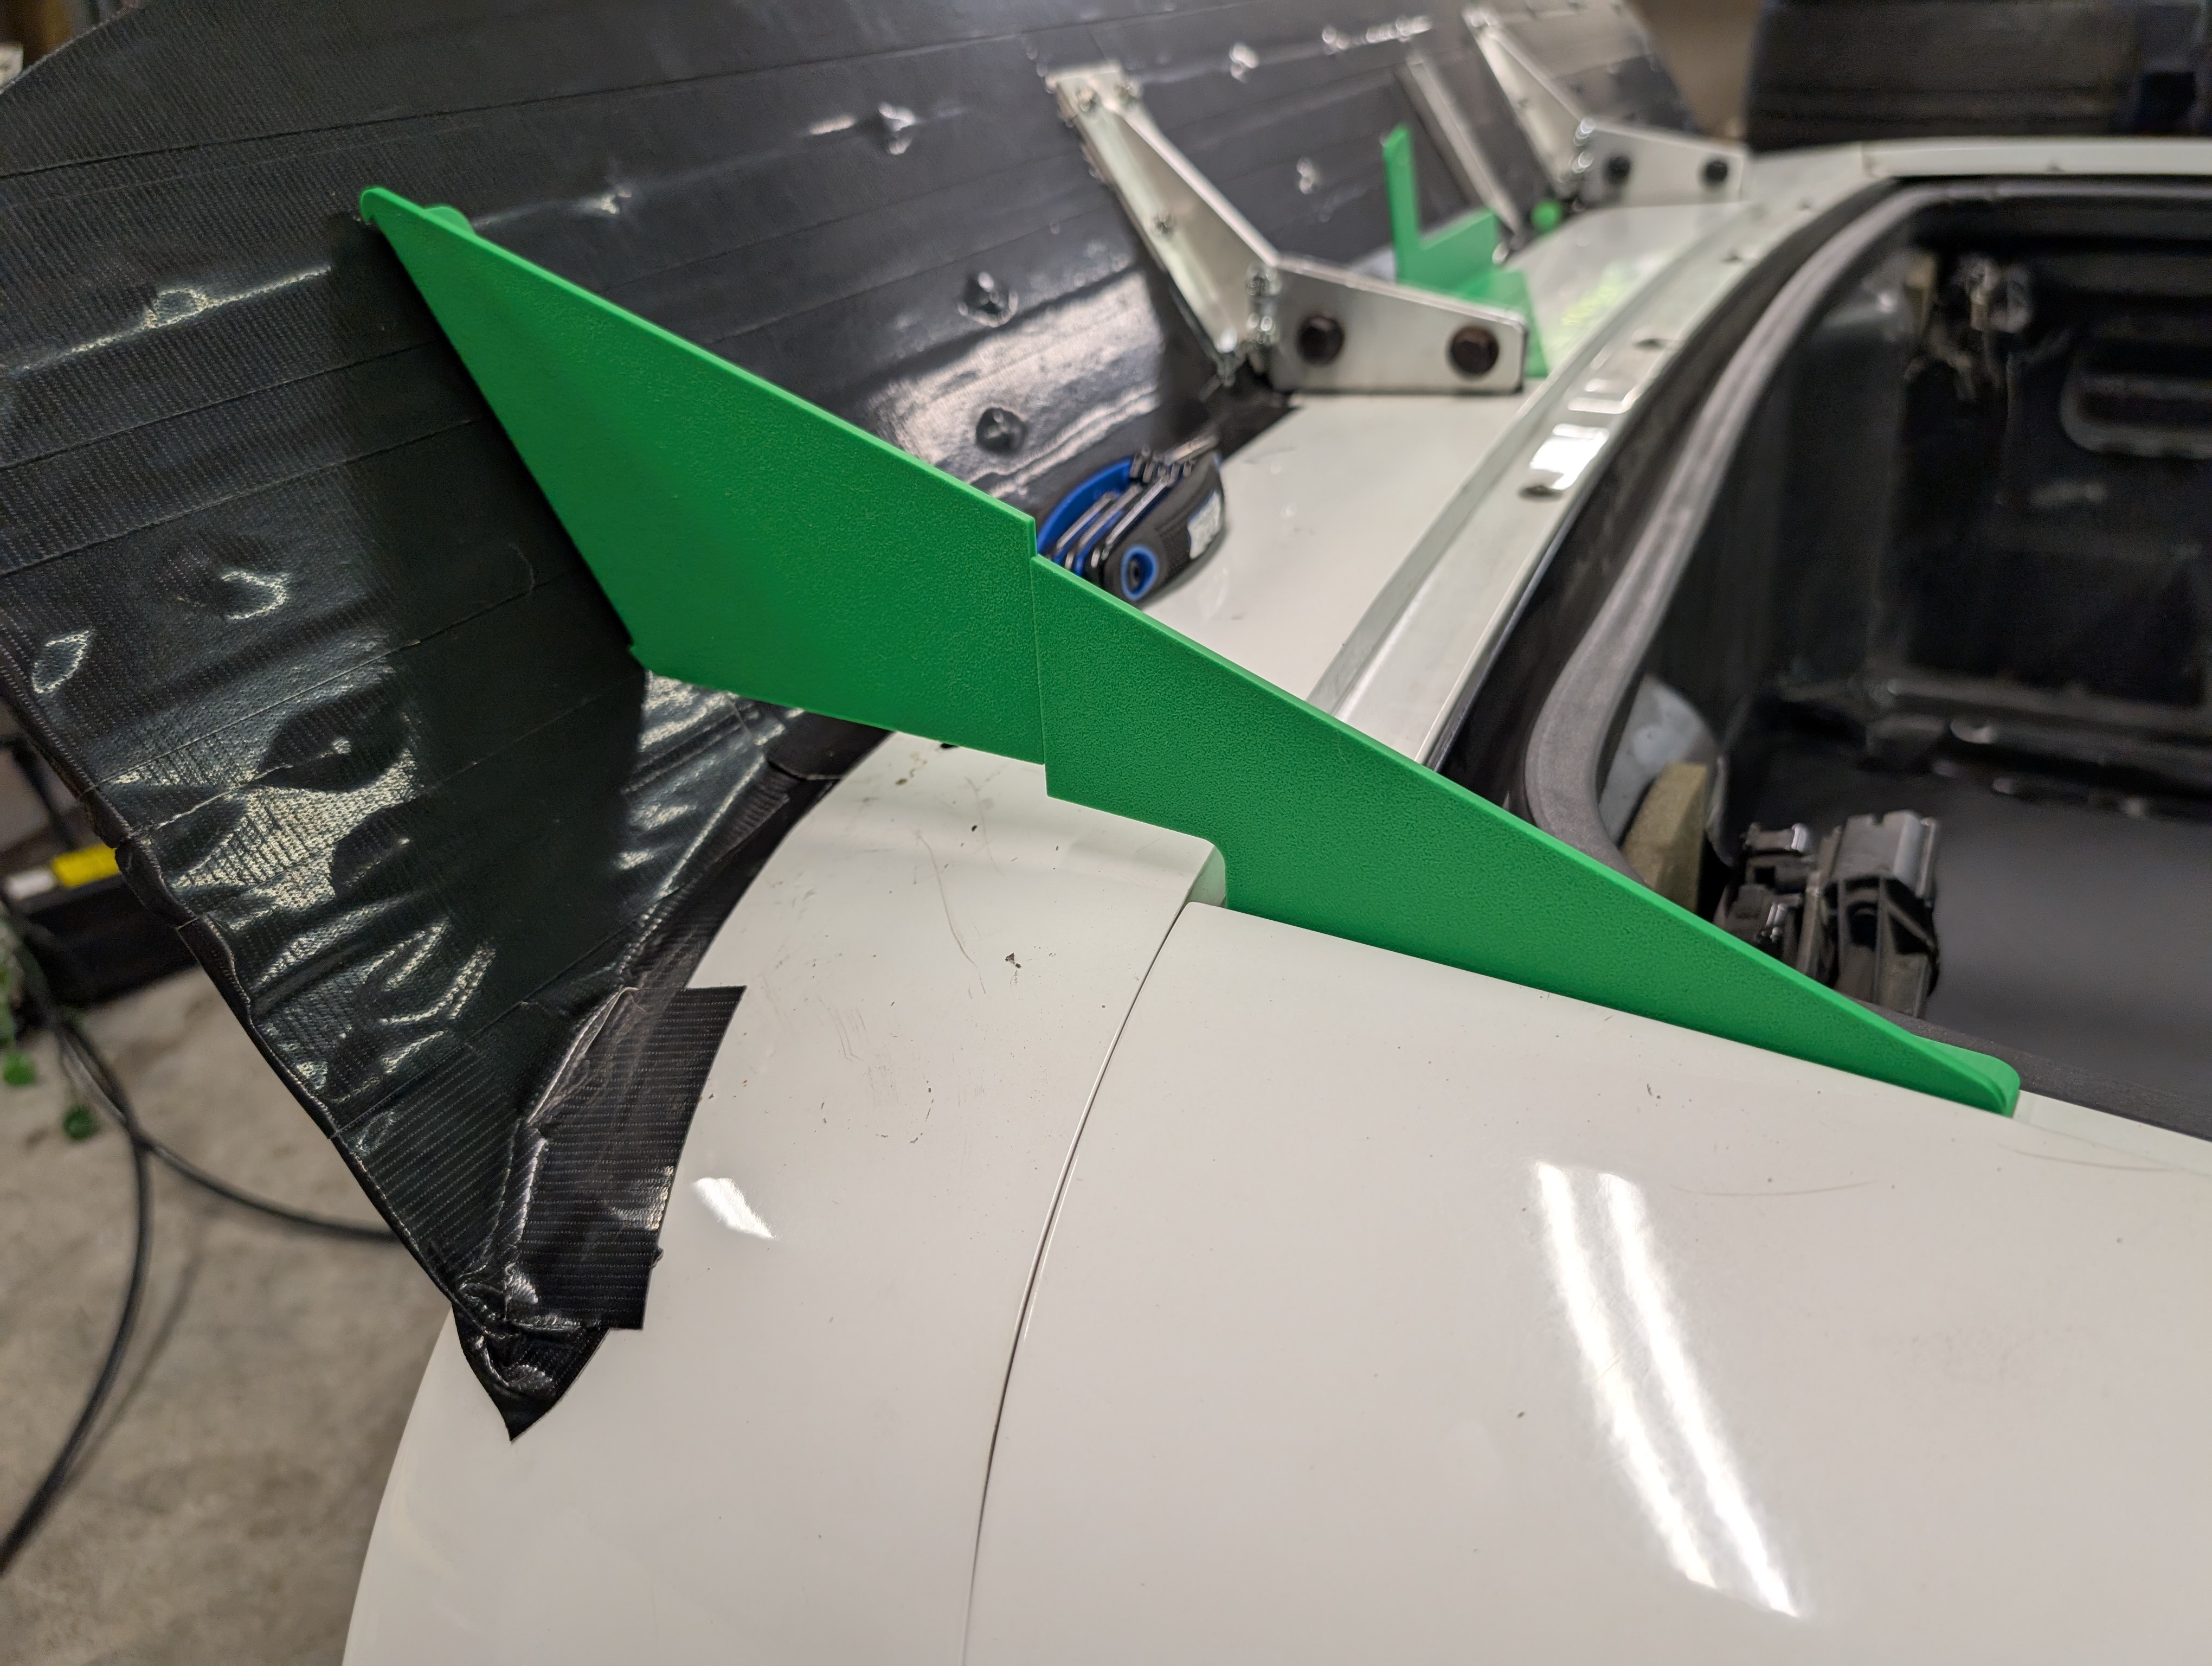
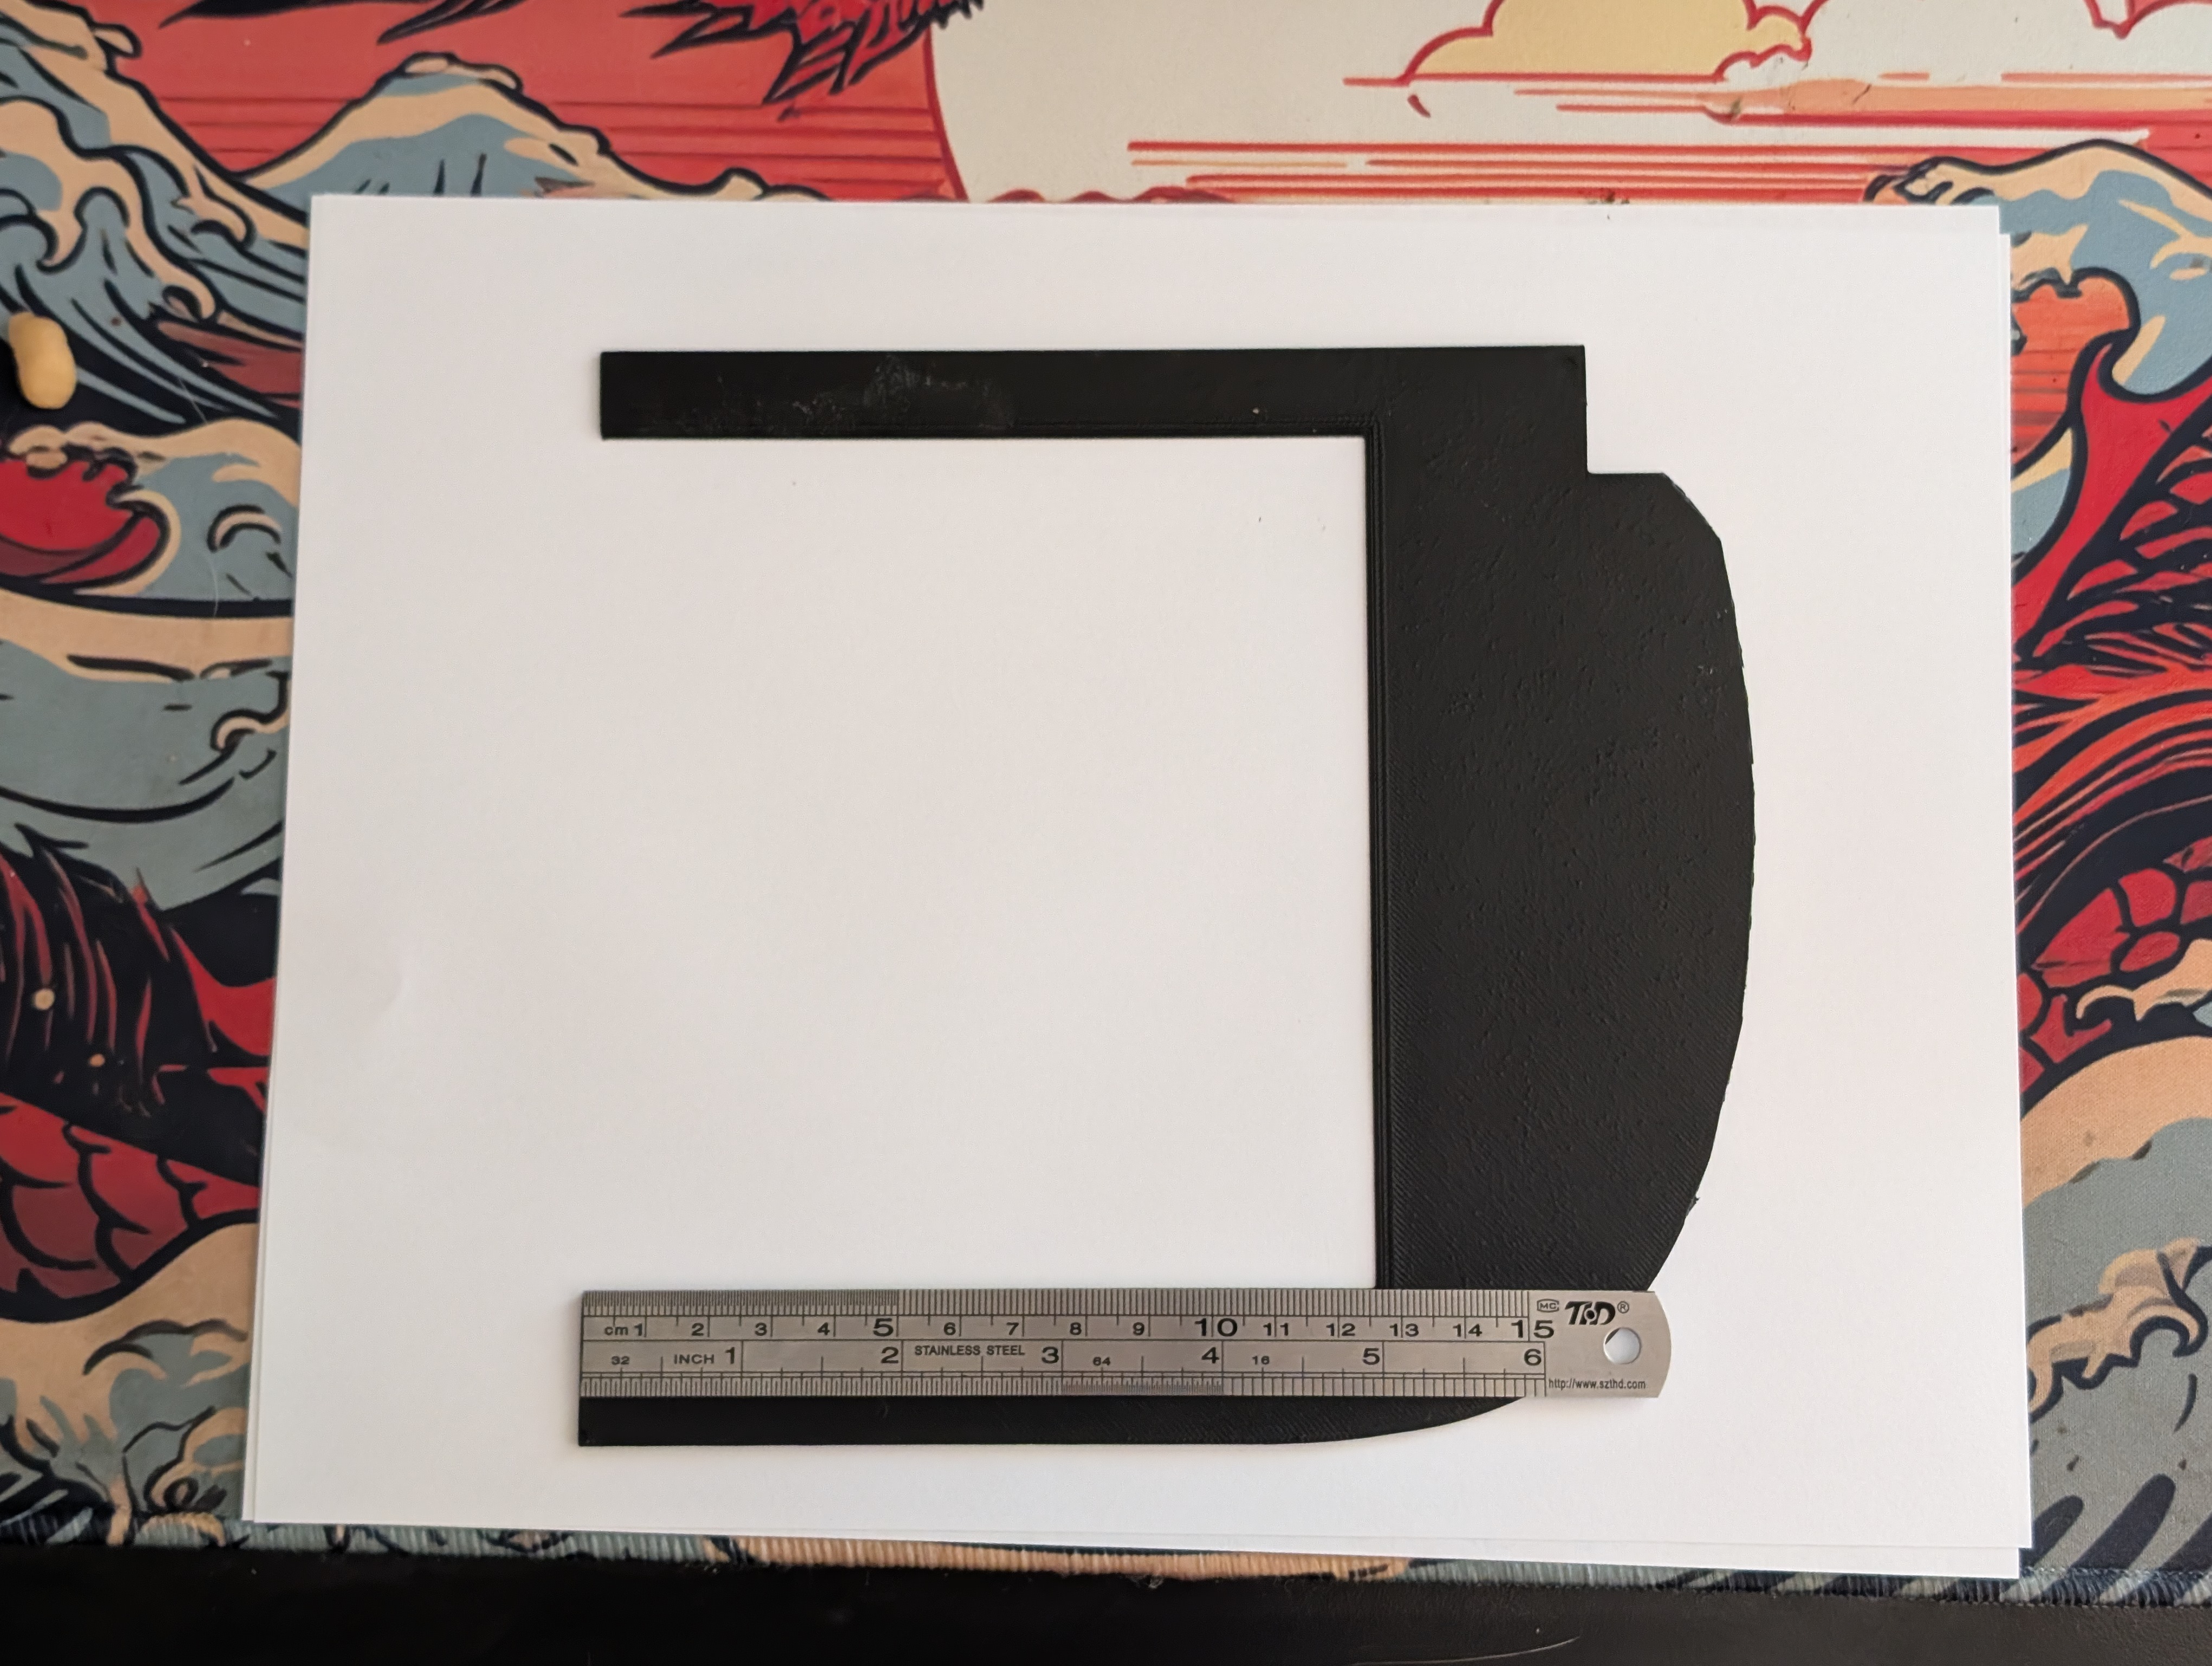
Here you can see the "final prototype" where I got the lengths all correct. You can also see I skeletonized the pieces. This was just to reduce material used and improve printing times, though it might actually have done well on the spoiler, I went solid for guaranteed strength and in theory some yaw resistance!
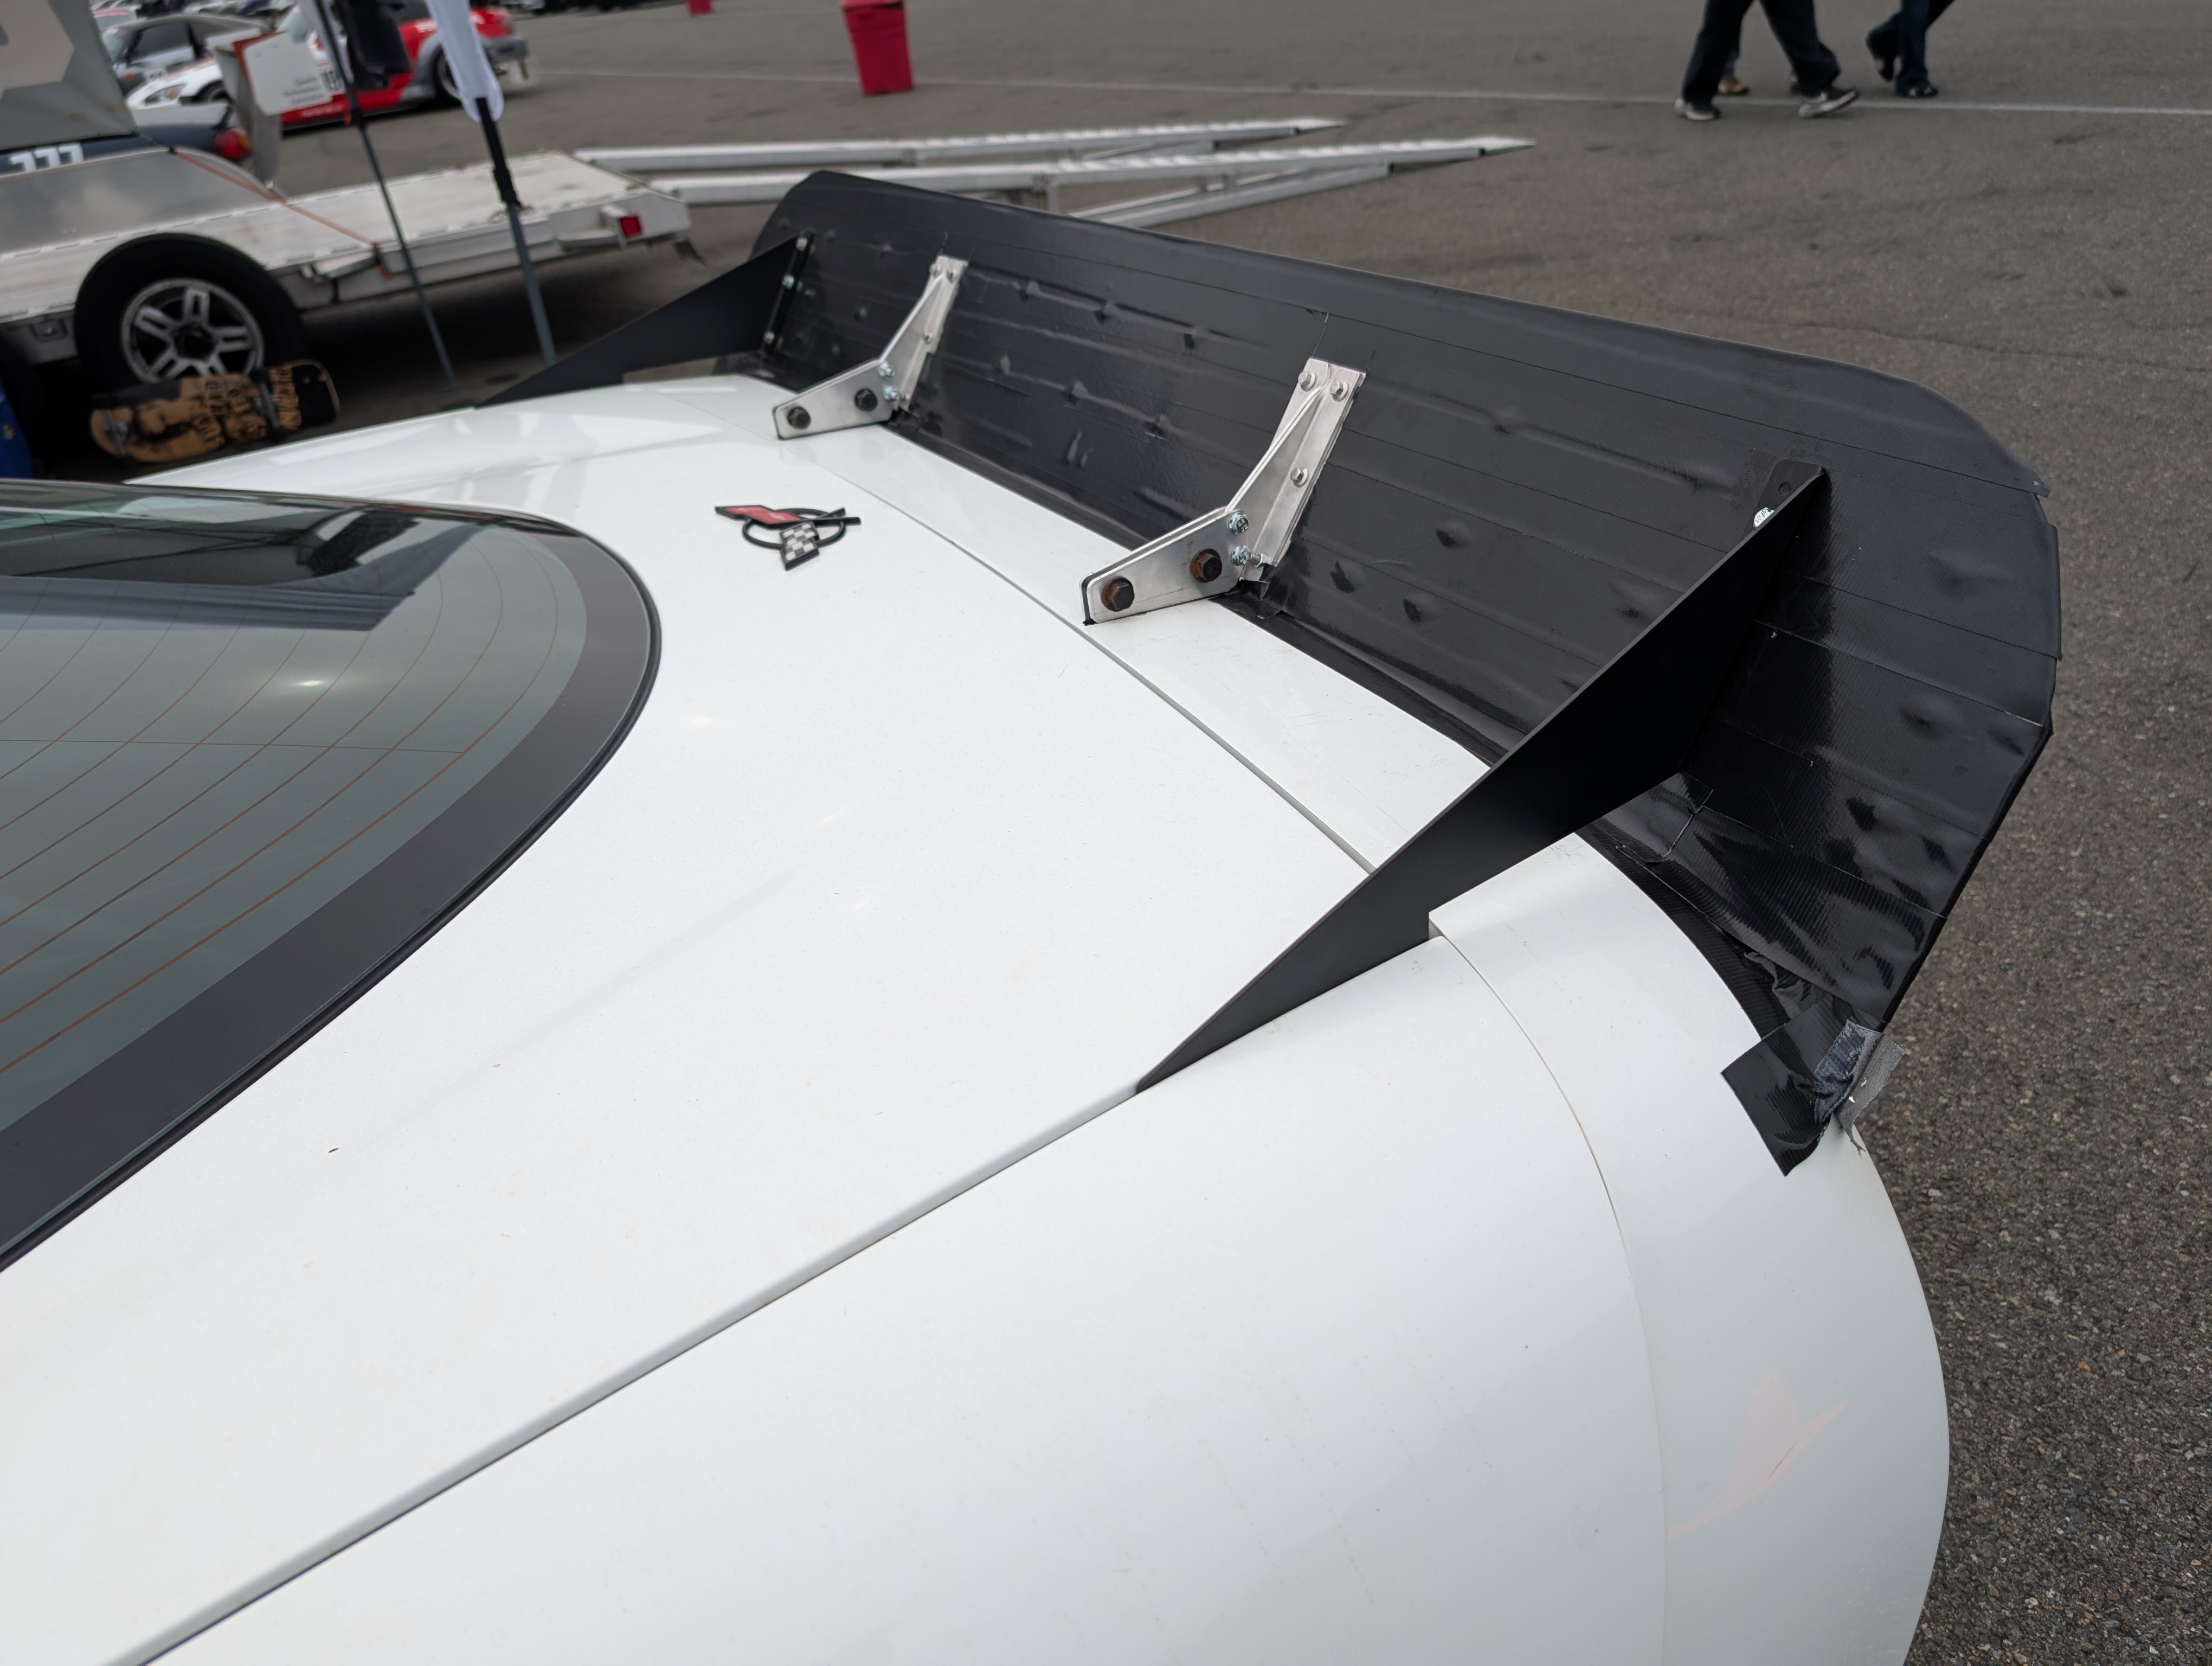
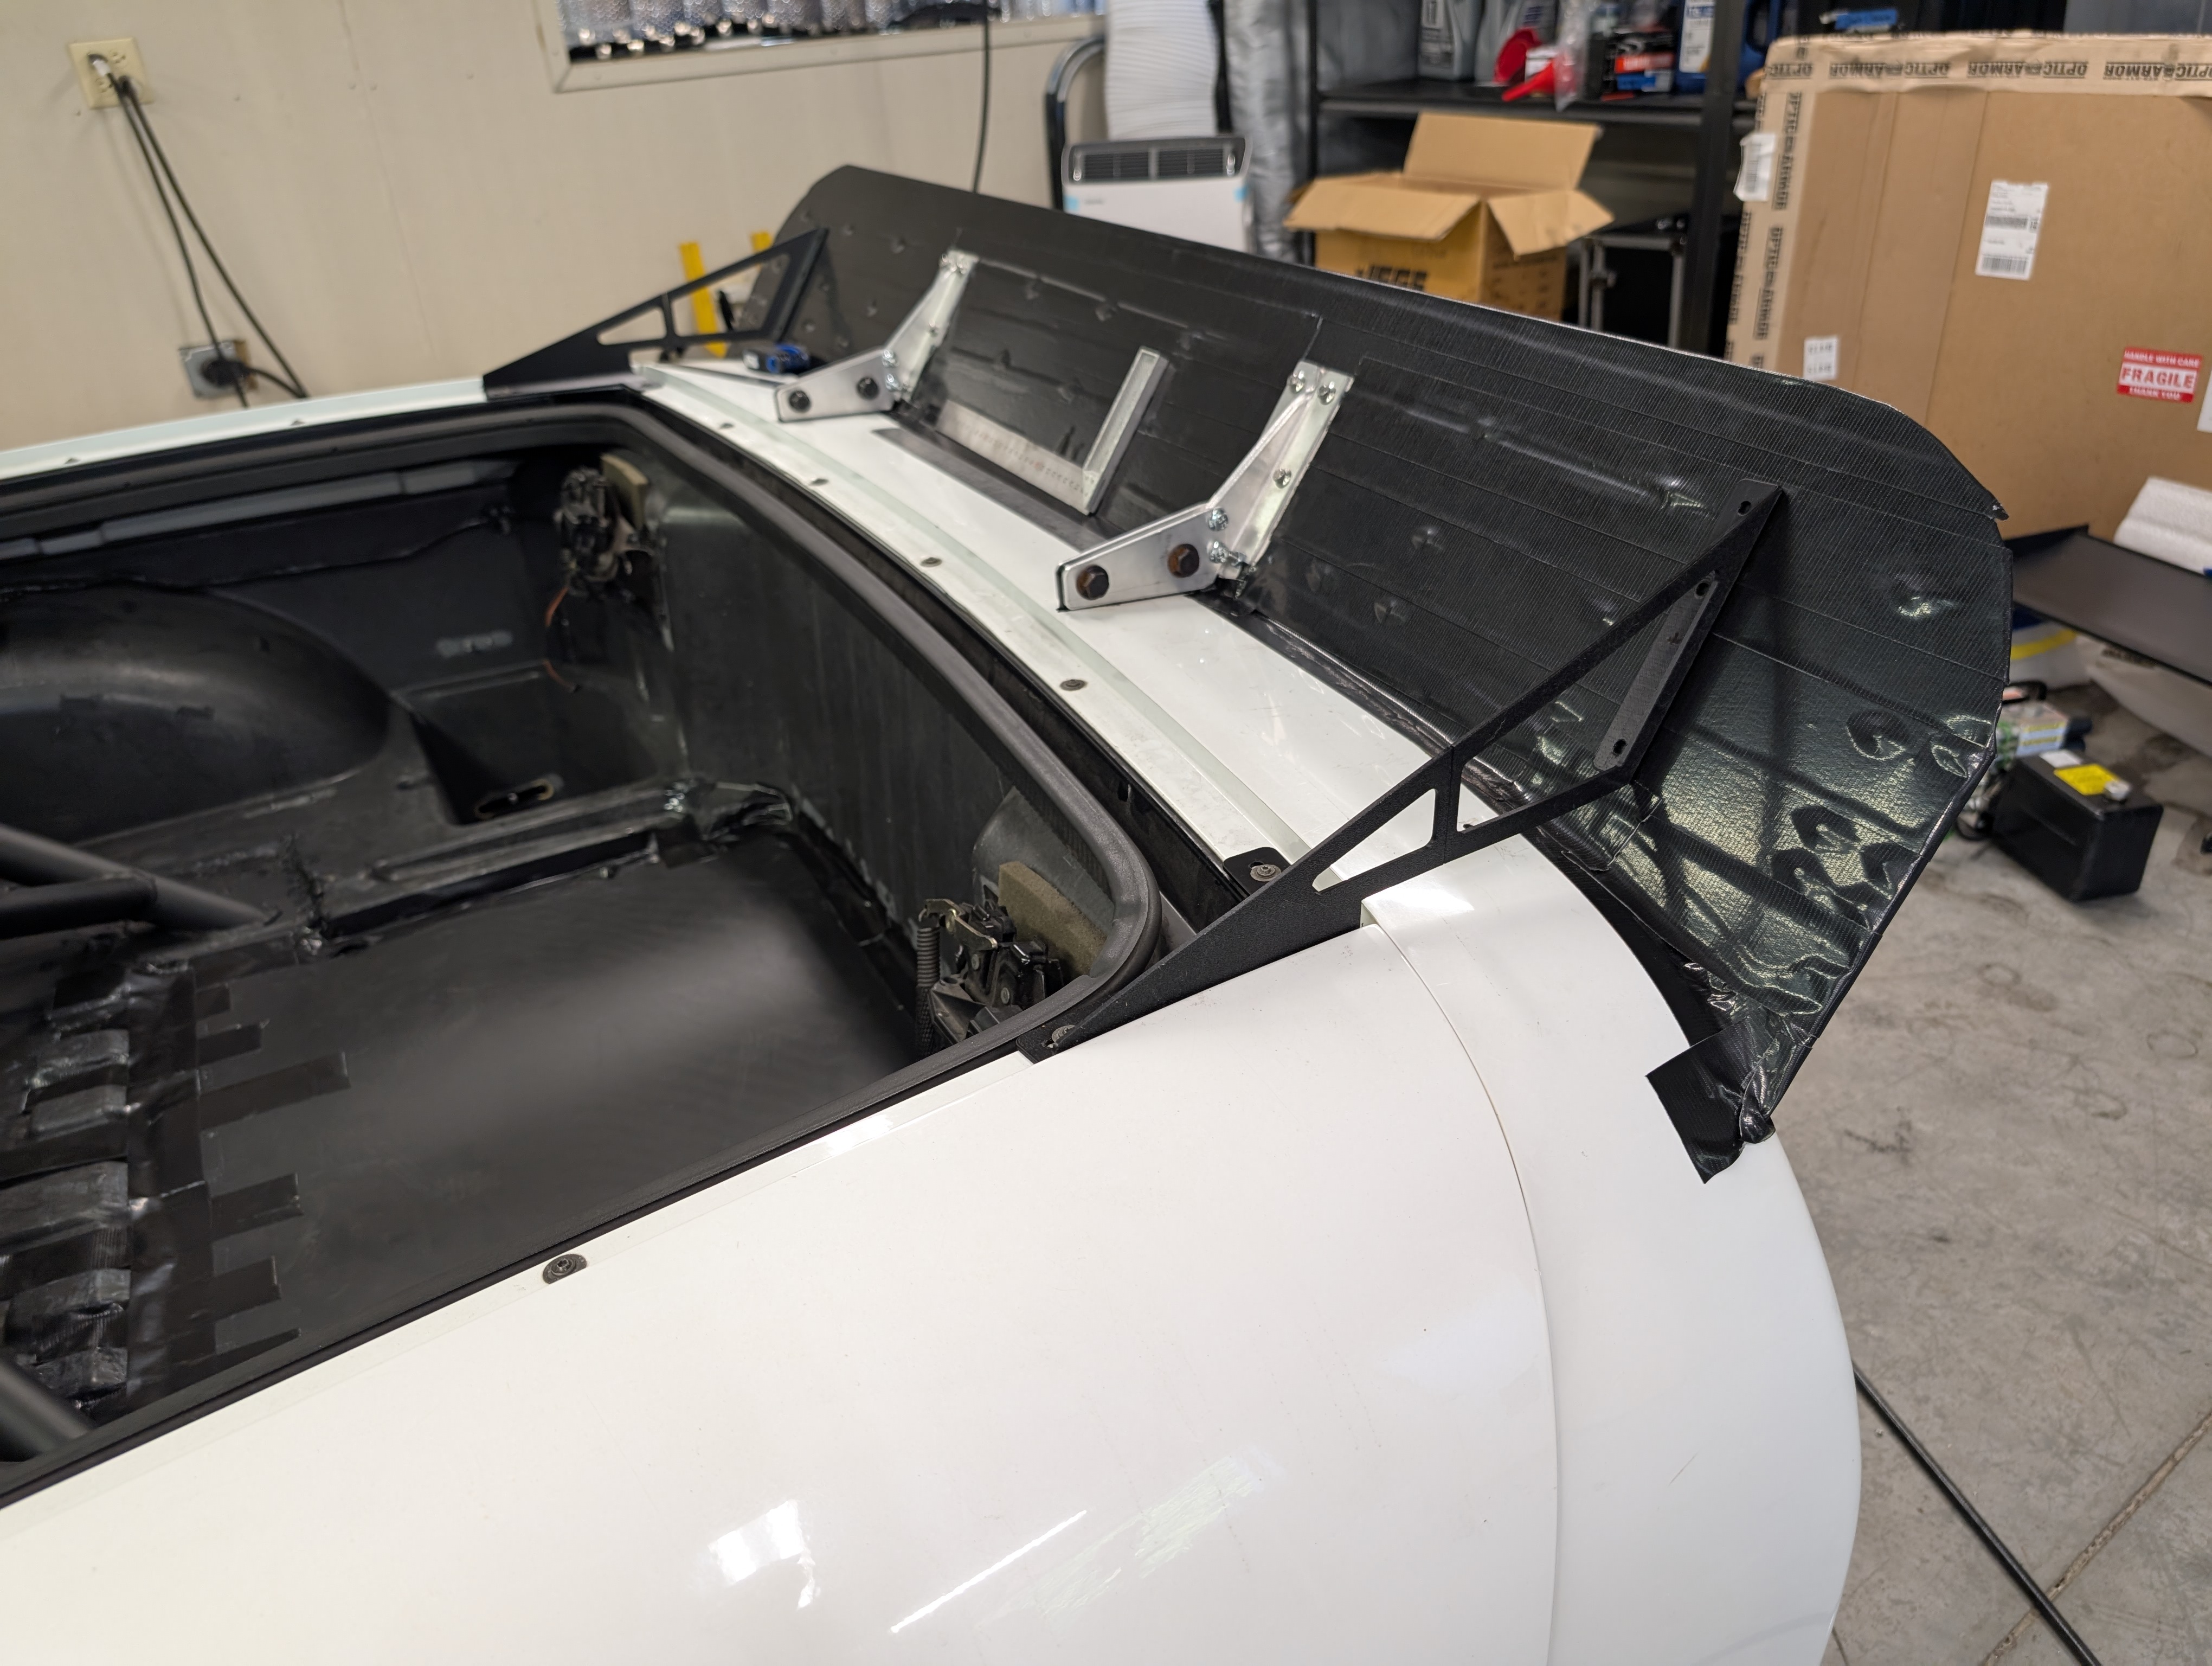
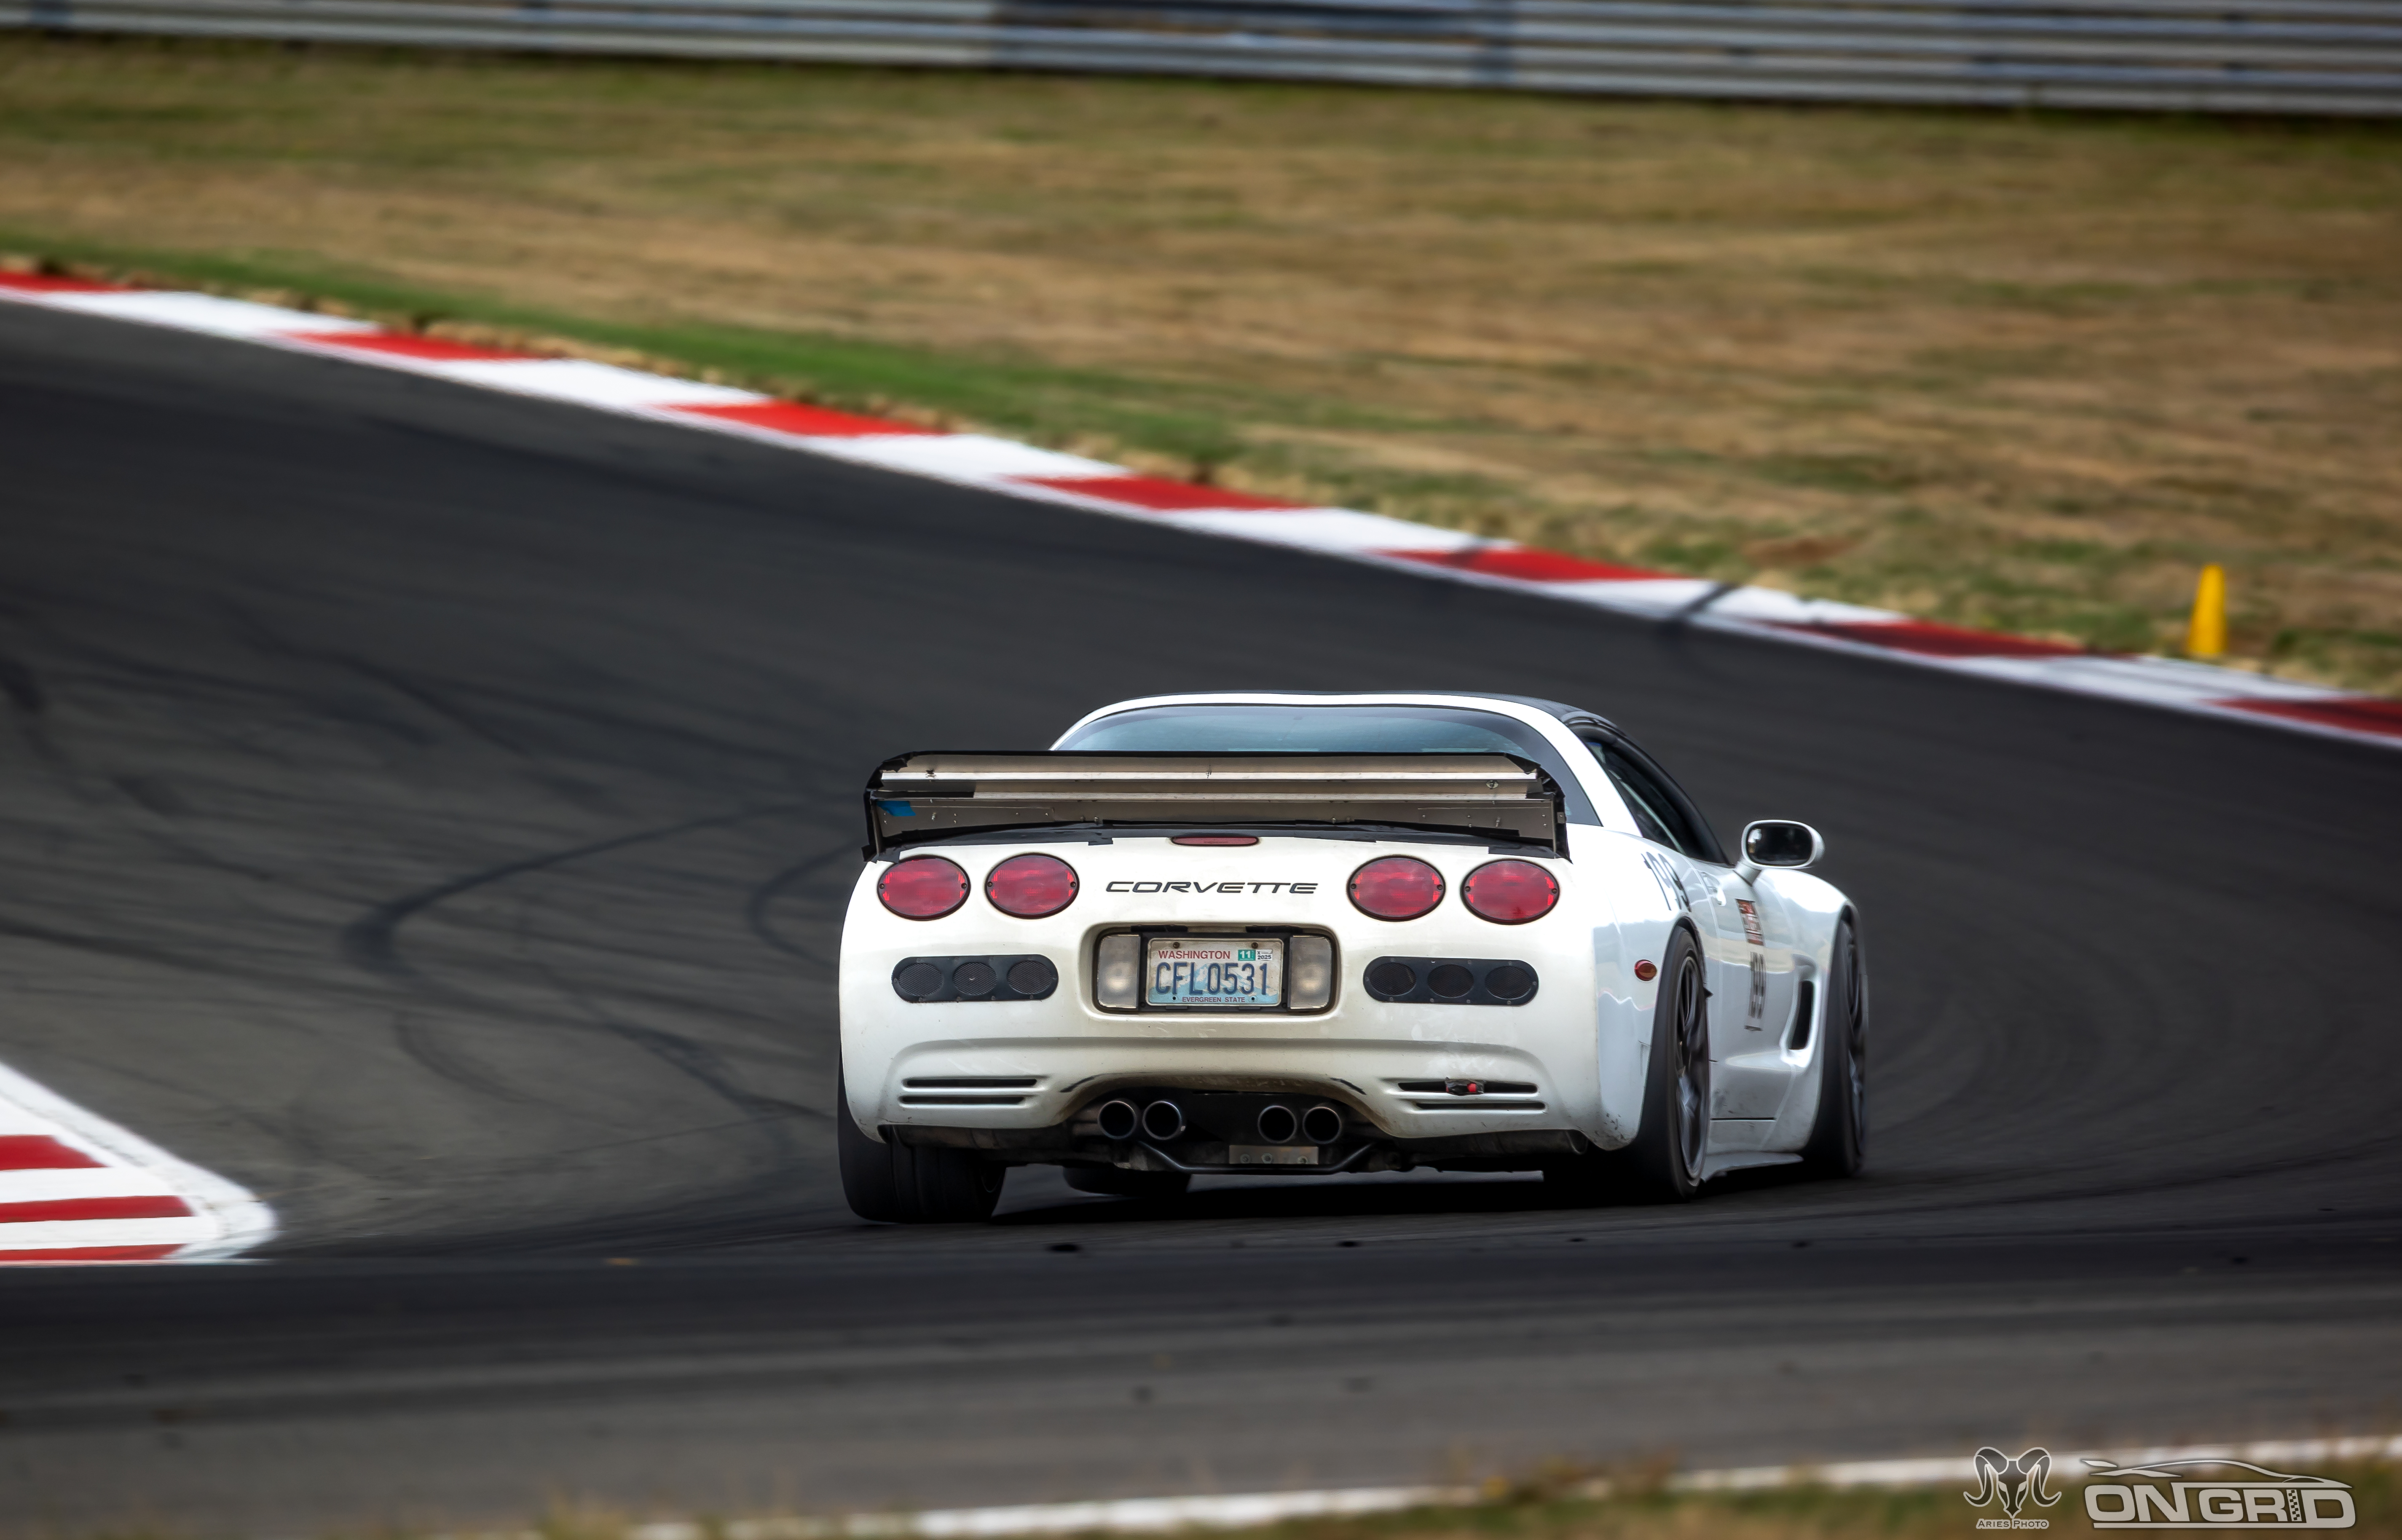
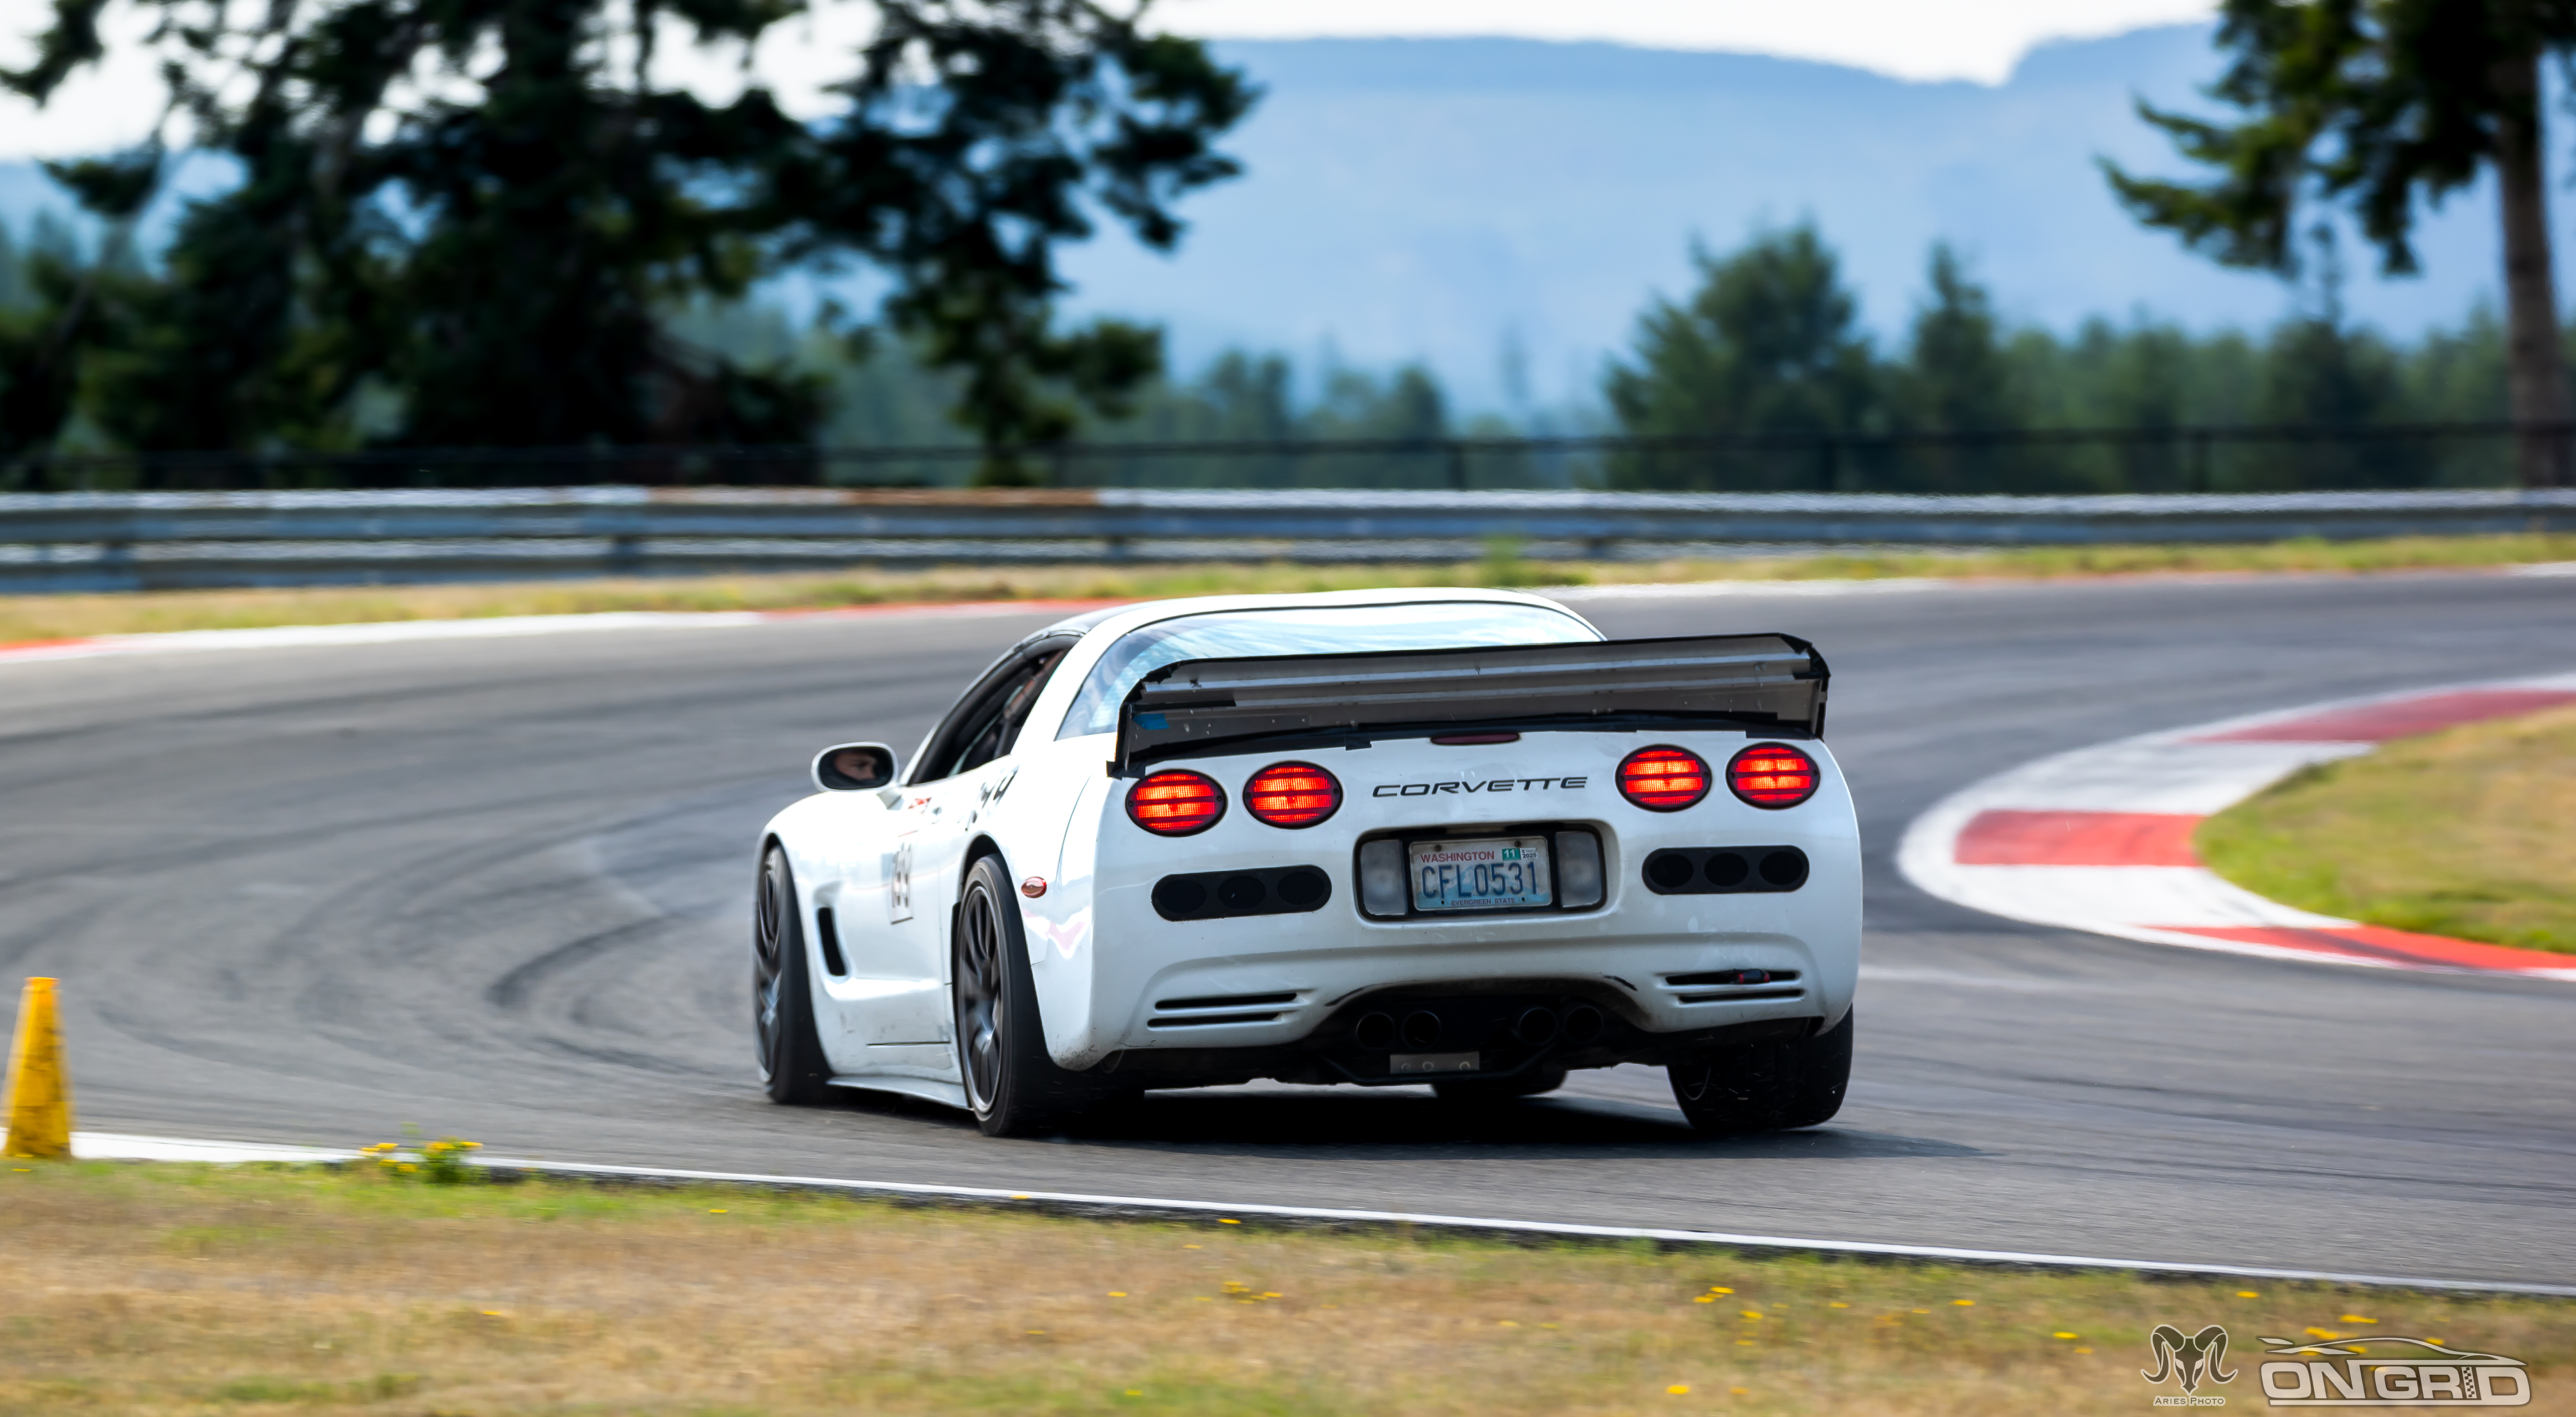
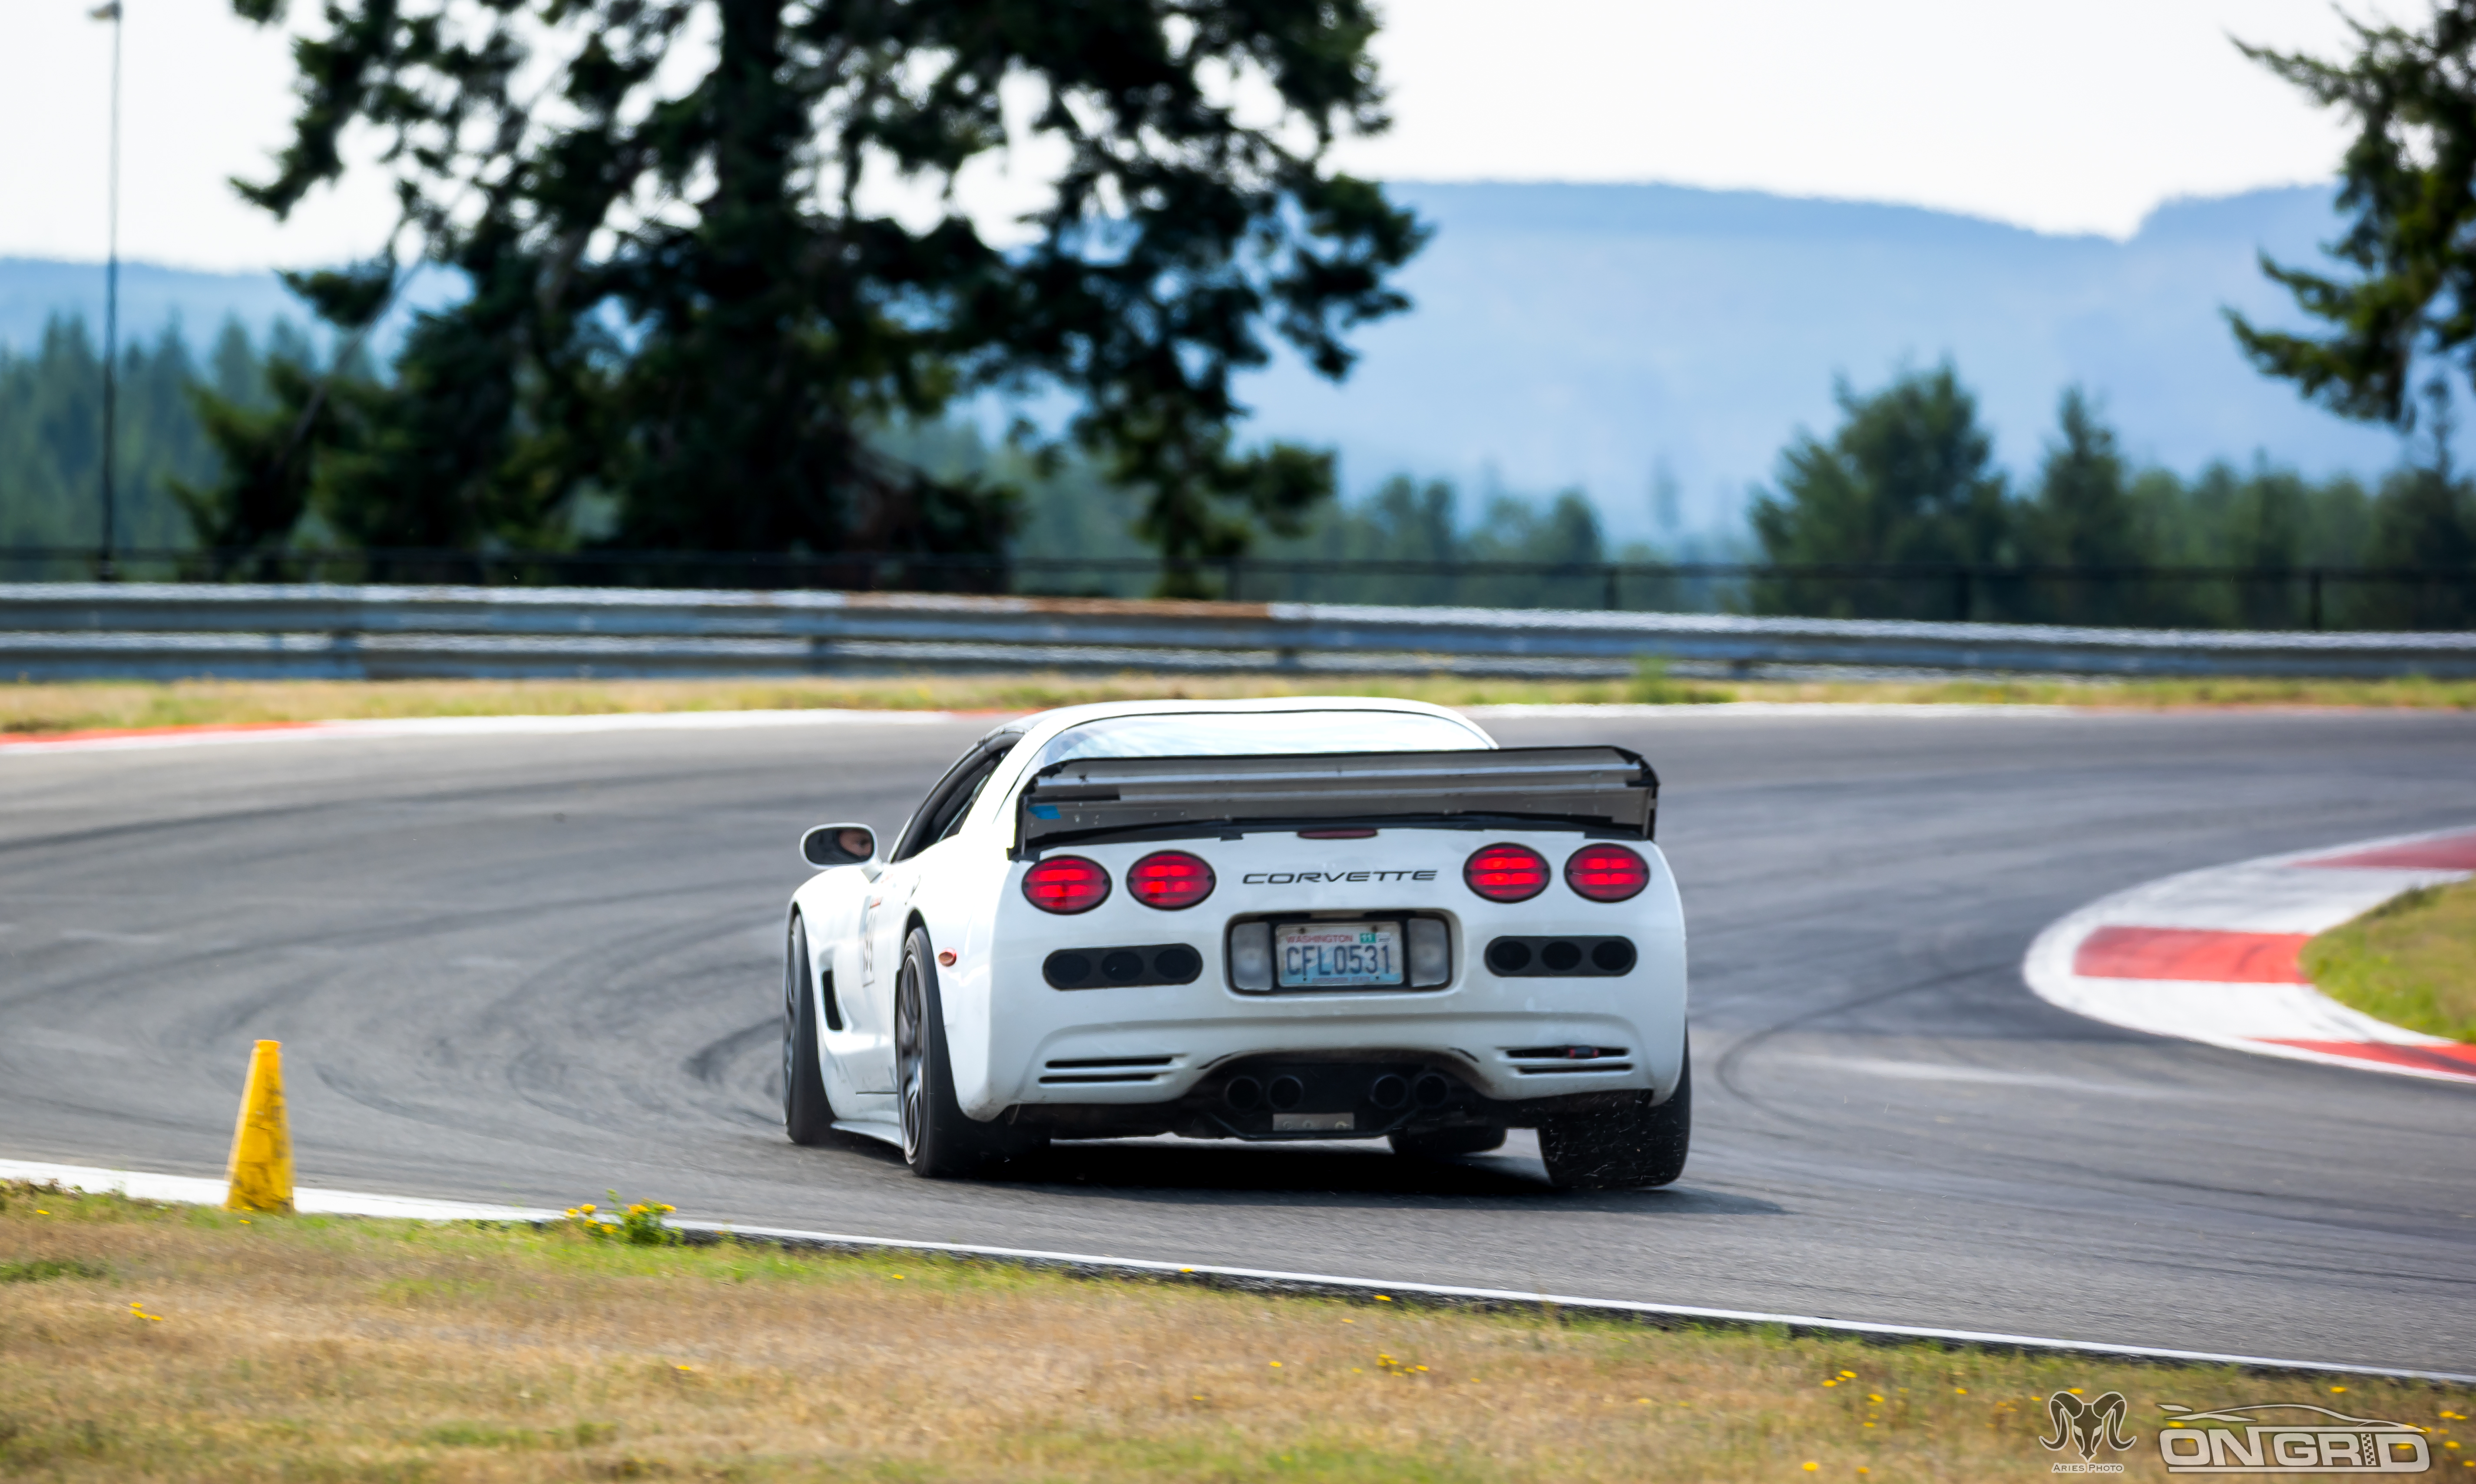
Here is the final piece on the car. It's... rough, but it's a first round test piece, and this event would determine if it works! Thanks to SendCutSend for working with me on getting these pieces done and shipped to me in a quick fashion! You also might notice the spoiler itself is covered in gorilla tape. I didn't have time or material to paint the spoiler correctly... so gorilla tape it was!
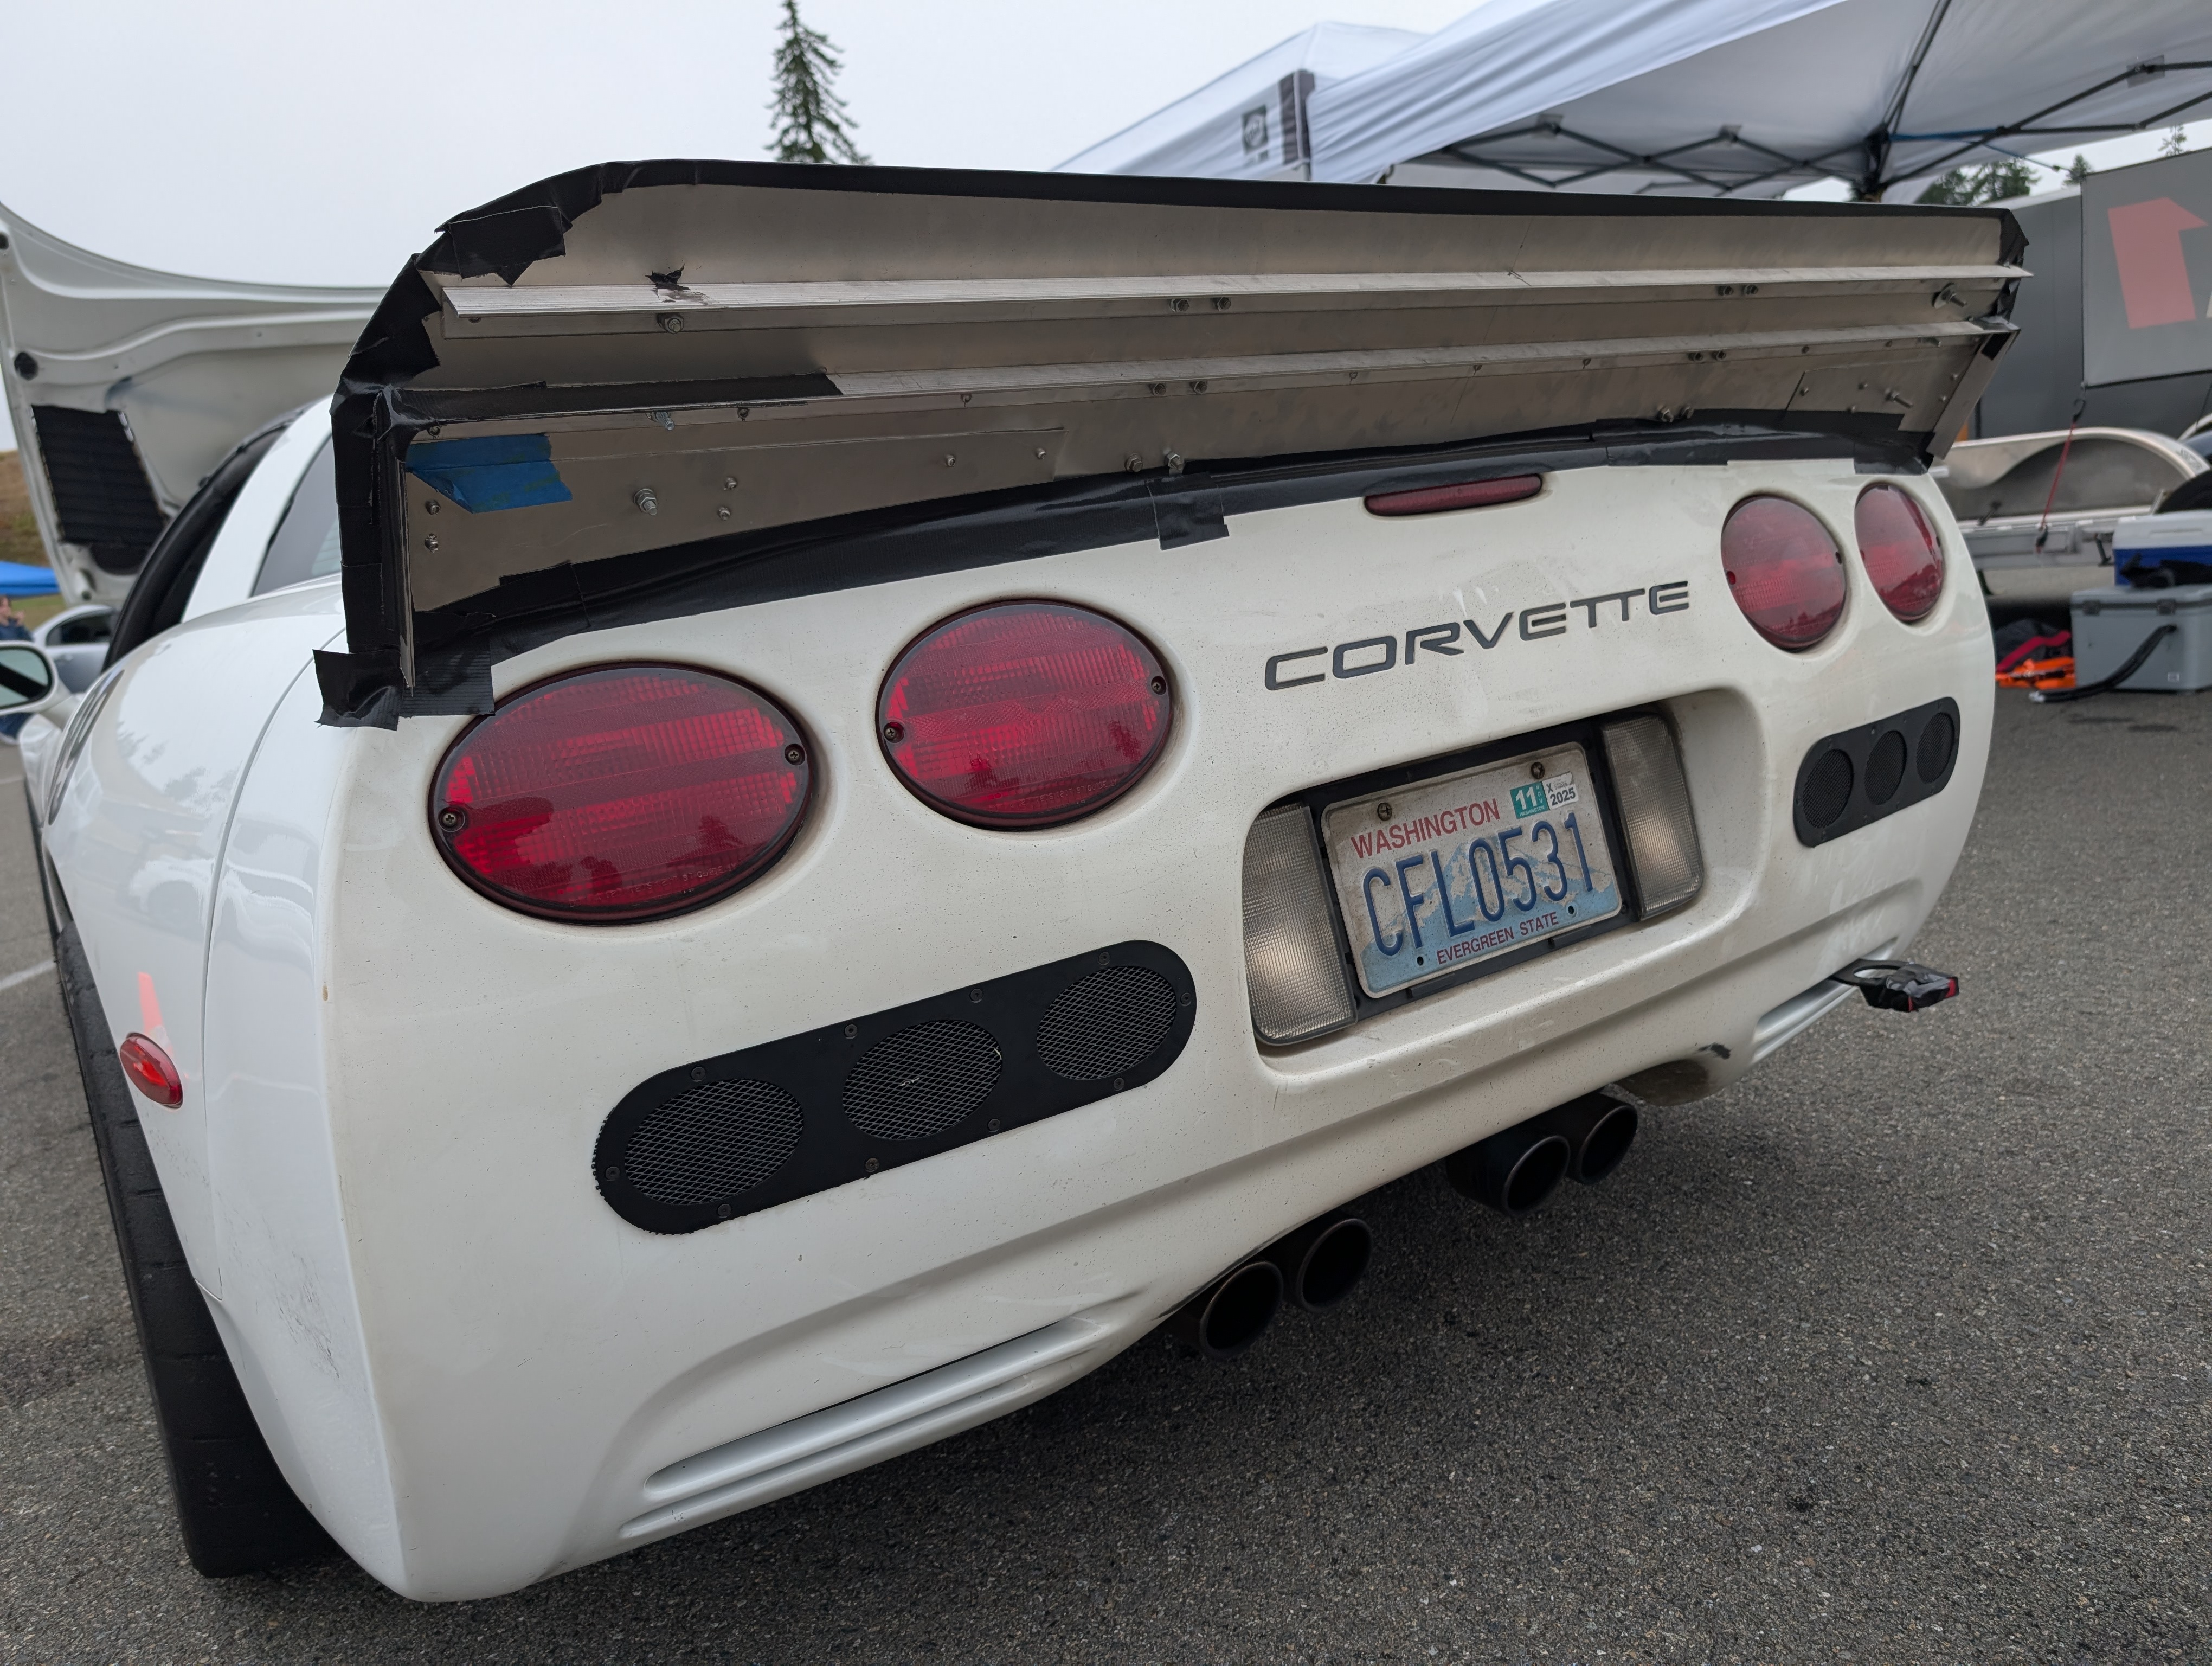
Here's the back of the spoiler. You can really tell how "rough" it is back here. Lots of random bolts, pop rivets and angle aluminum trying to keep it all together and happy. Oh and Gorilla Tape. So. Much. Gorilla. Tape.
While I was working on the car and thinking about 3d printing... it occured to me that I could probably print some improved ducting for my front oil cooler. Currently the oil cooler just sat behind the old license plate opening. I could seal off airflow anywhere but directly into the radiator.. and even round the leading edges to help air direct into the oil cooler. Maybe I'd see a temperature drop?
Just like with the 3D printed spoiler brackets, I'd need to print these plate in two pieces. That was a fun learning experience, as the spoiler brackets as two pieces was just for test fitting, so strength was of no concern. These pieces would actually need to attach to each other though and be robust enough to survie! Ontop of that, these pieces would need to be made of a material that could handle the radiant heat from the oil cooler when stopped... so it was my first foray into more advanced printing materials like PETG!
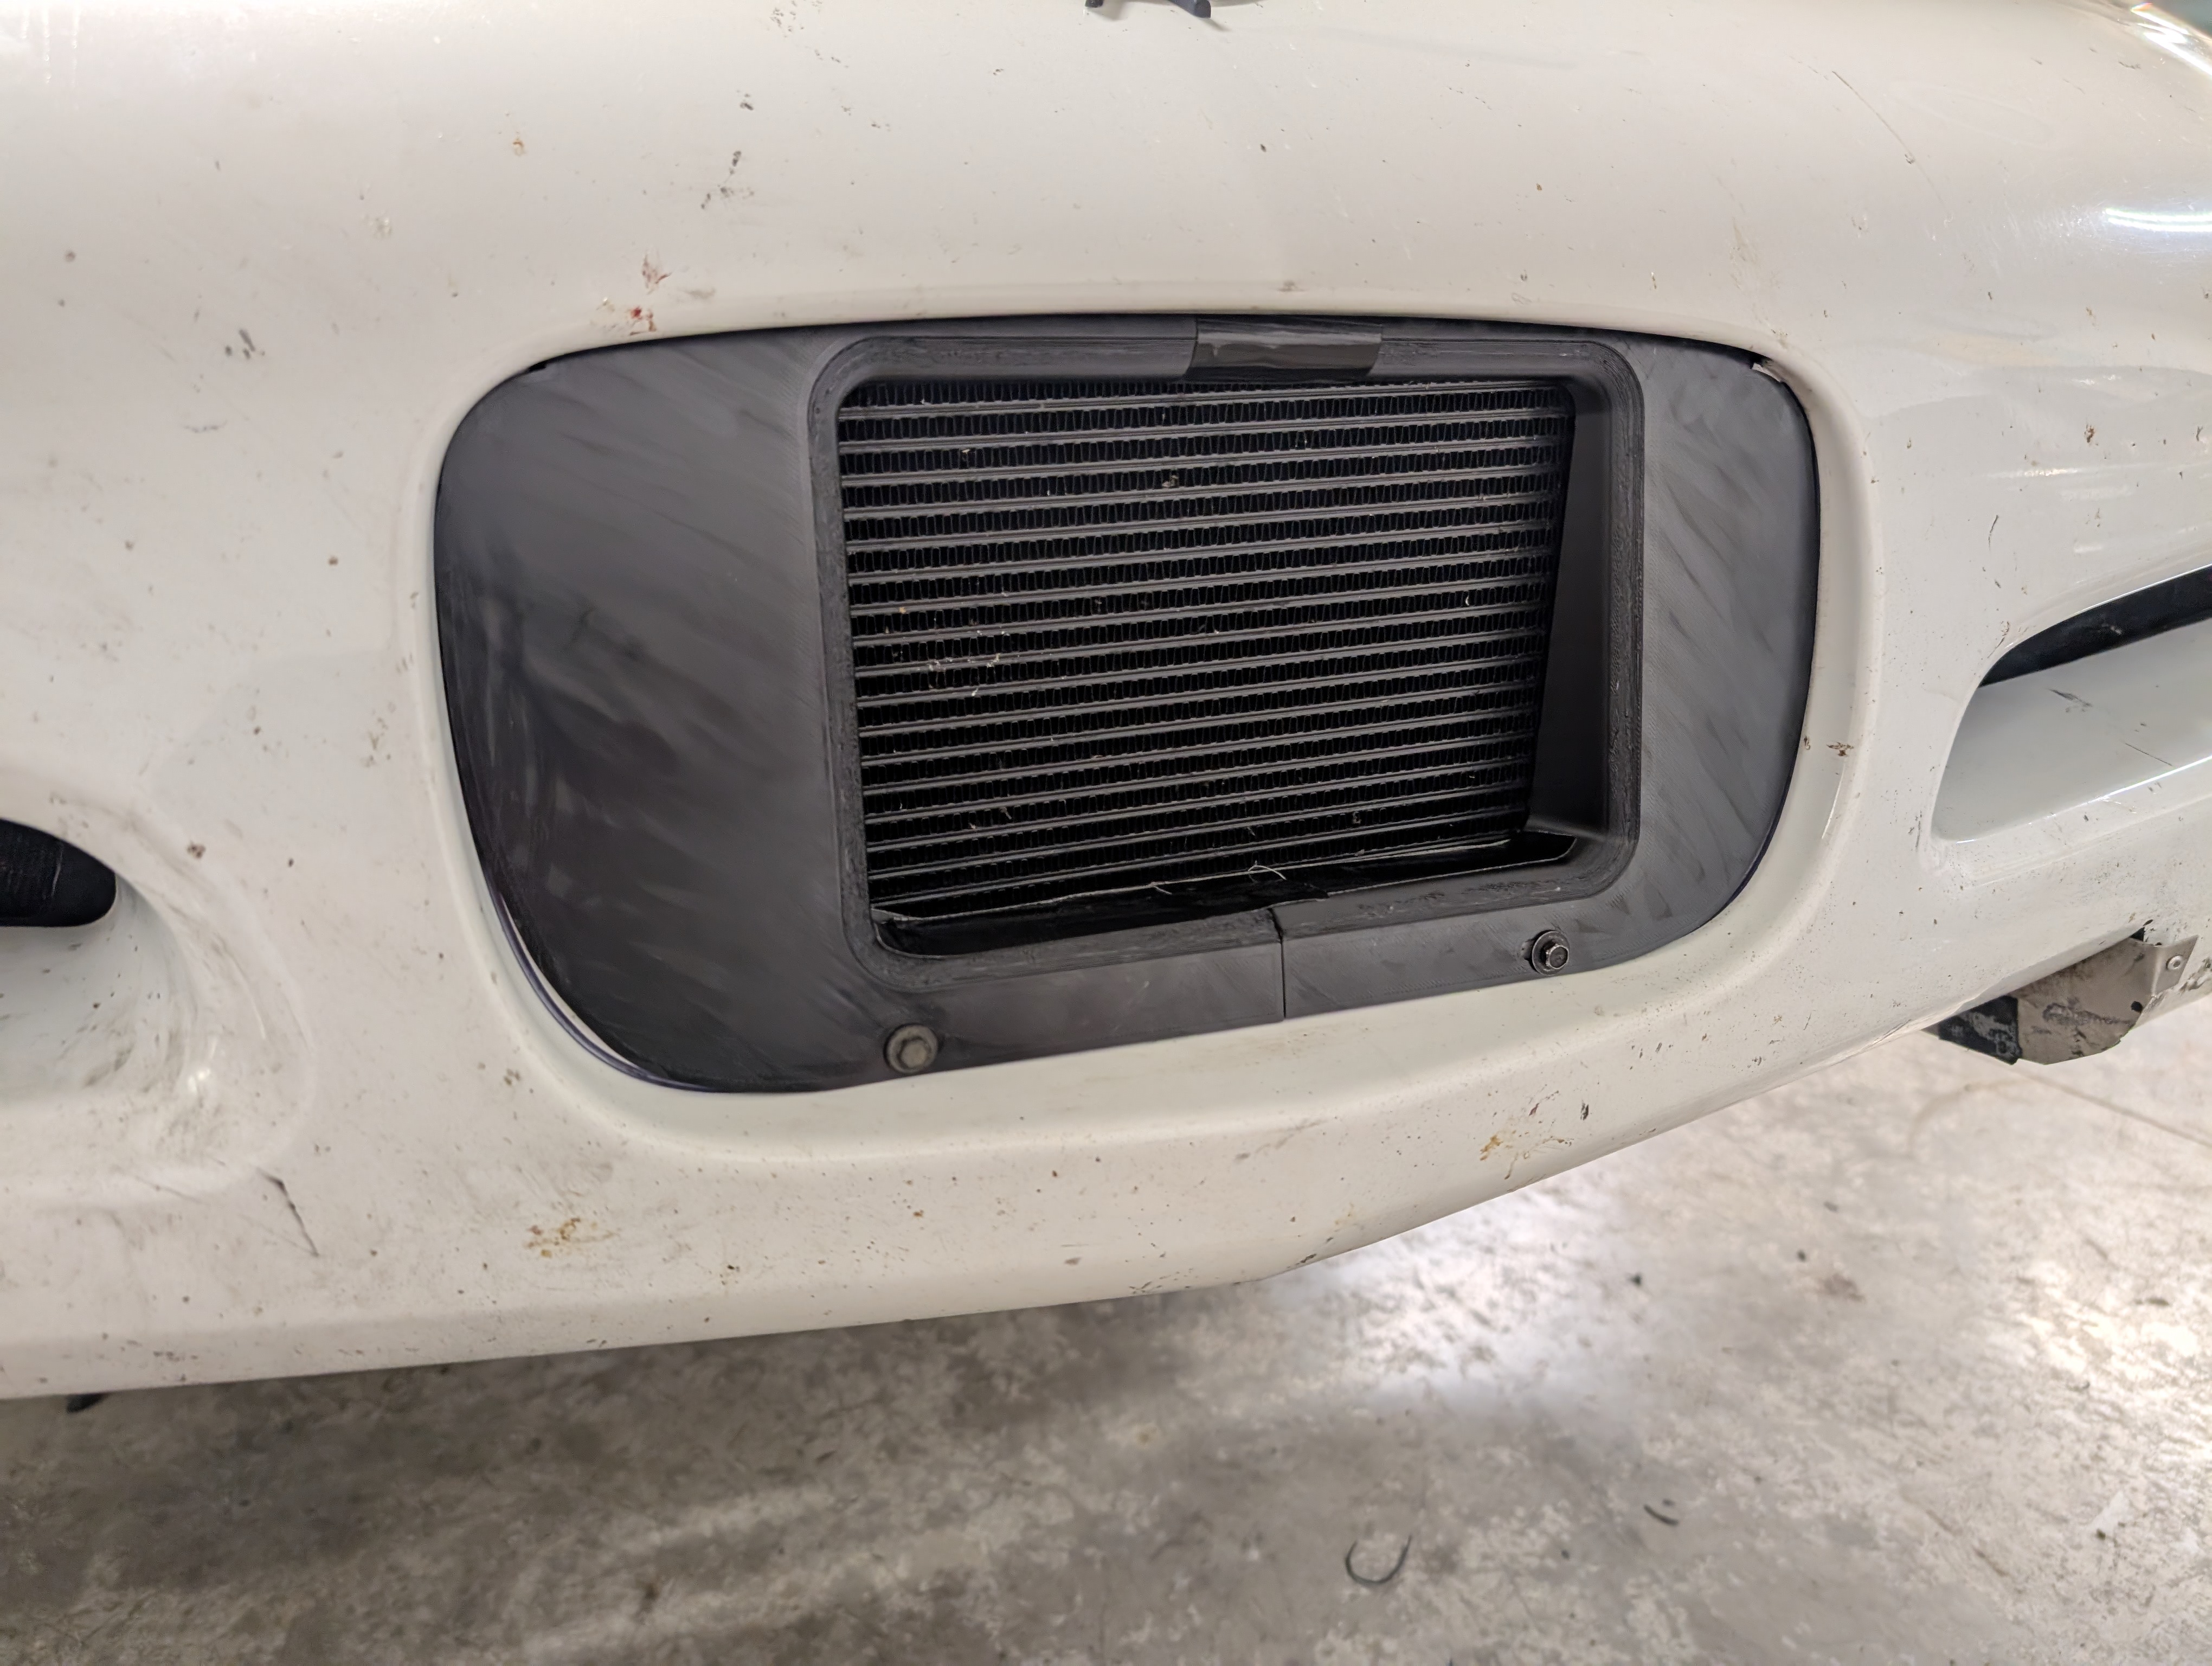
With a bunch of prototyping though, a lot of measuring... and the help of some Gorilla Tape... I got a working prototype in place!
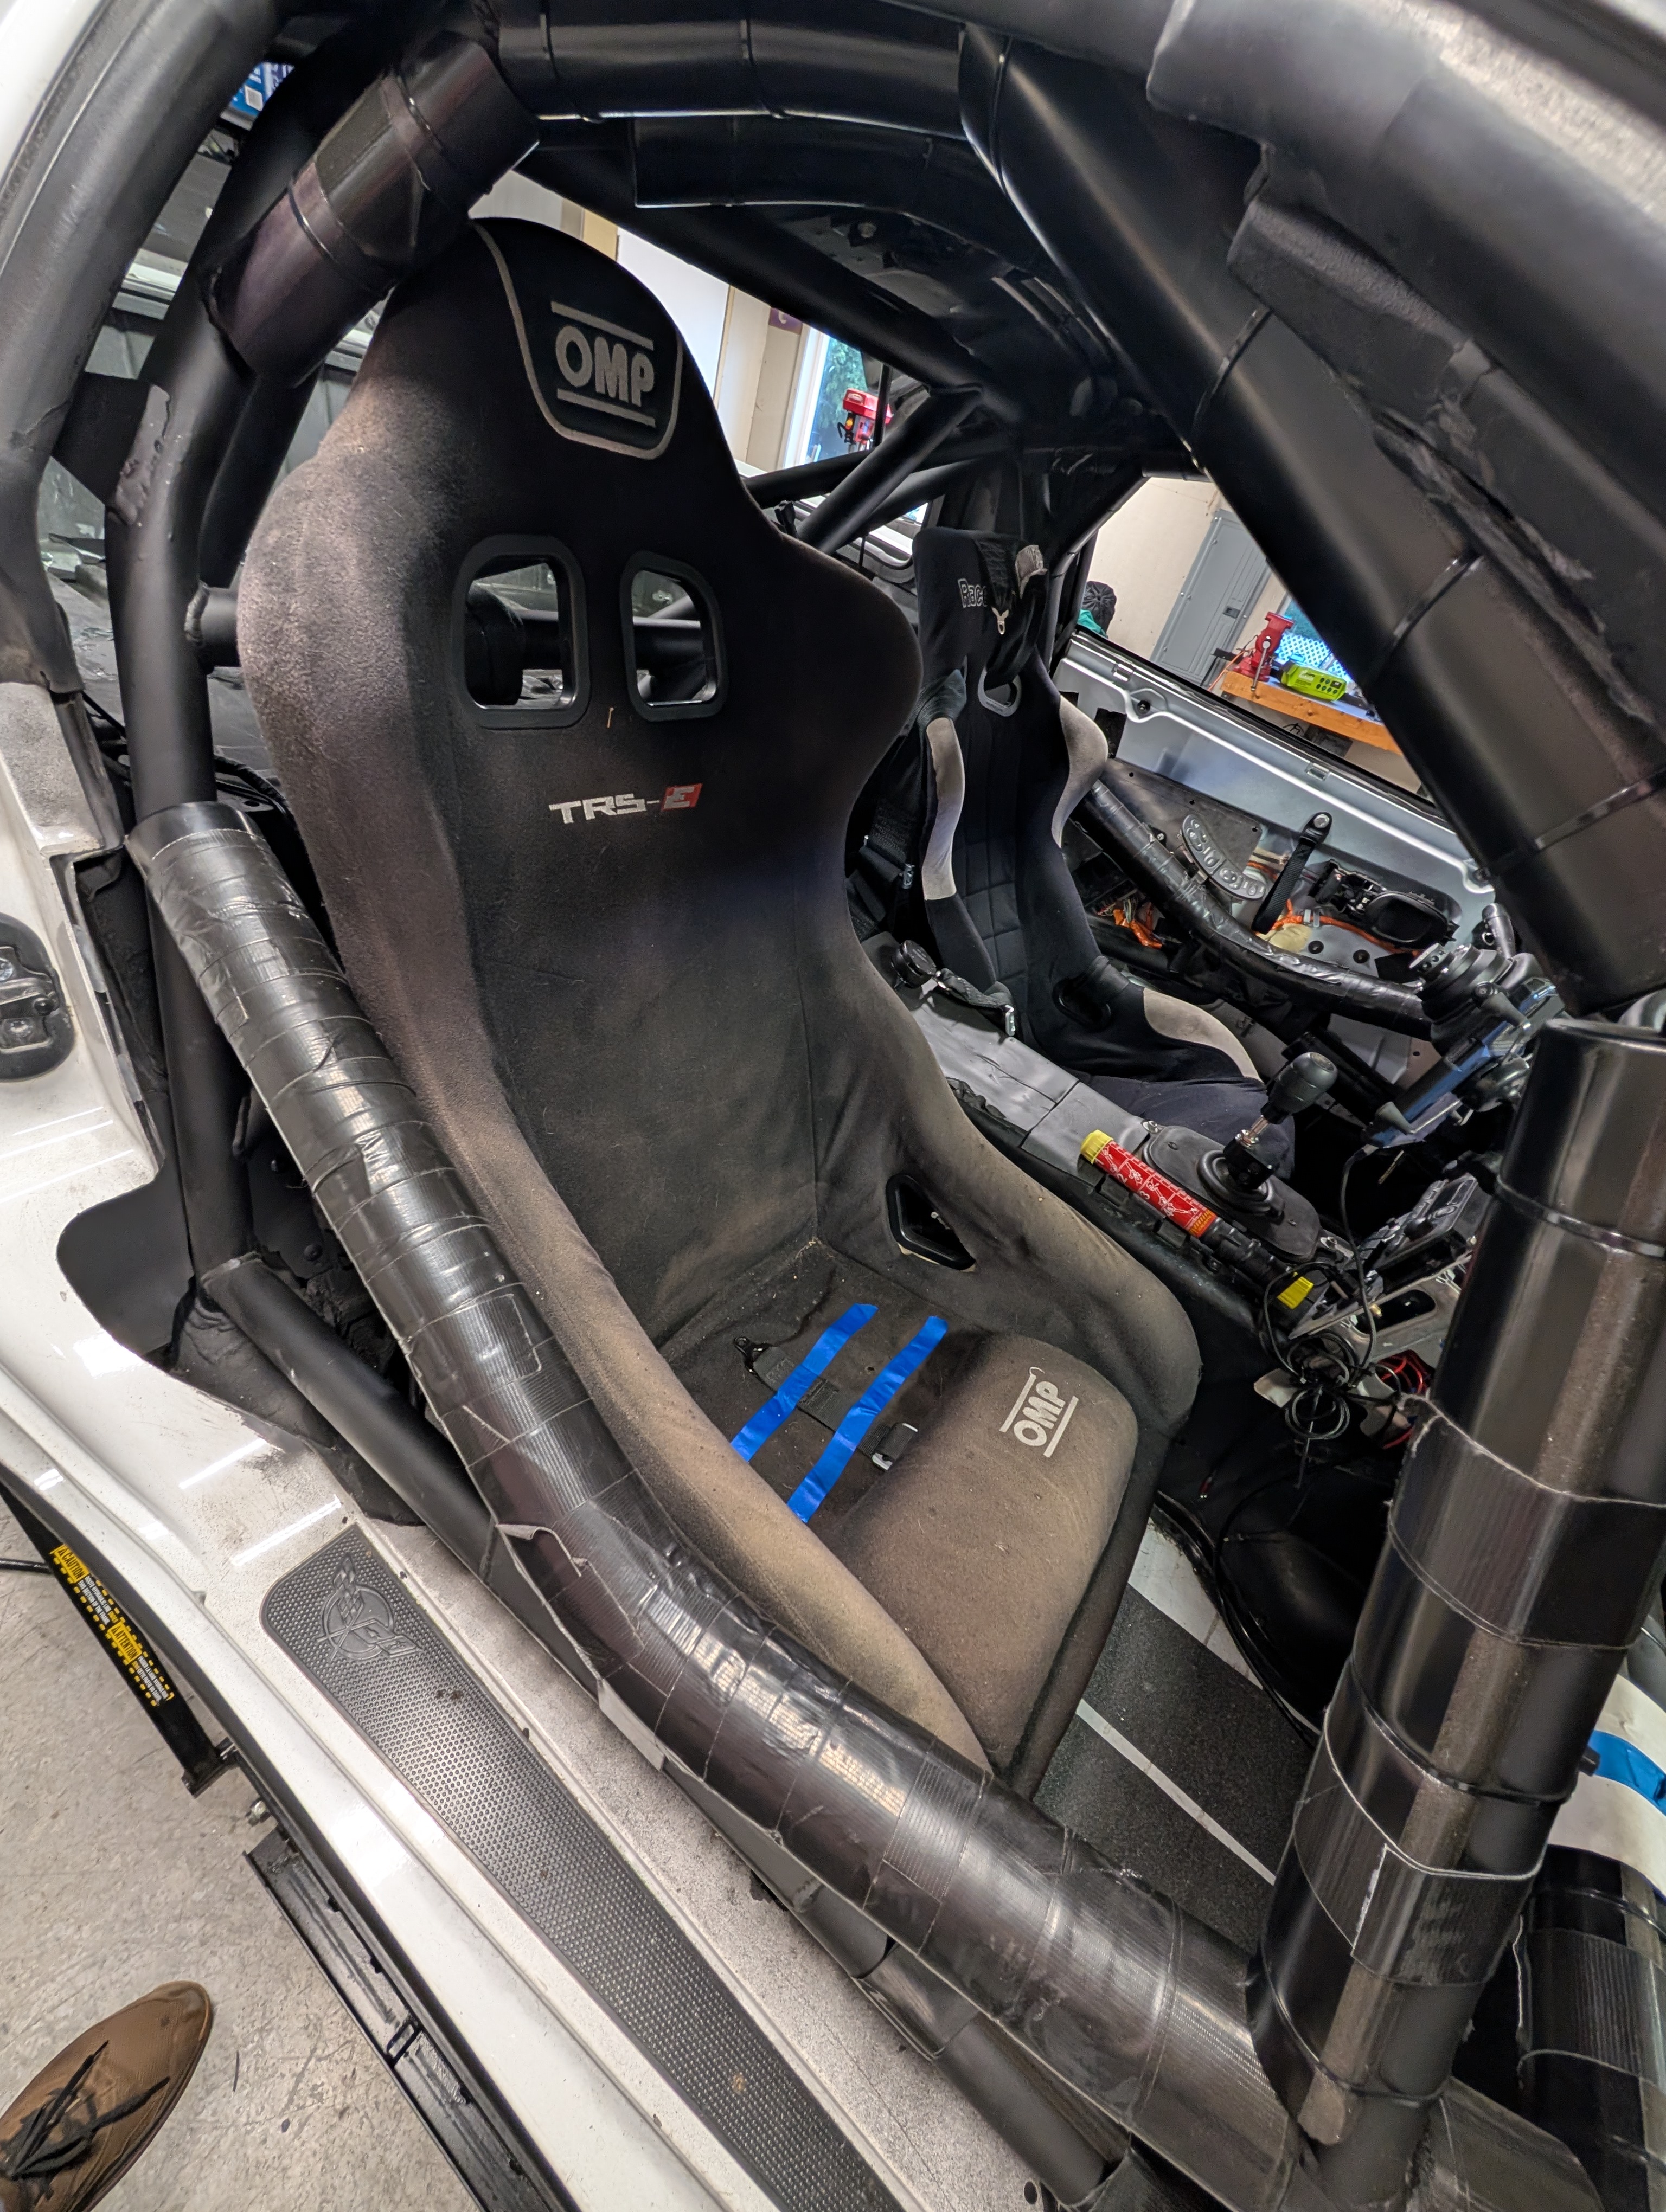
Another requirement for the GT class was a passenger seat. They weren't terribly specific about just what sort of passenger seat was needed, so I could have thrown in a fiberglass GoCart seat or some other such nonsense... but I decided to both play fair and save myself some costs and just utilize the extra passenger seat we had laying around from our Lemons Car. I fortunately had some AMT brackets around and ready to go still, so I chucked it all together and was good enough for class rules!

One big part of this changeover that I didn't acknowledge fully was that I'd need to adjust my spring rates. Without aero, the car would simply be way too stiff at 700 front 750 rear. I dropped the car back to 550/650, which not only was best for my non-aero setup, but on any driving off the track the car was infinitely more comfortable!
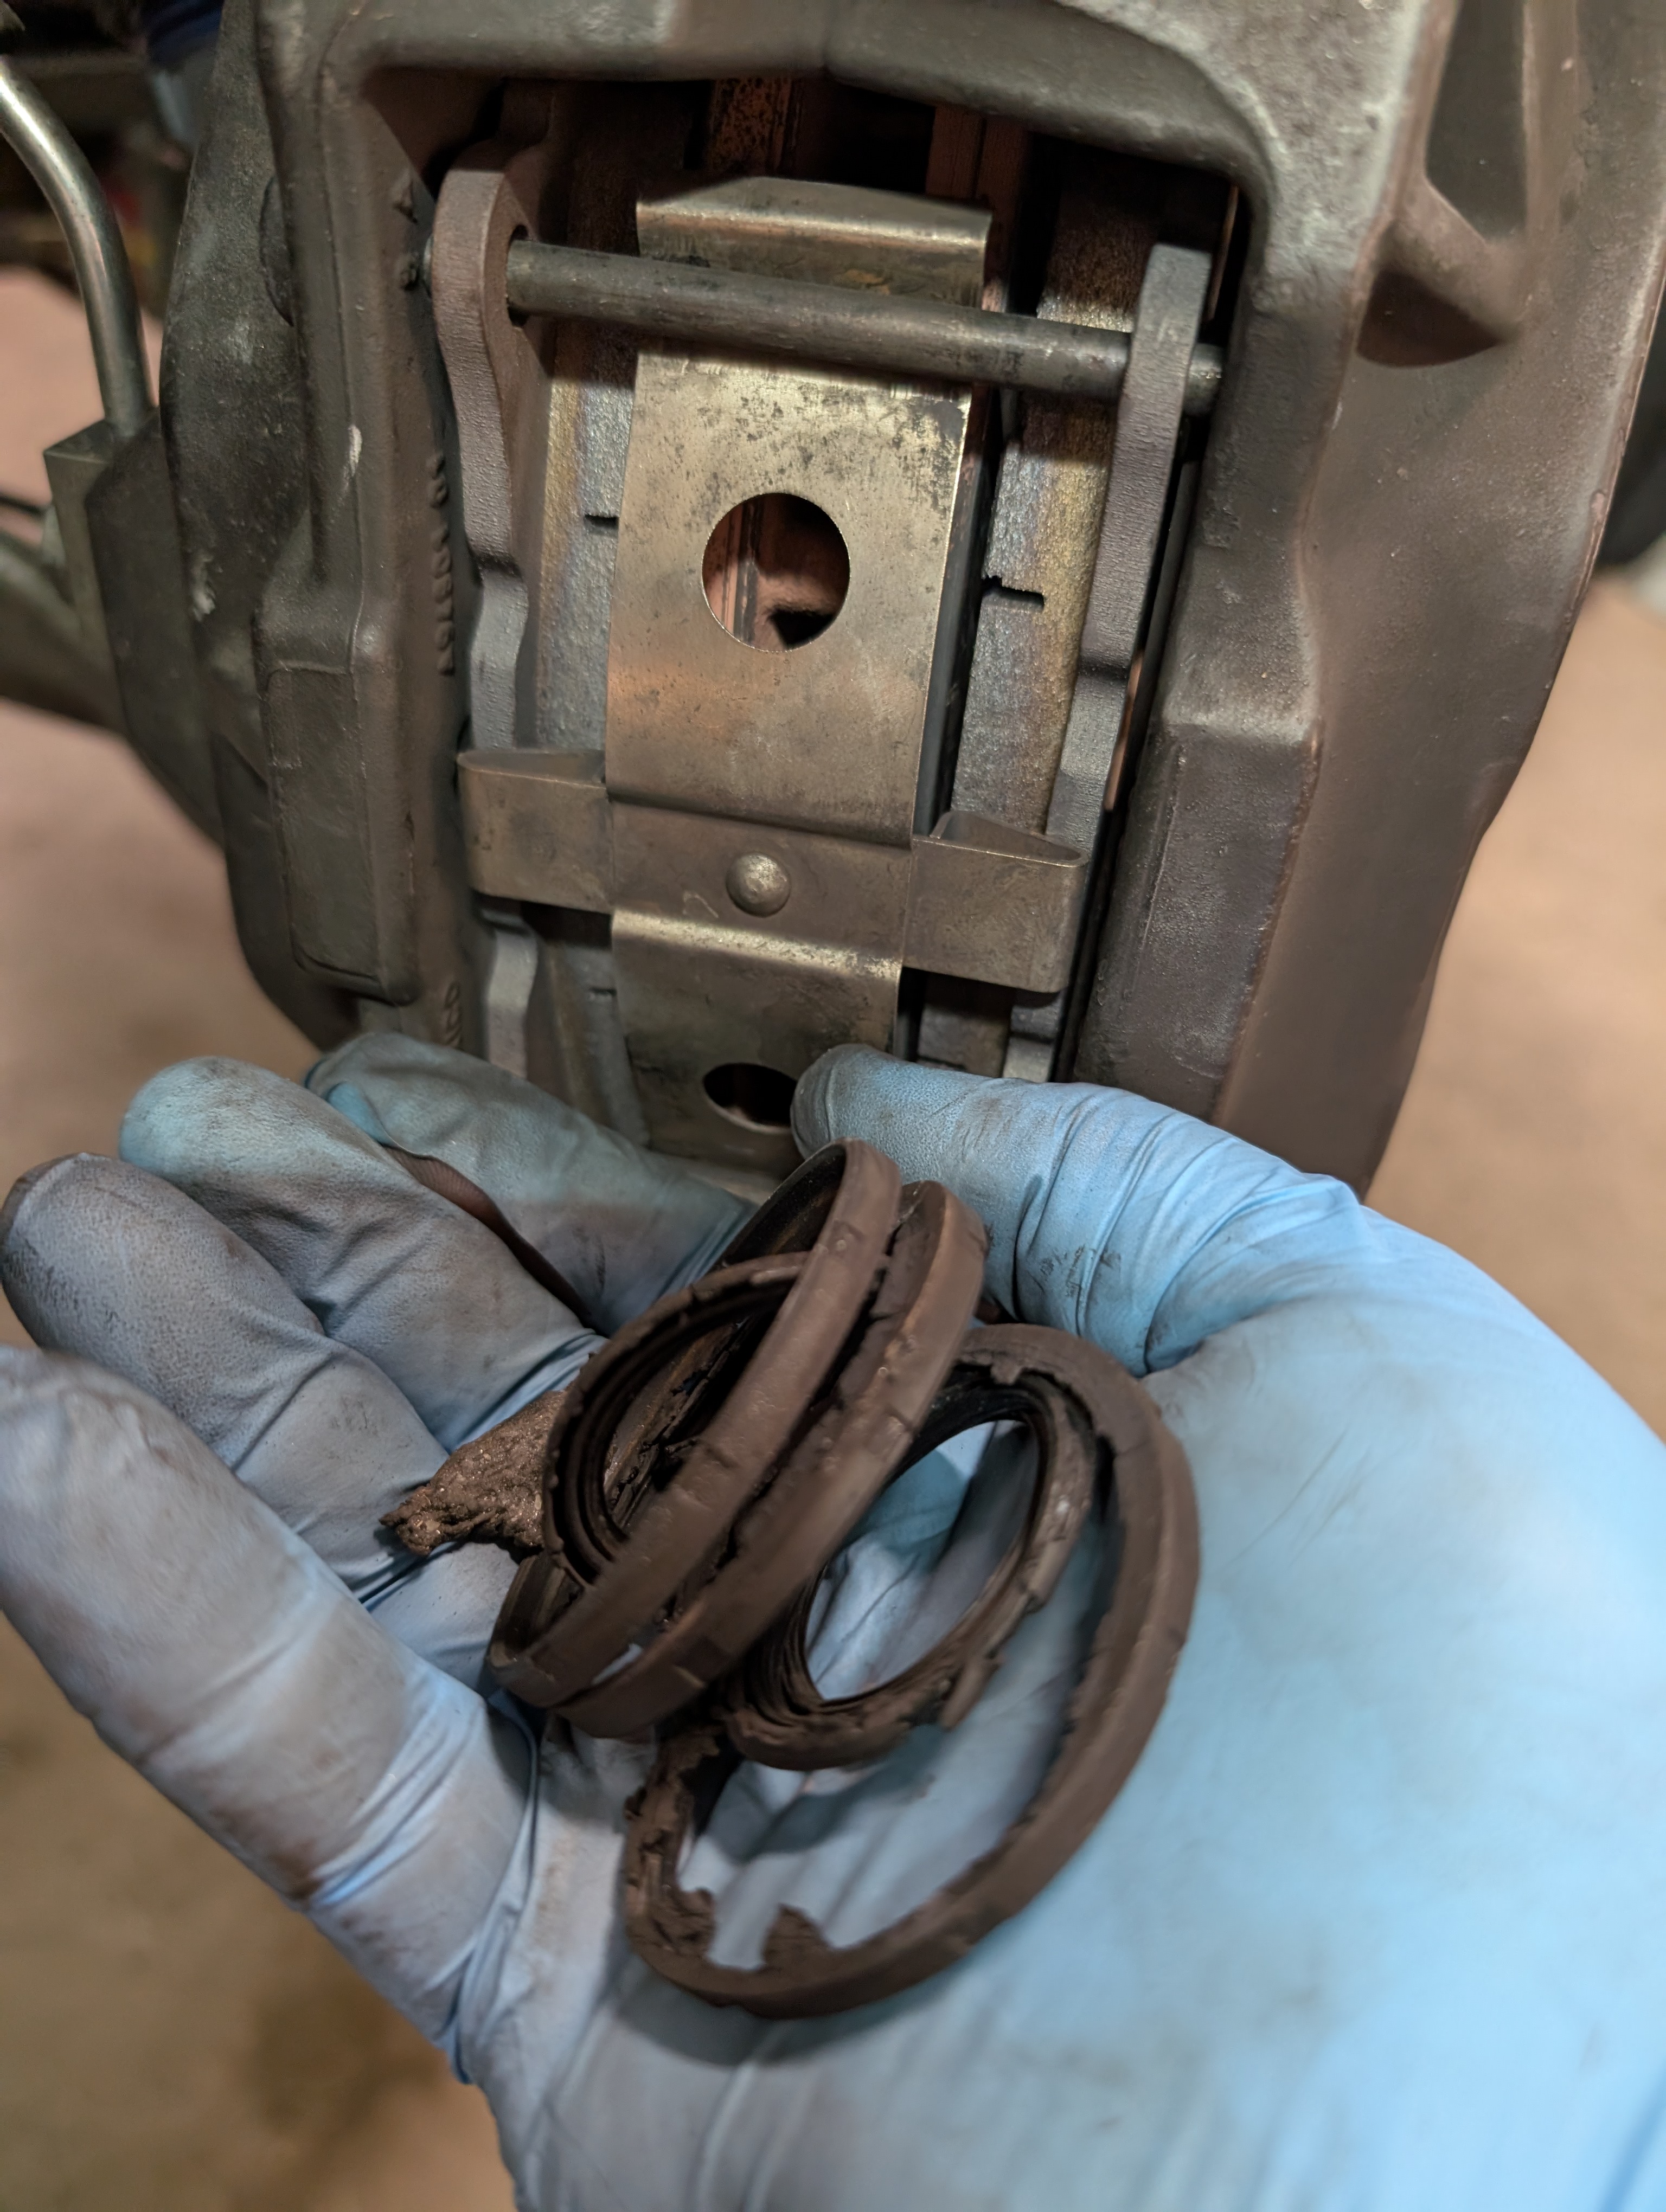
I did run into some problems with my brakes unfortuantely. I decided to try and swap to SR21 front pads to see about getting some additional braking bite. Well... on my initial brake bedding in test I immediately ran into an issue with one side getting stuck and overheating. What was the cause exactly? Was it the wheel weights coming off and jamming into the pad? Was it these ancient pretty much petrified caliper piston boots above that? Or was it that one pad on that side seemed slightly out of tolerance and did't want to move freely in the caliper?
I didn't have time to troubleshoot the exact issue so I threw the kitchen sink at it. Redo and tape down the wheel weights, pull the caliper piston brake boots, and grind down the problematic pad so it wouldn't bind. That all did fix my problem, but now I had a slight issuew here the rotor was now ever so slightly warped. Oh well, it is what it is.
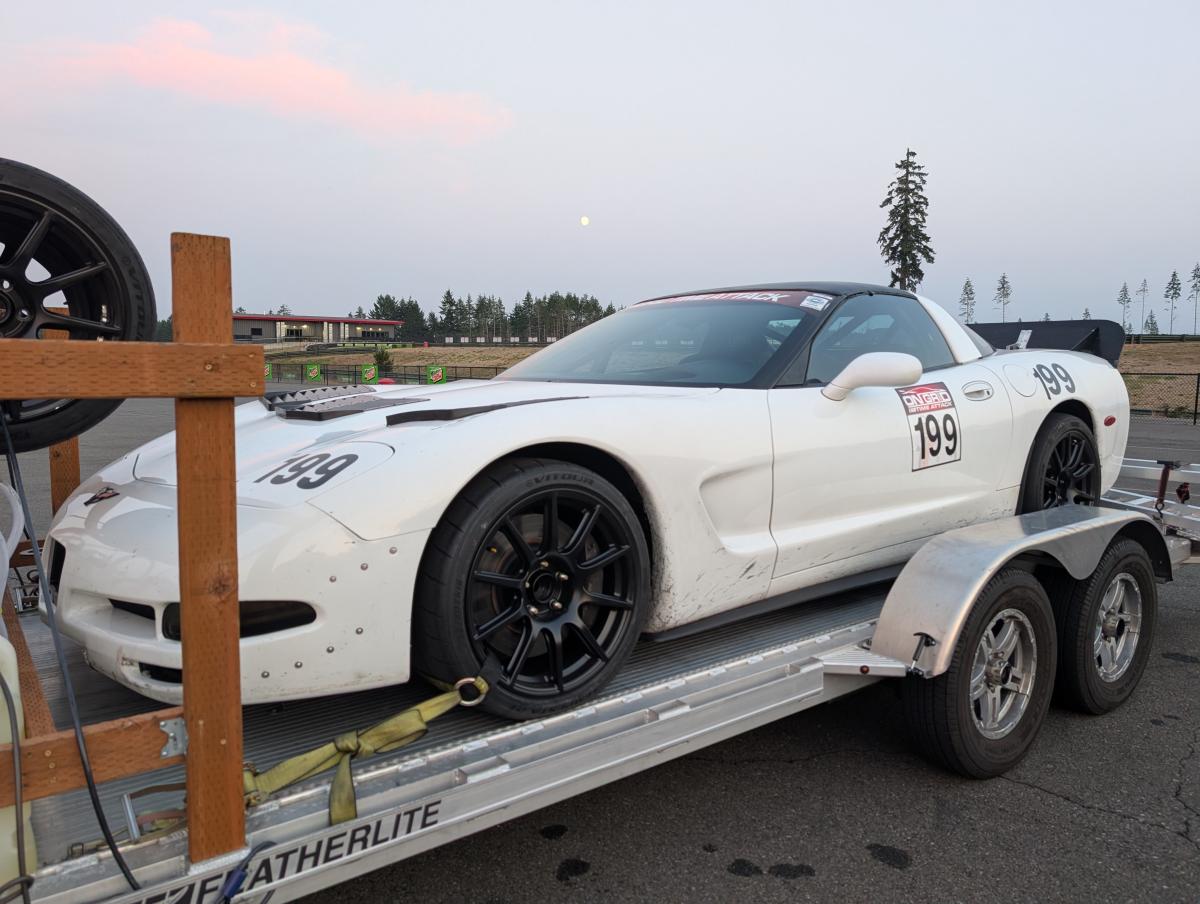
I loaded the Corvette up onto the trailer, and headed North for the event at the Ridge!
At the Event
Arriving at the event itself was a lot different from last time. This particular event was a GRAVEYARD by comparison! Sure, the event itself picked up massively, but very few people were camping out for the night. That did mean though that I had a lot of space to myself though!
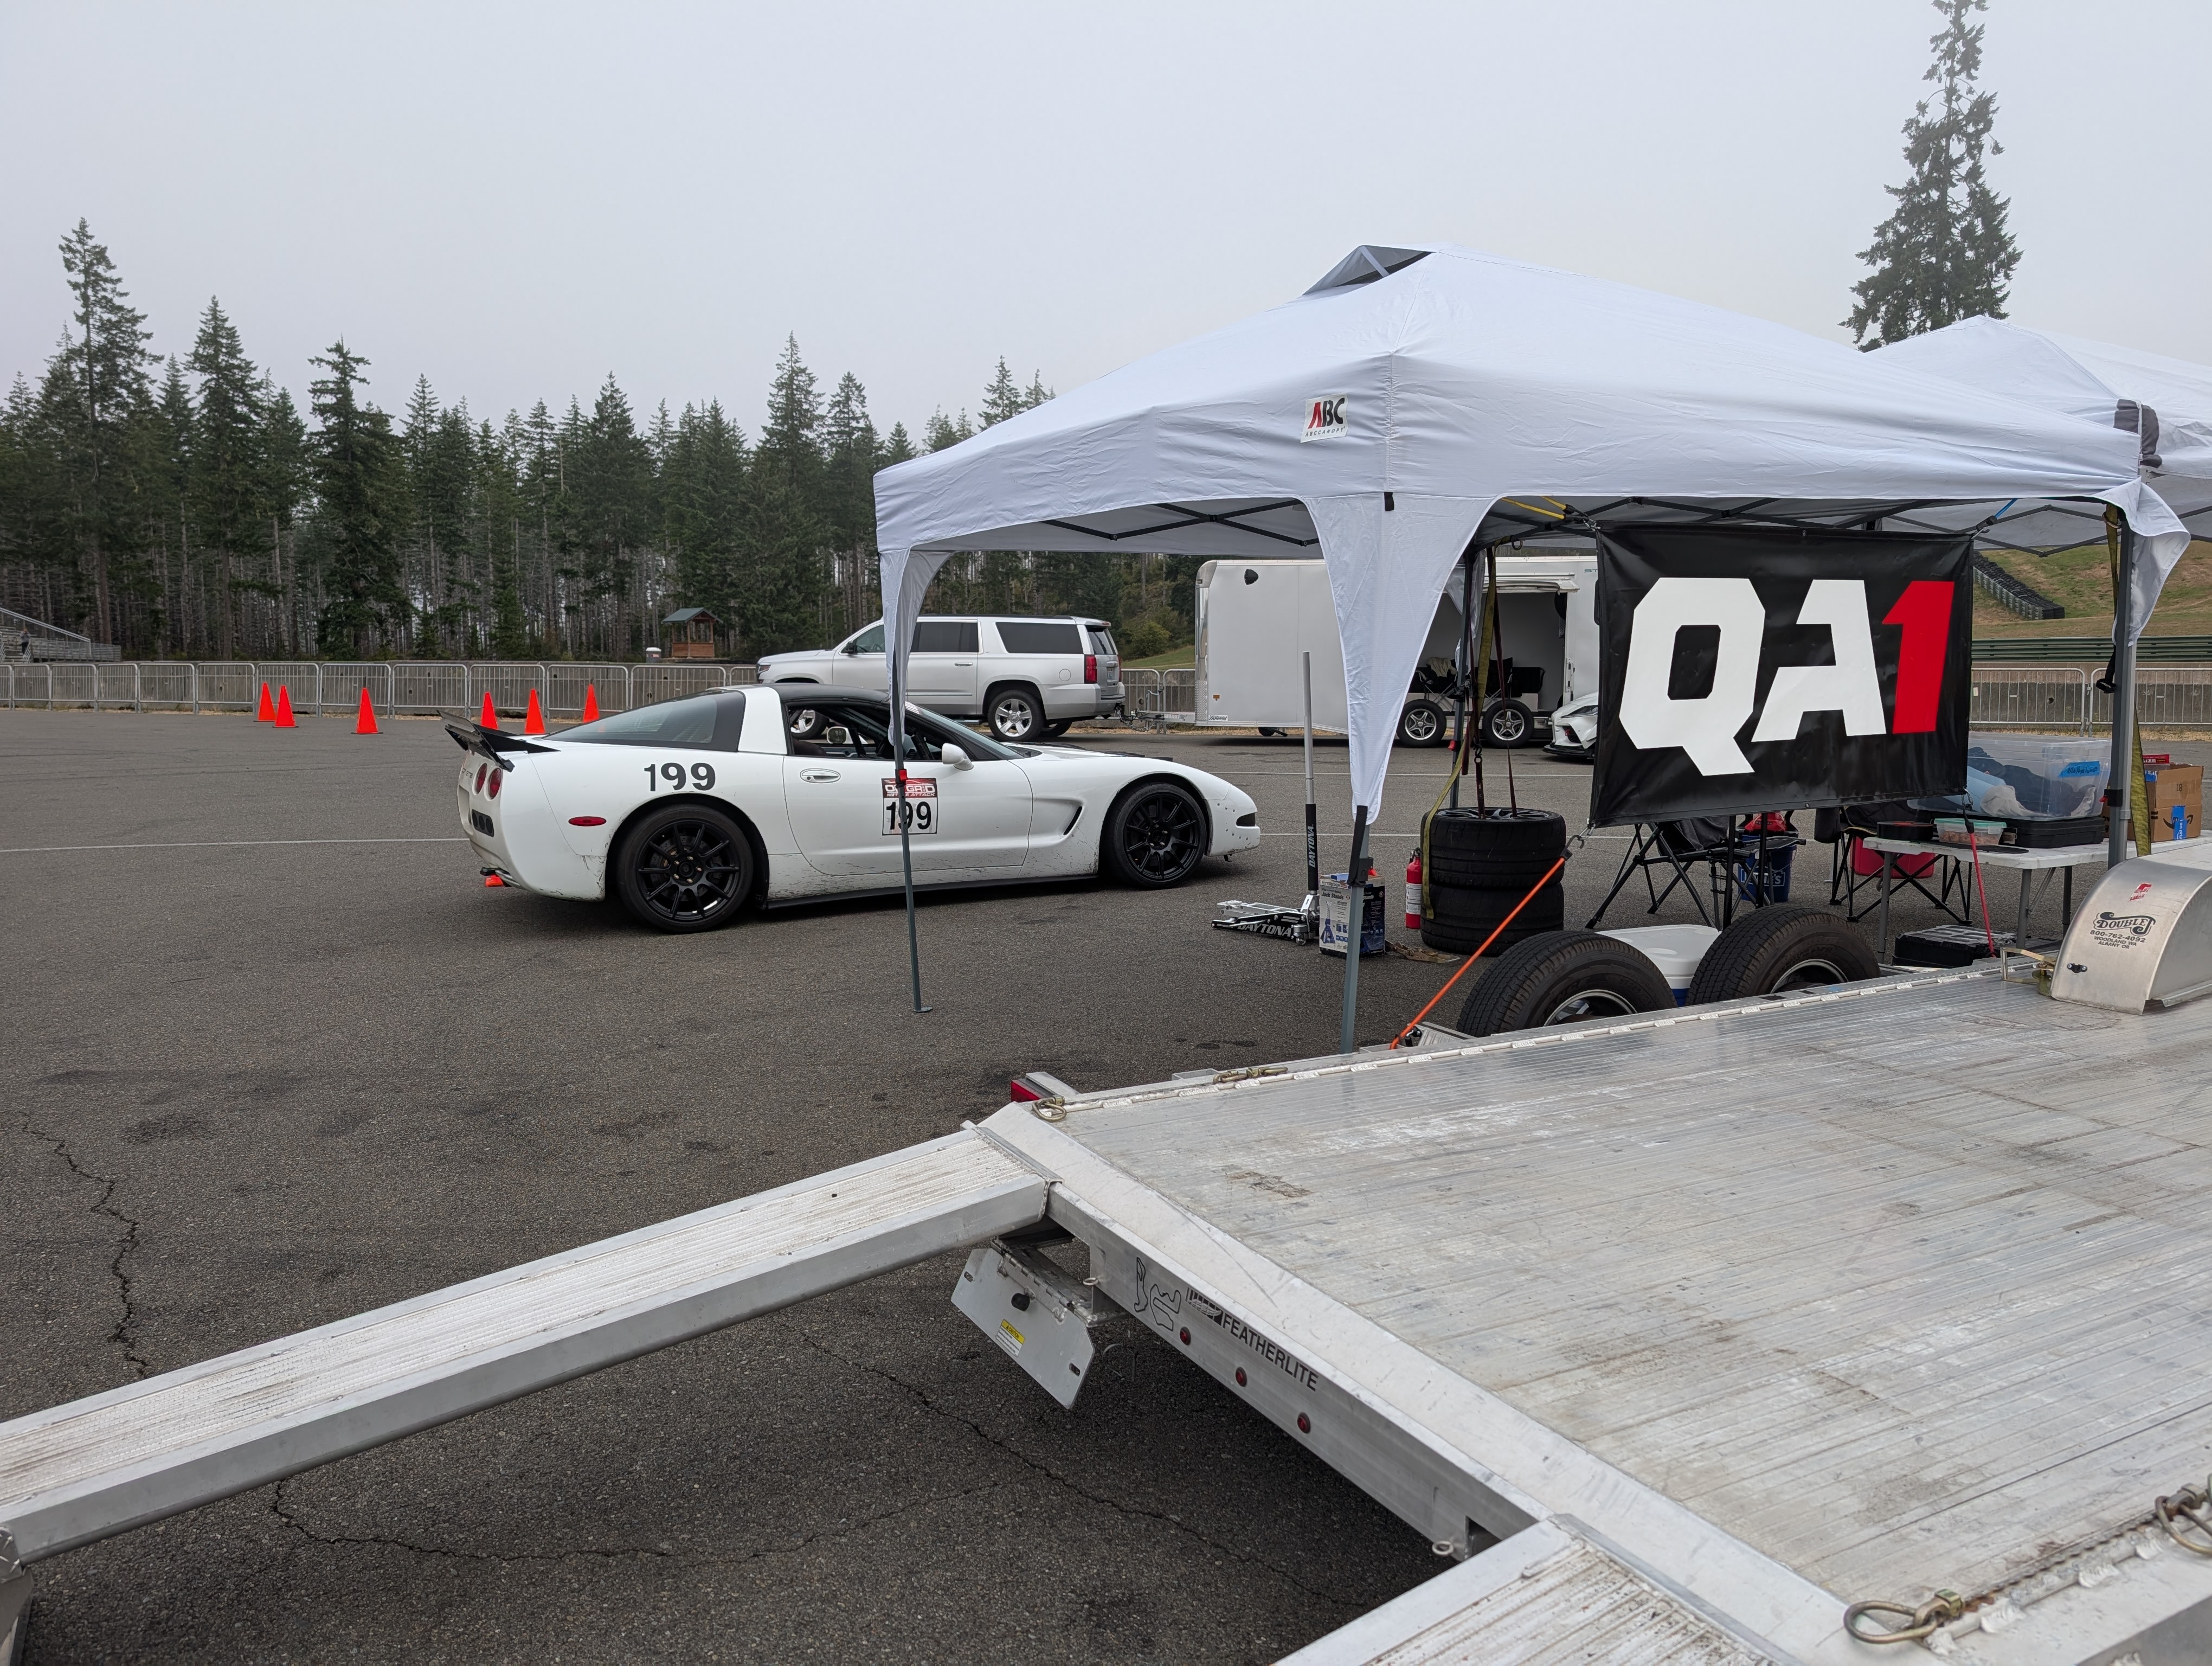
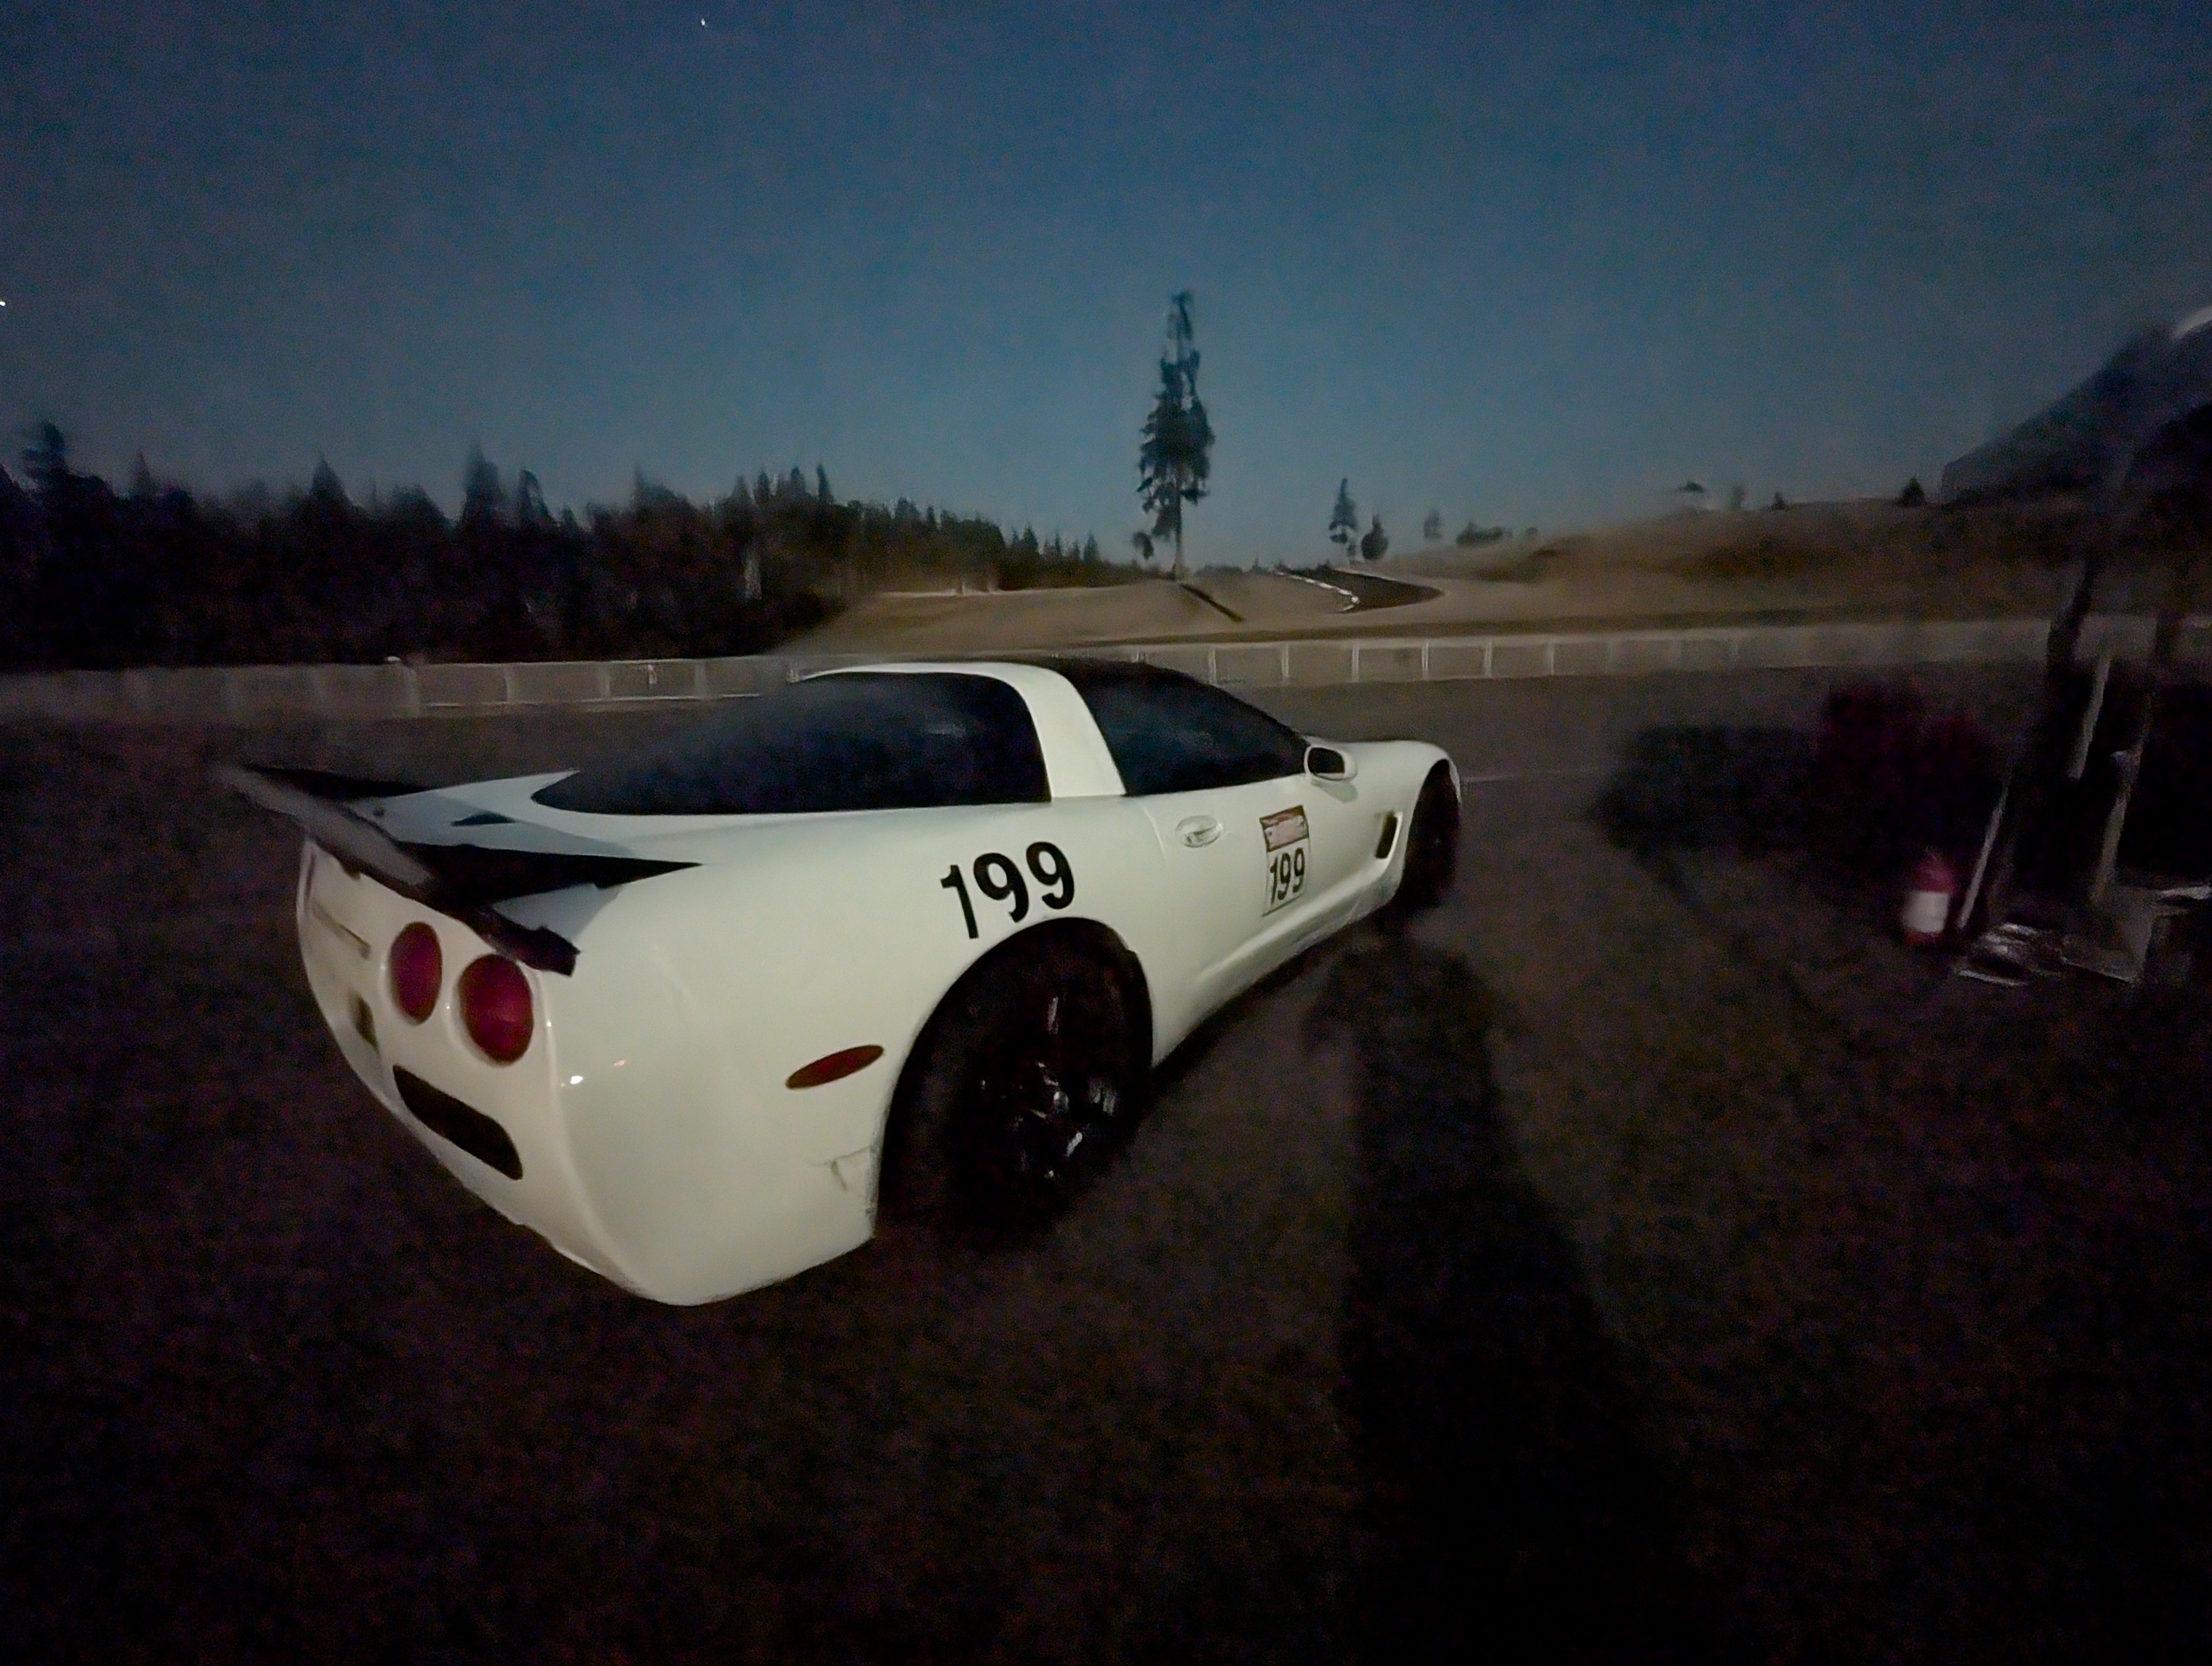
I was able to secure one of my favorite spots in the pits, right down at the end of the track. It's nice and quiet at night generally speaking, and I can just setup, leave everything out, and pull right through my spot instead of having to back in or anything. I also put up a QA1 banner, as I am working on trying to collaborate with them now!
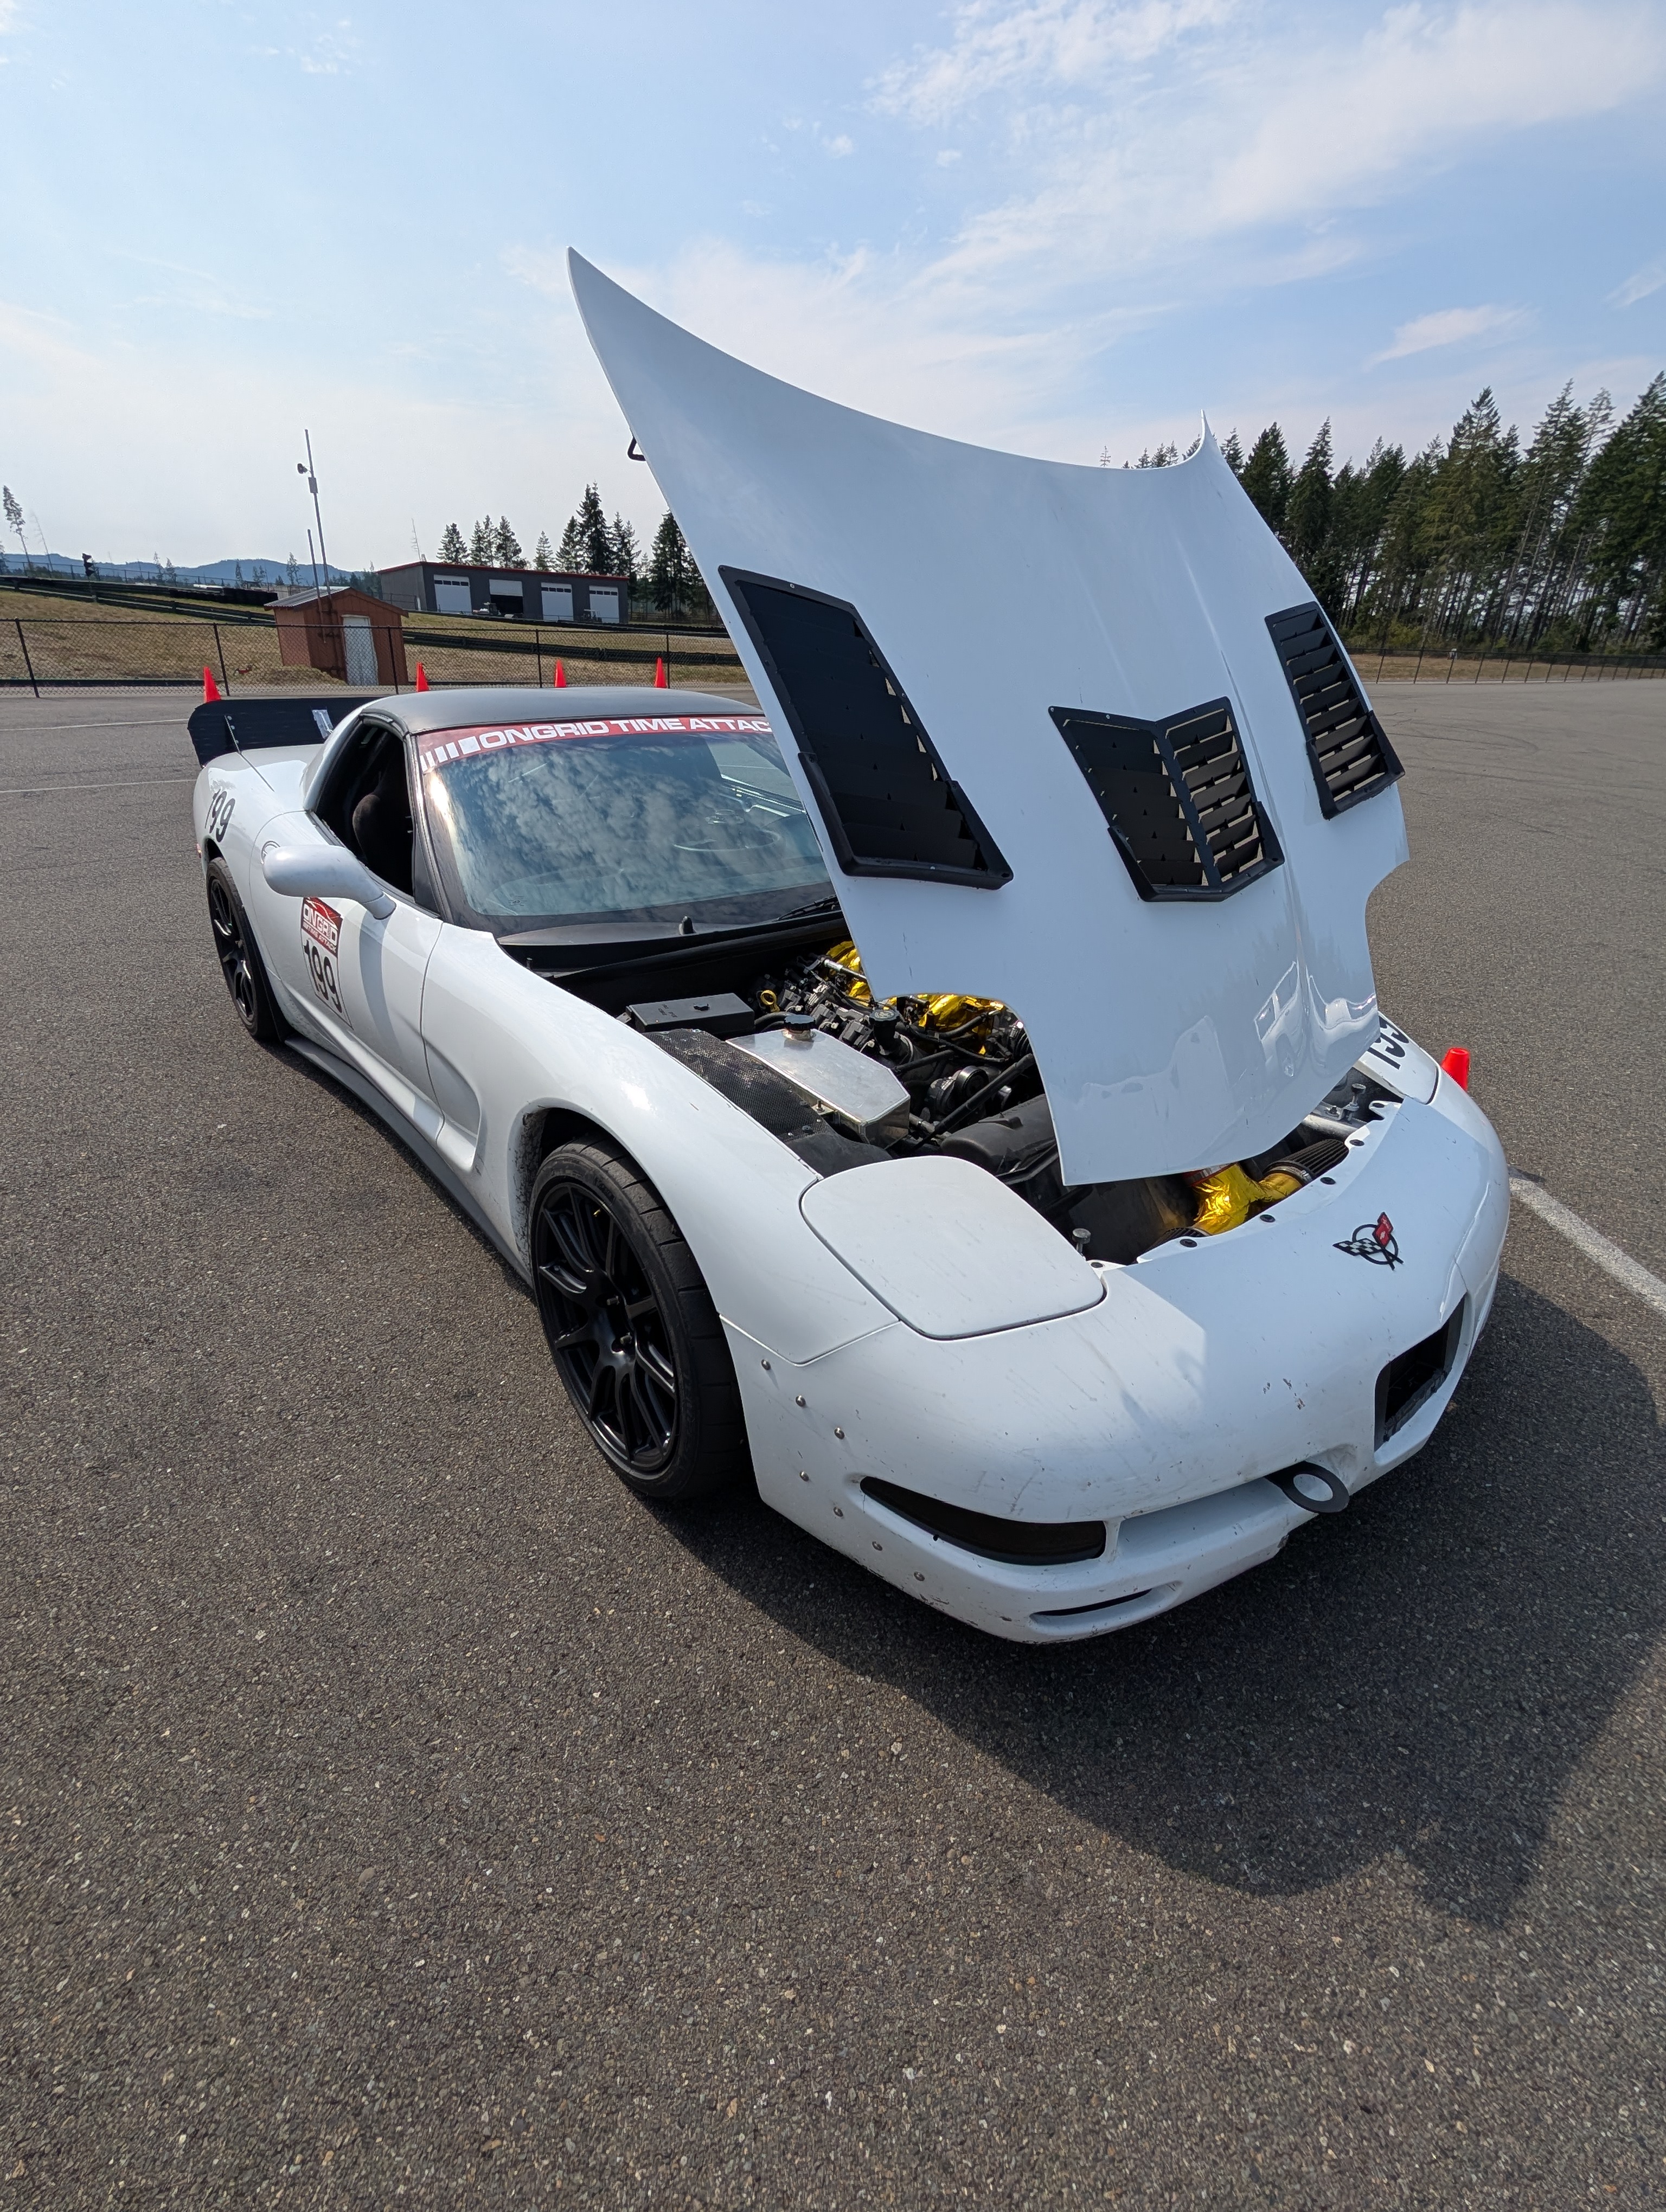
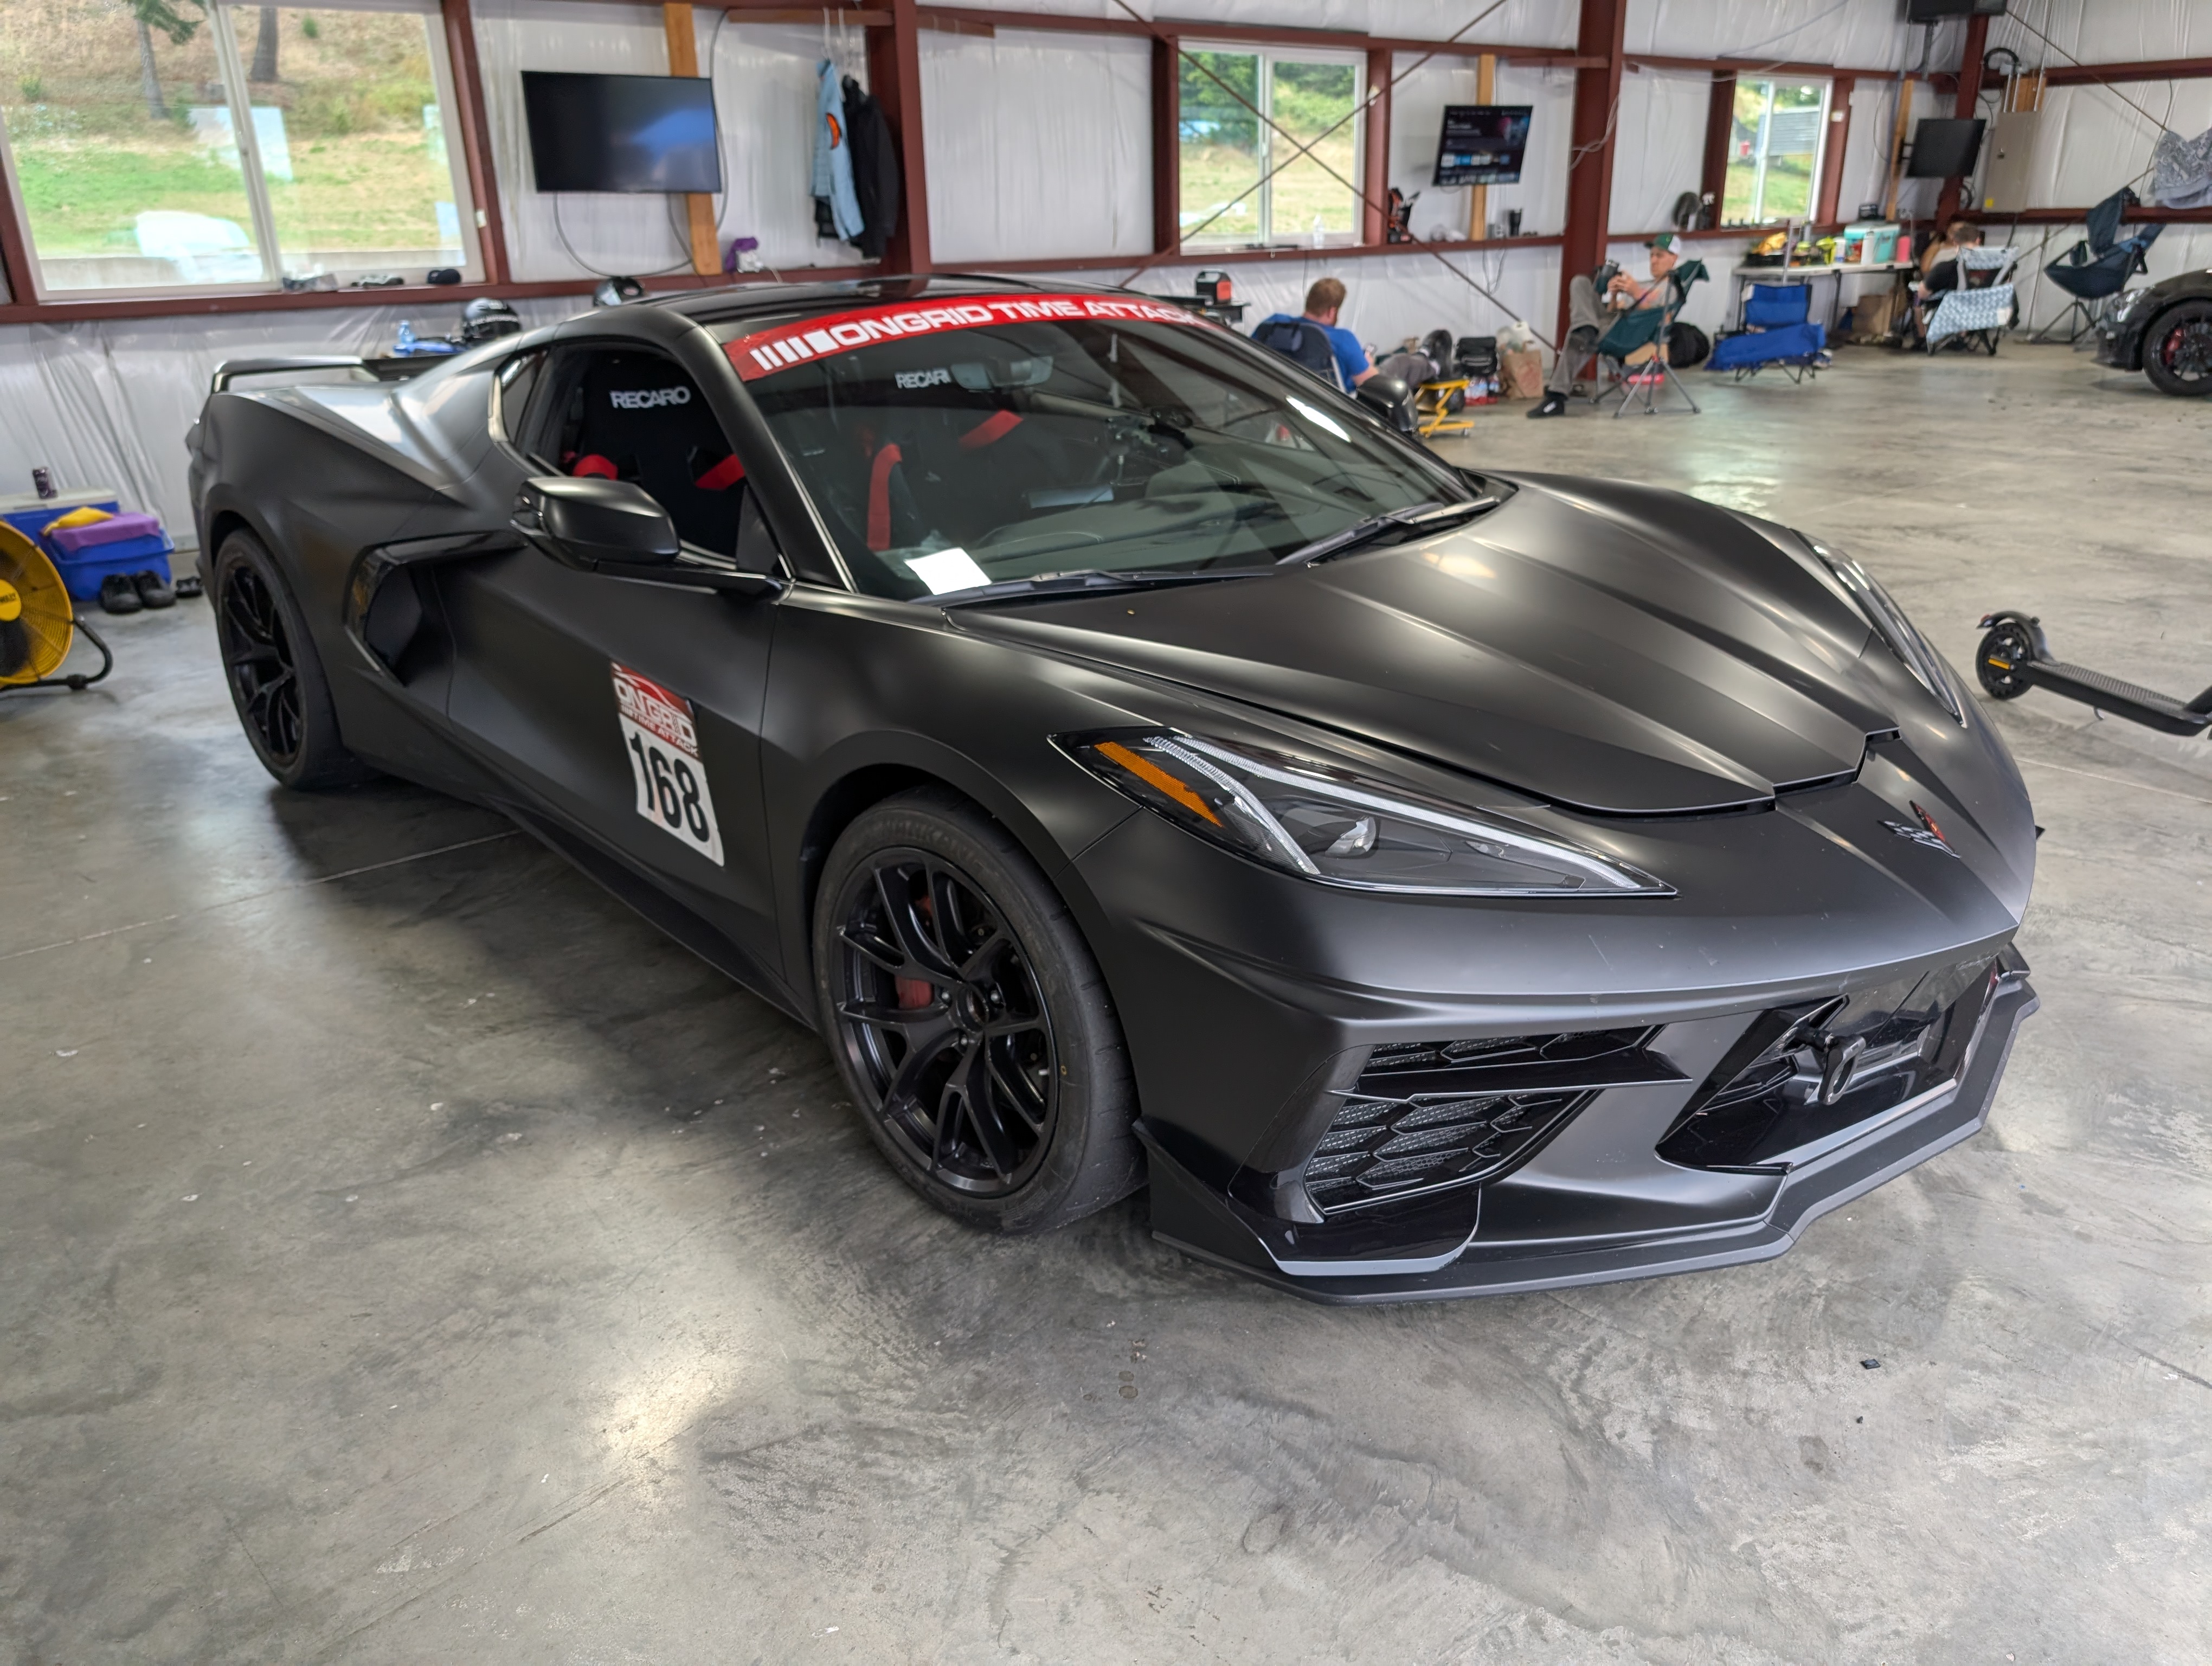
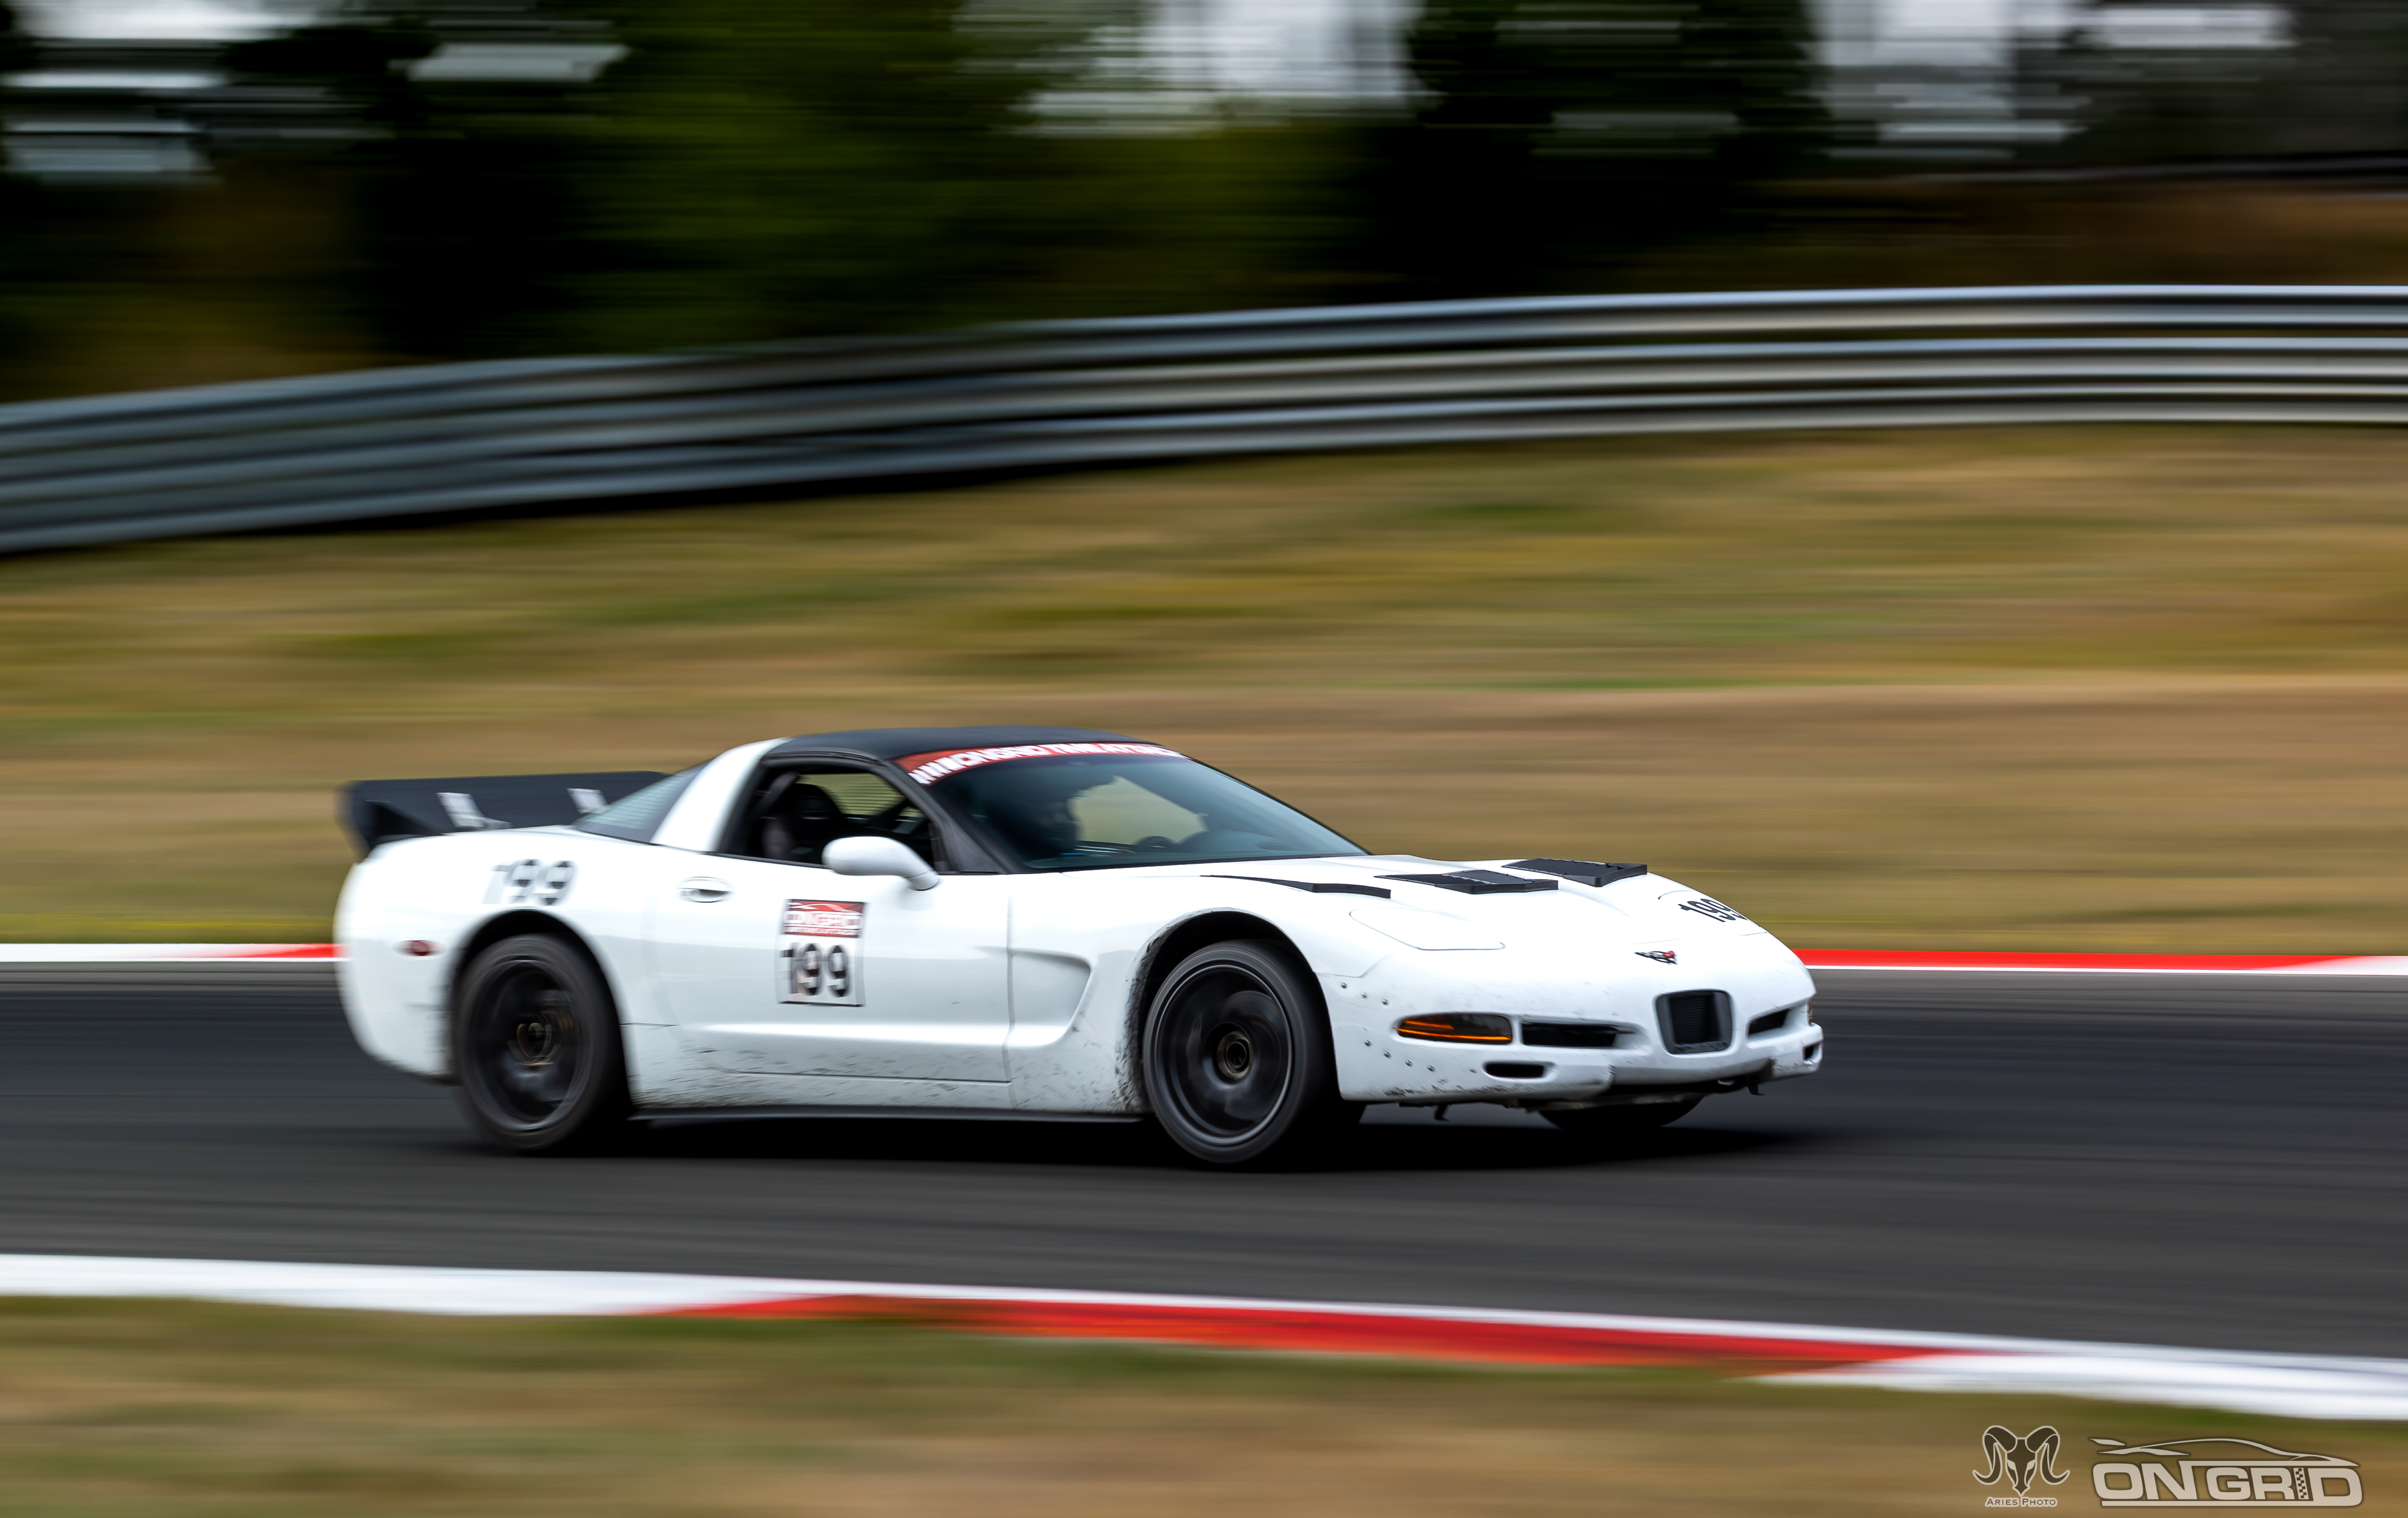
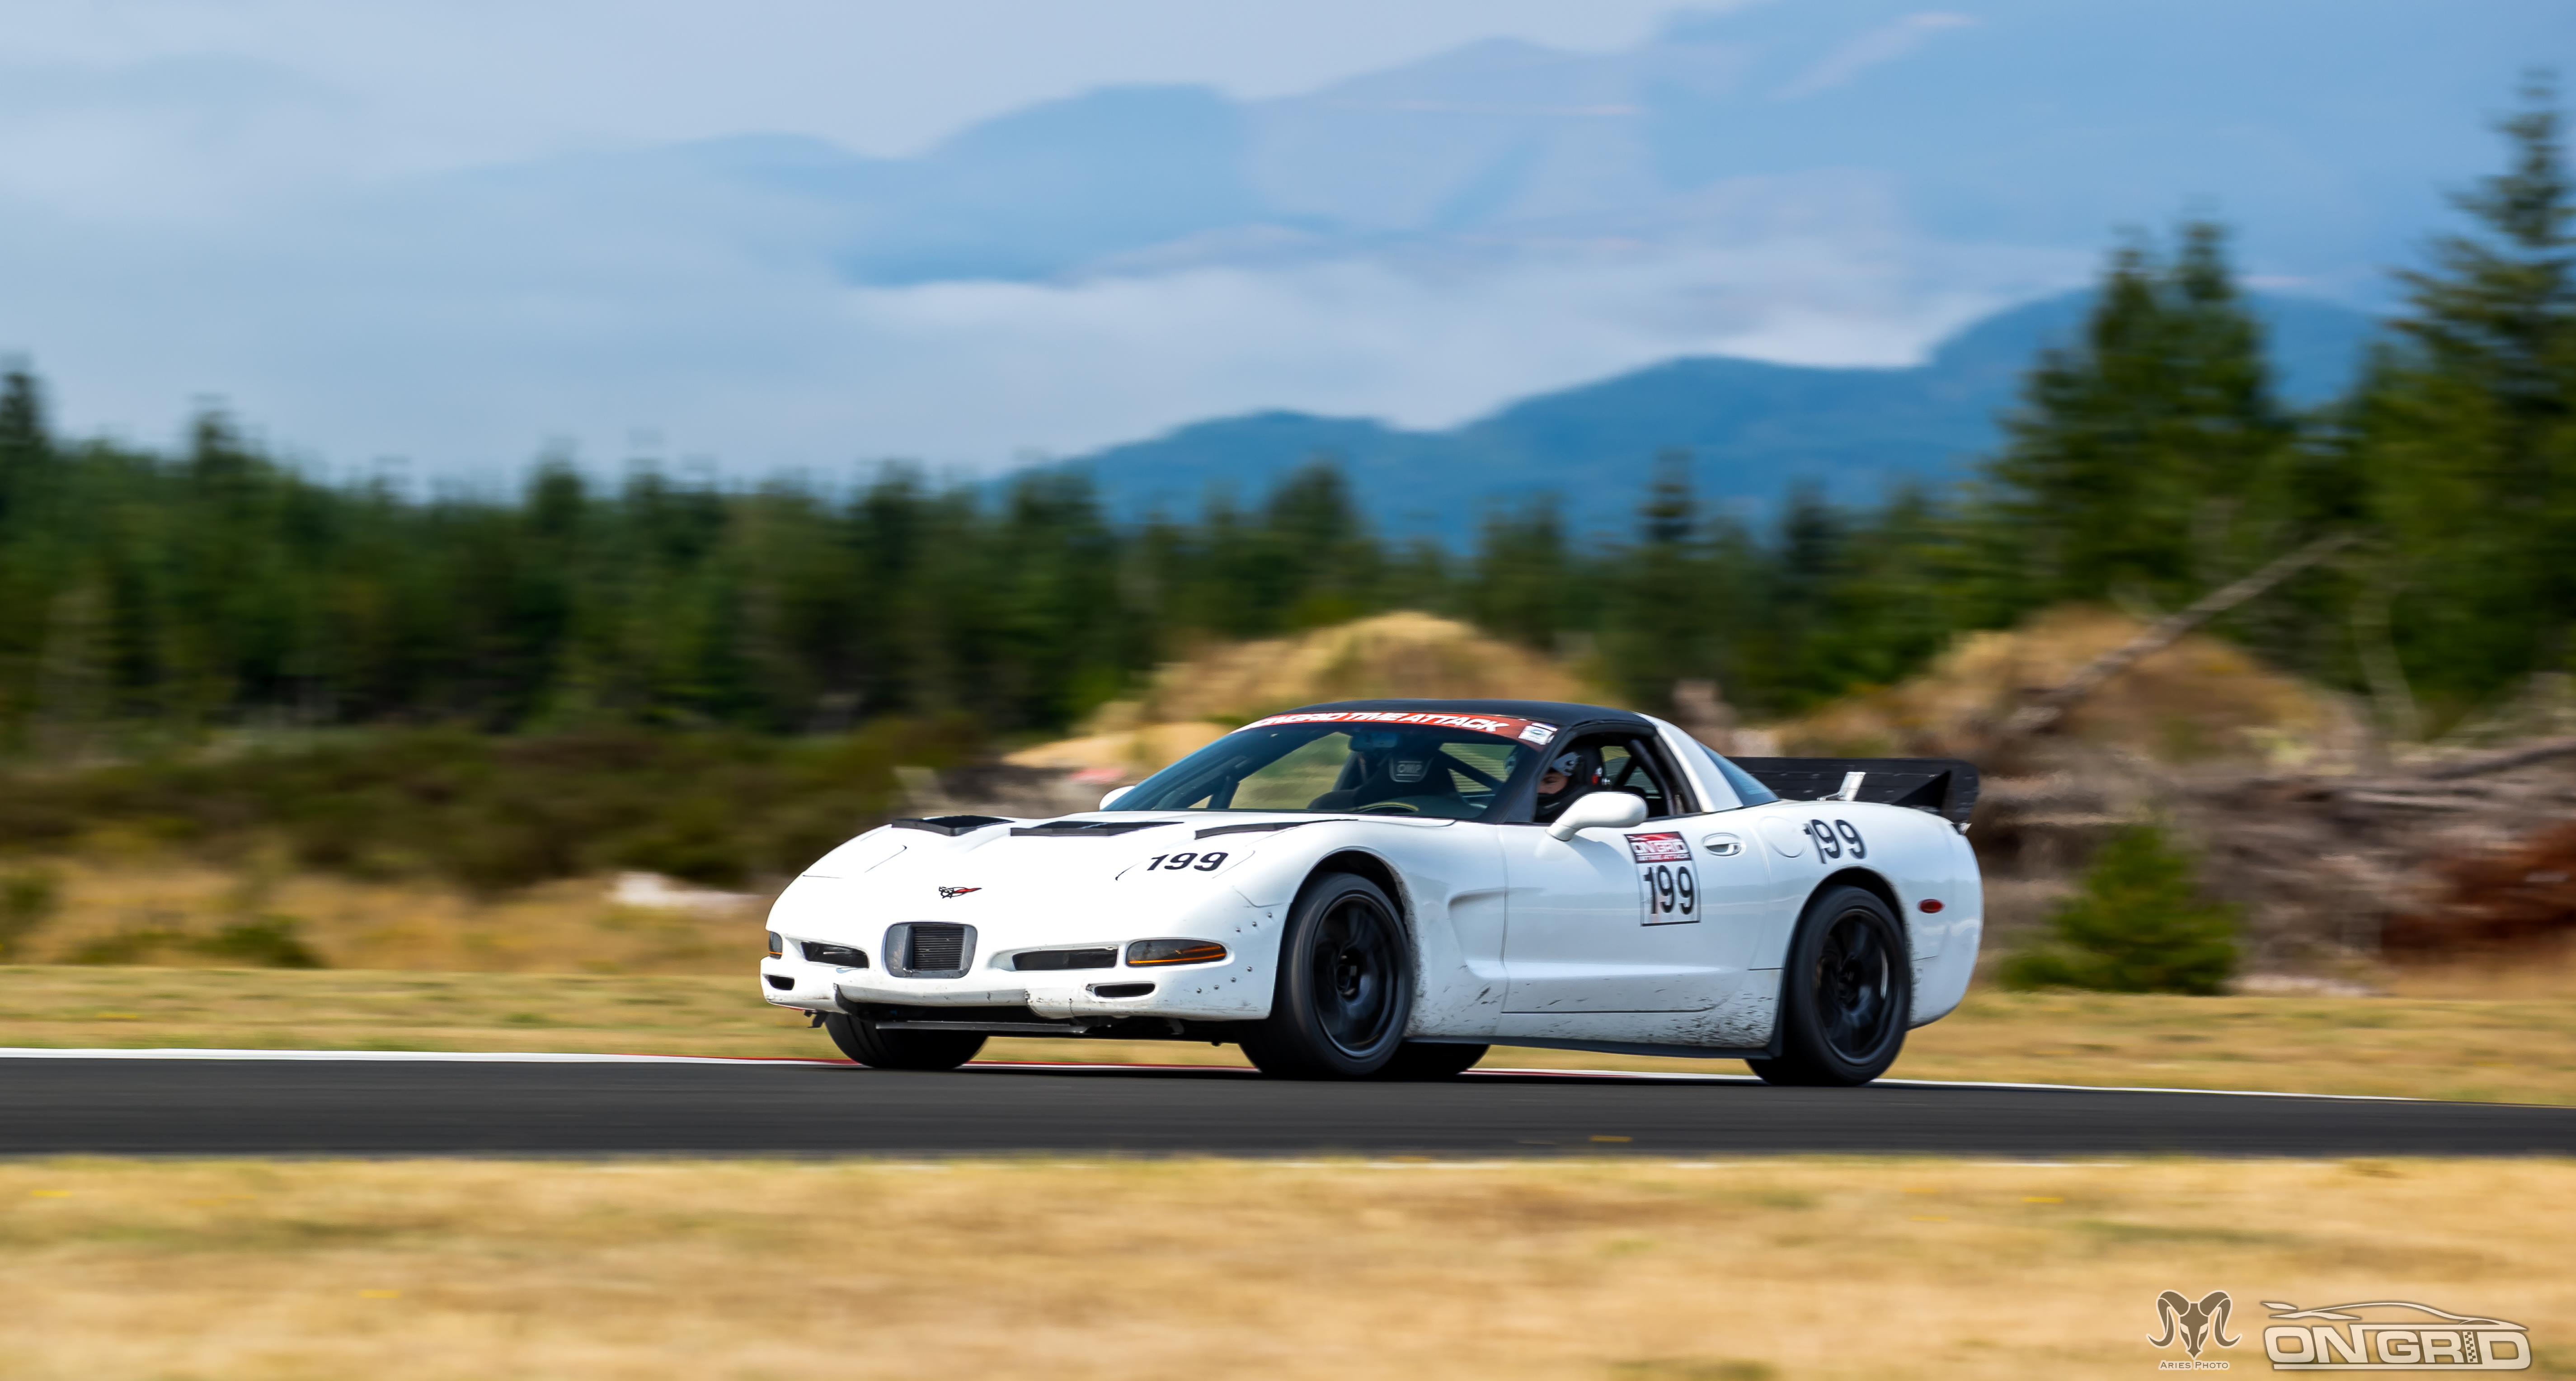
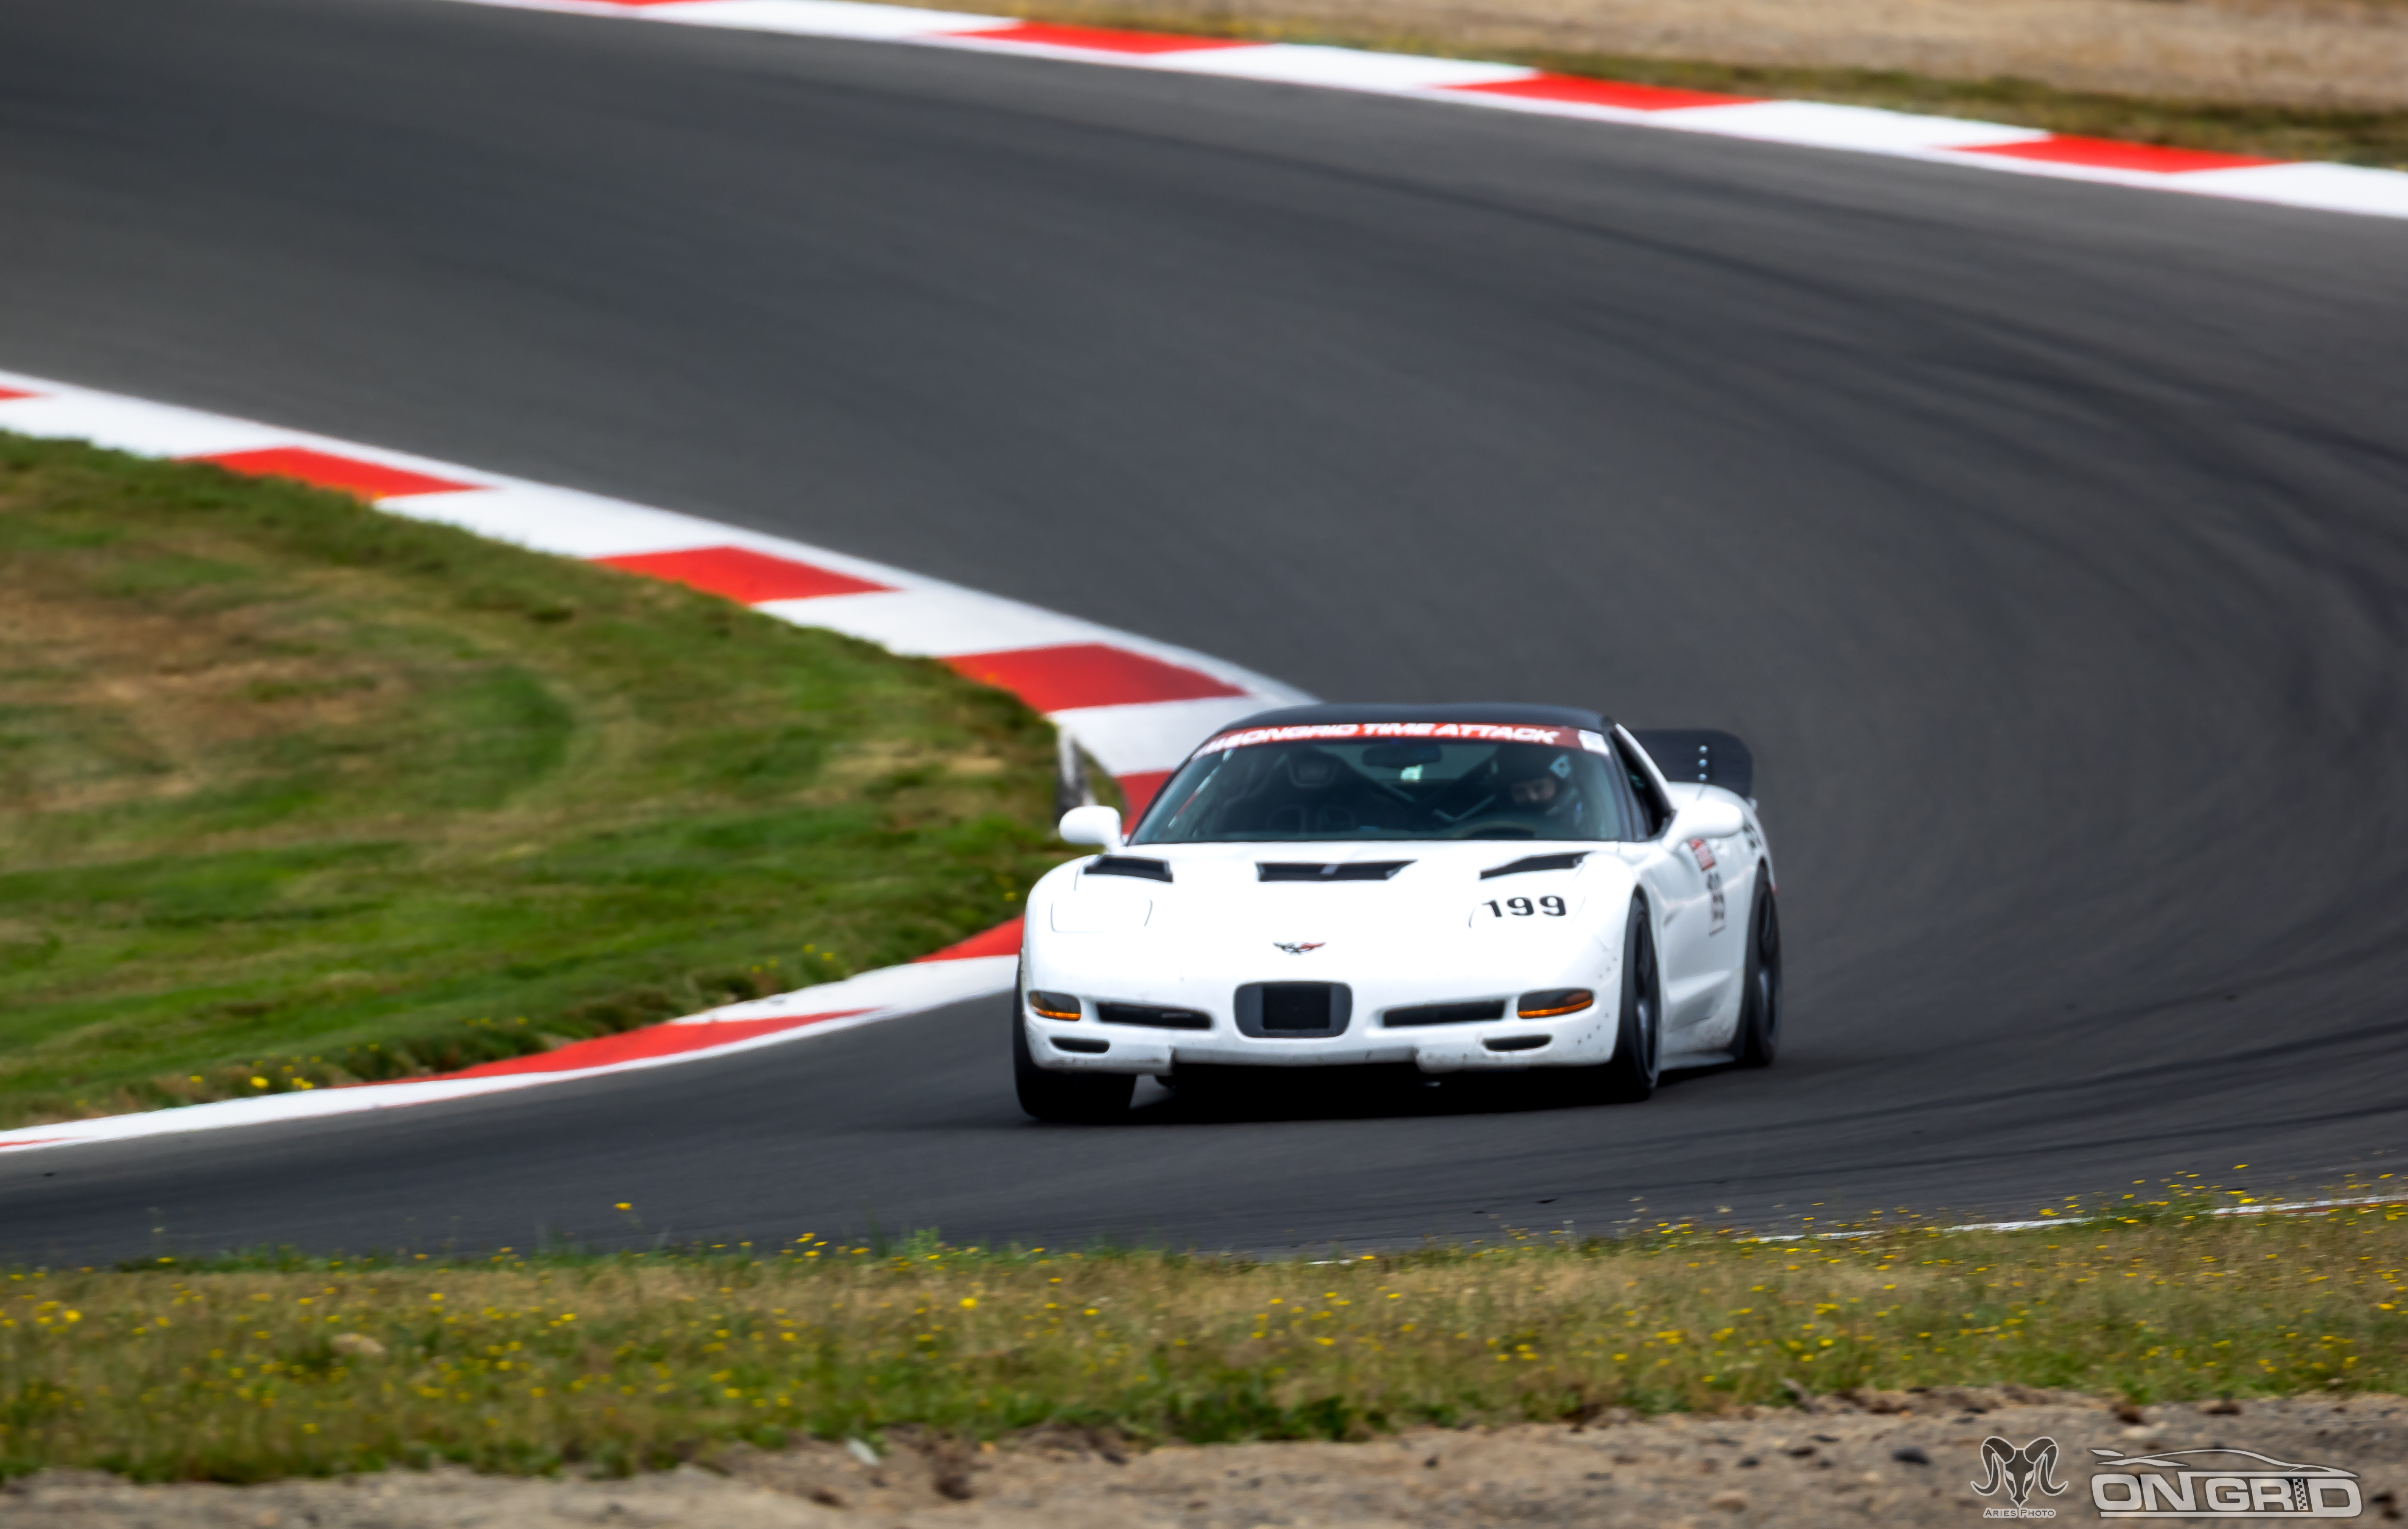
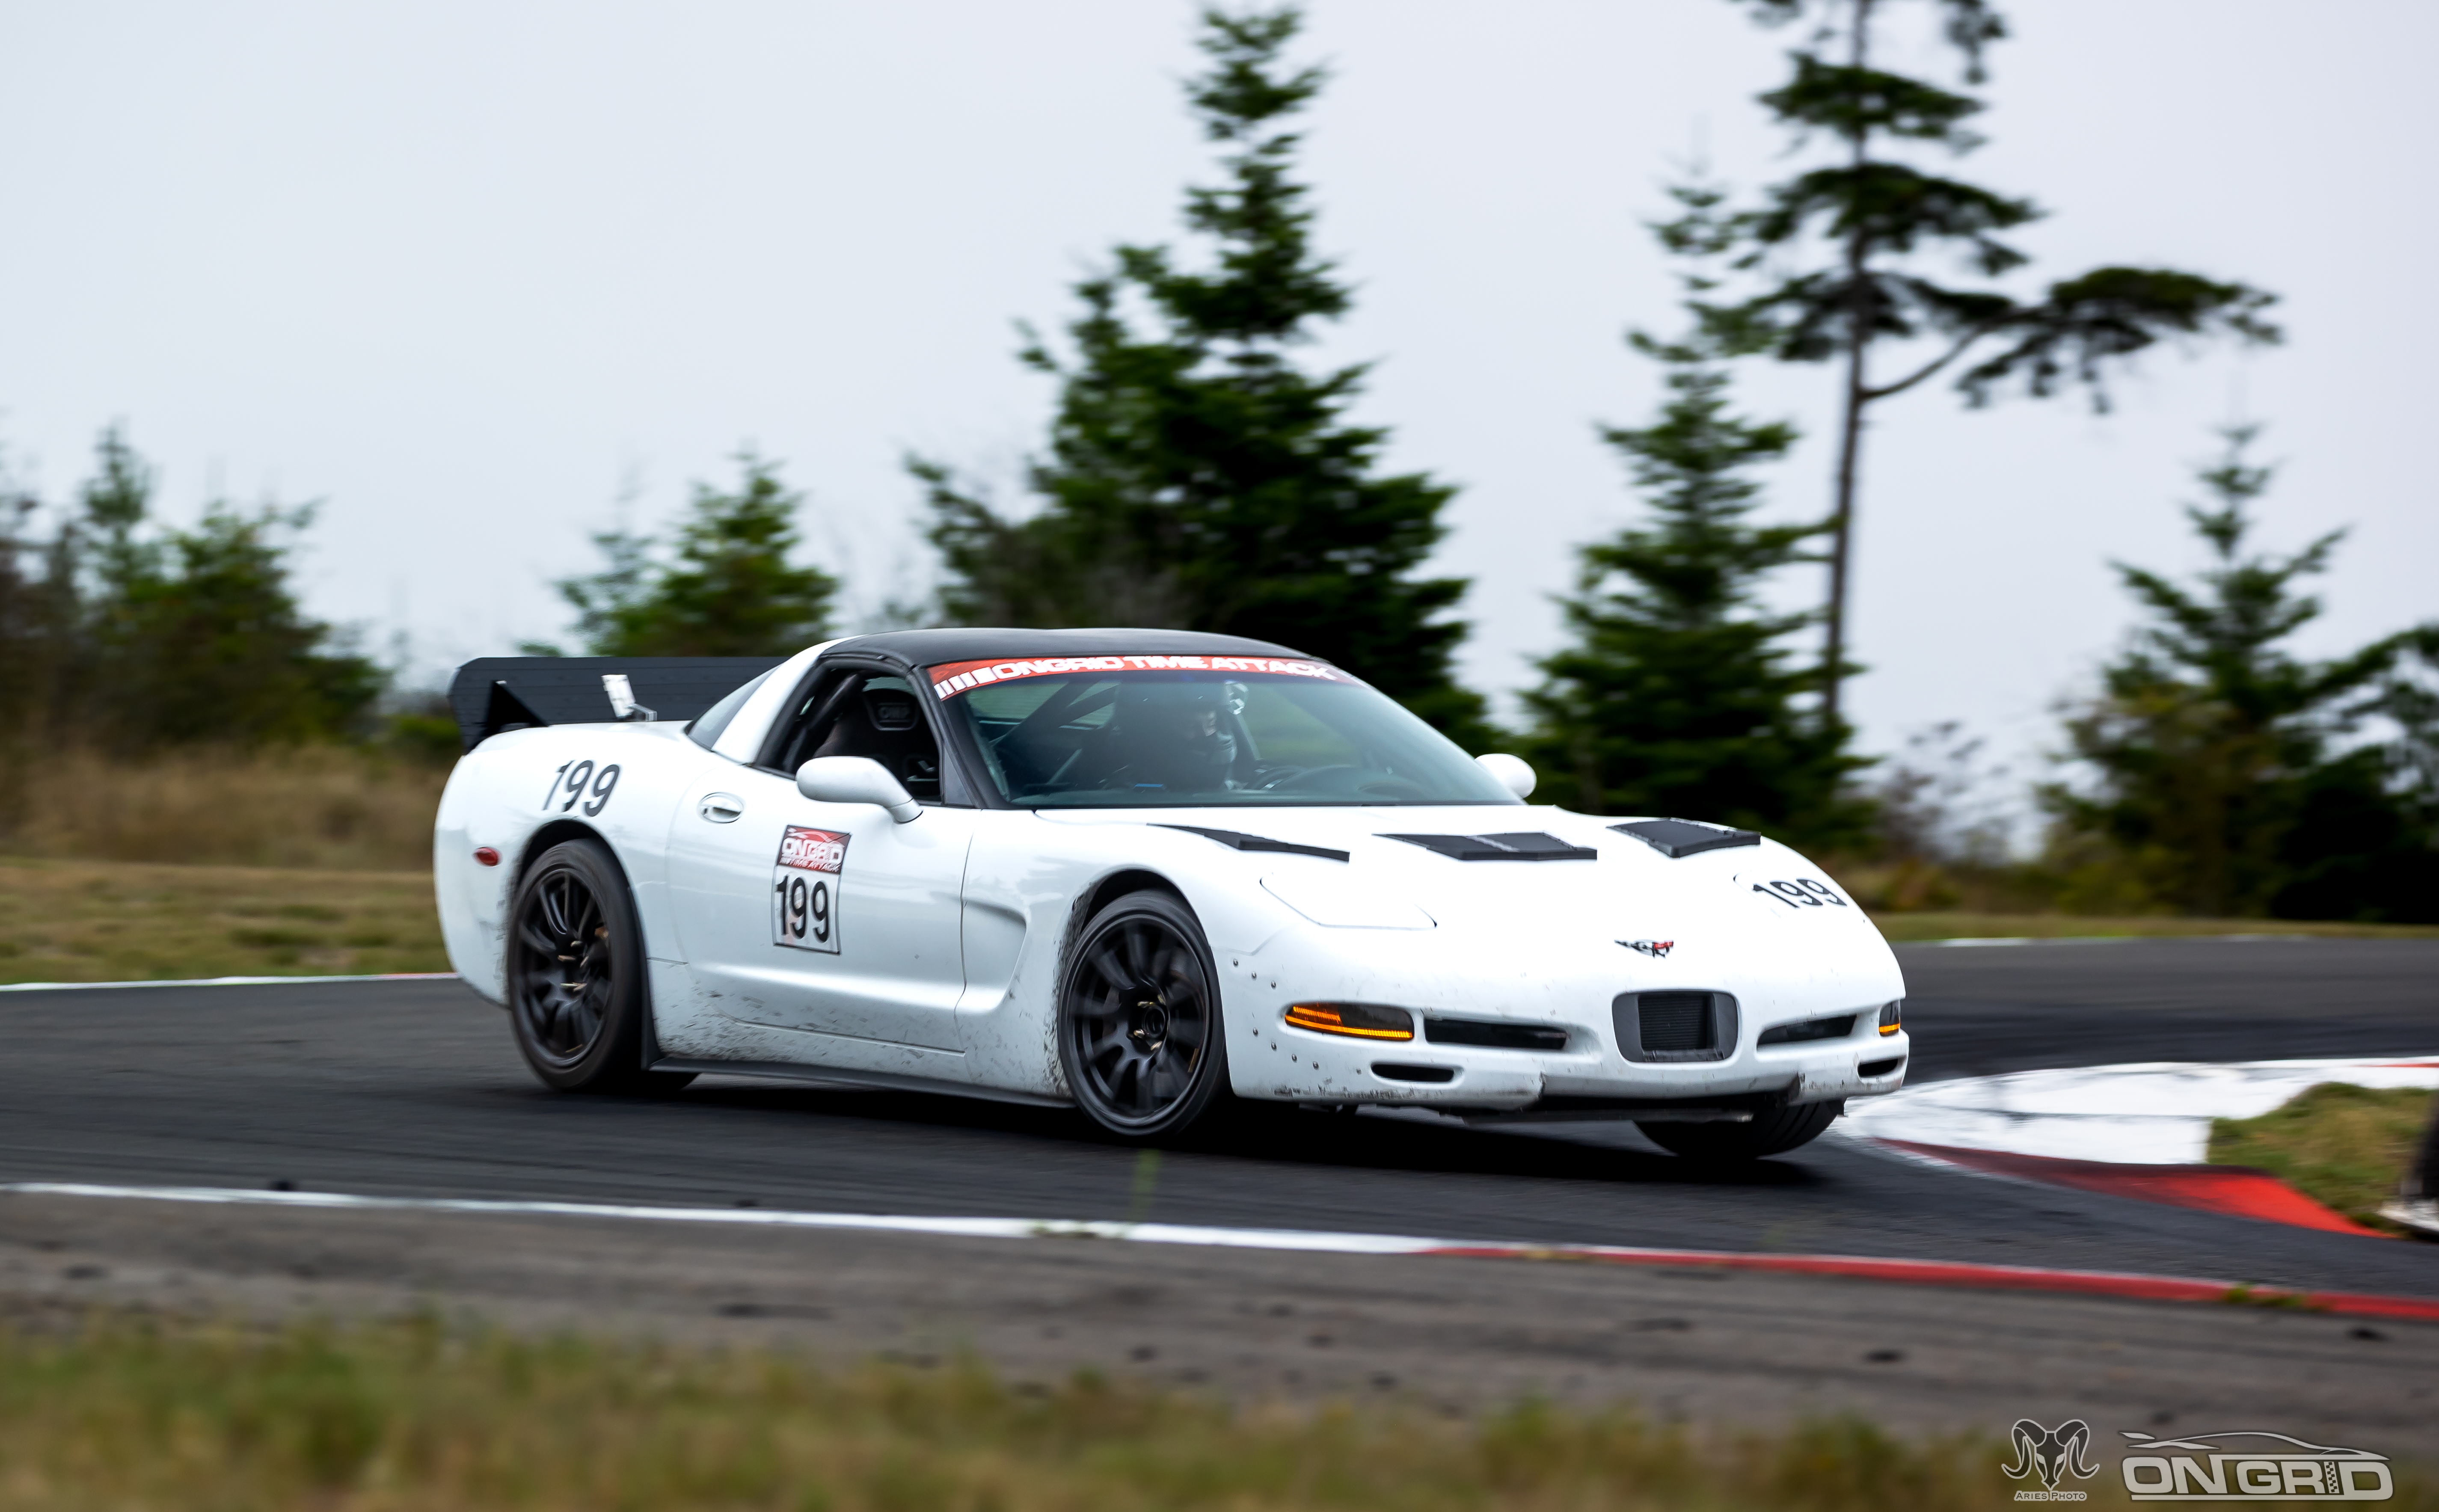
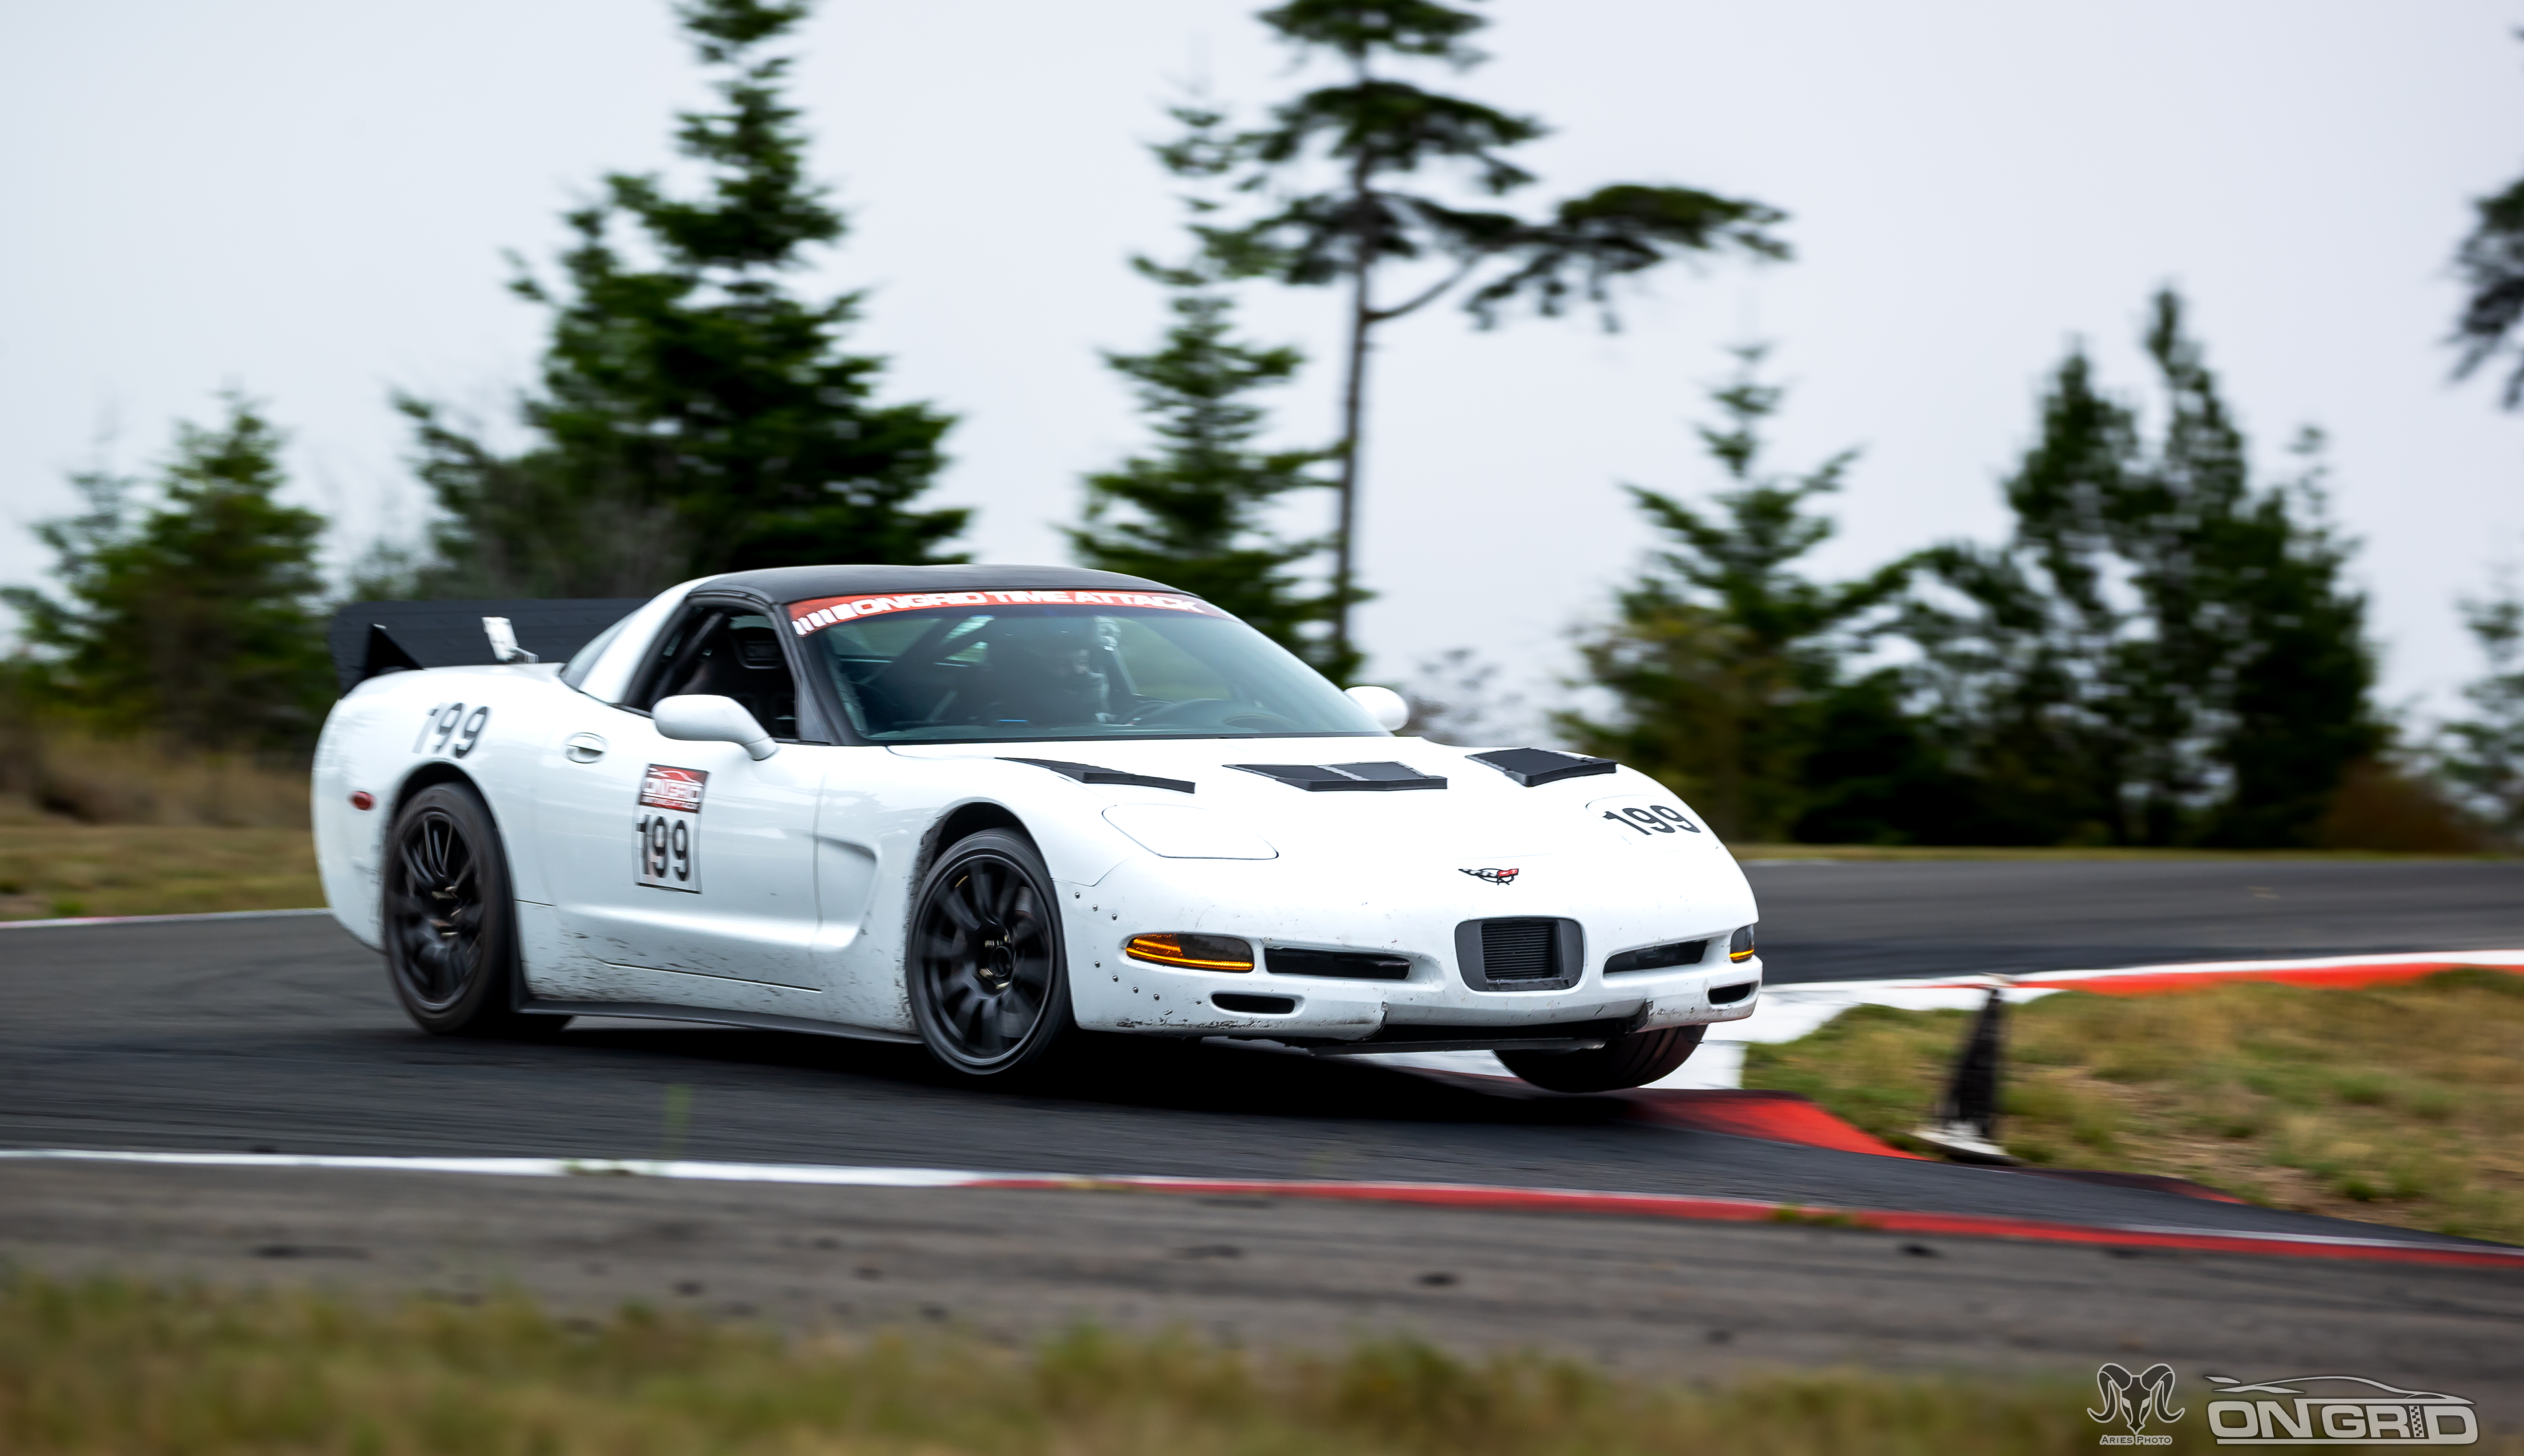
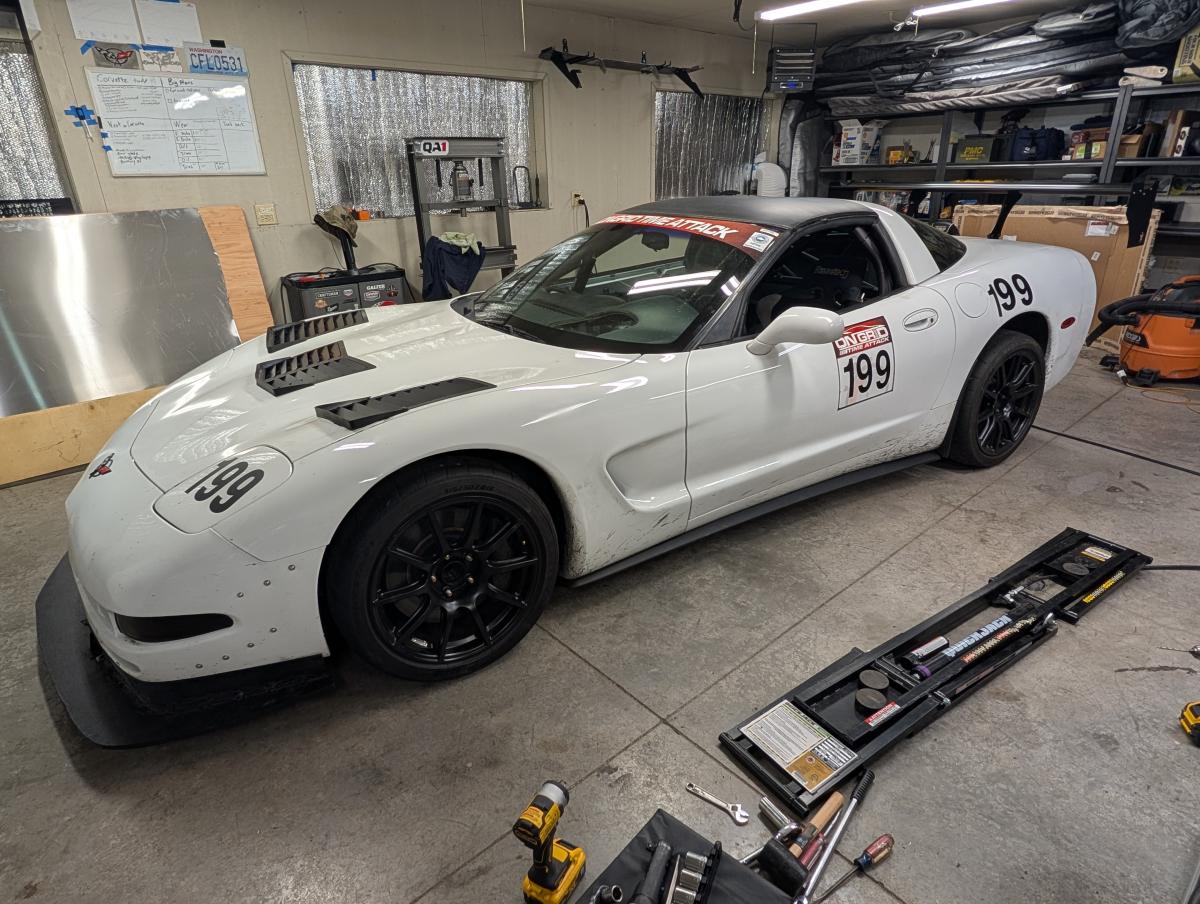
Here's the Corvette parked between sessions in it's fill OnGrid GT class glory. Pretty good looking car...
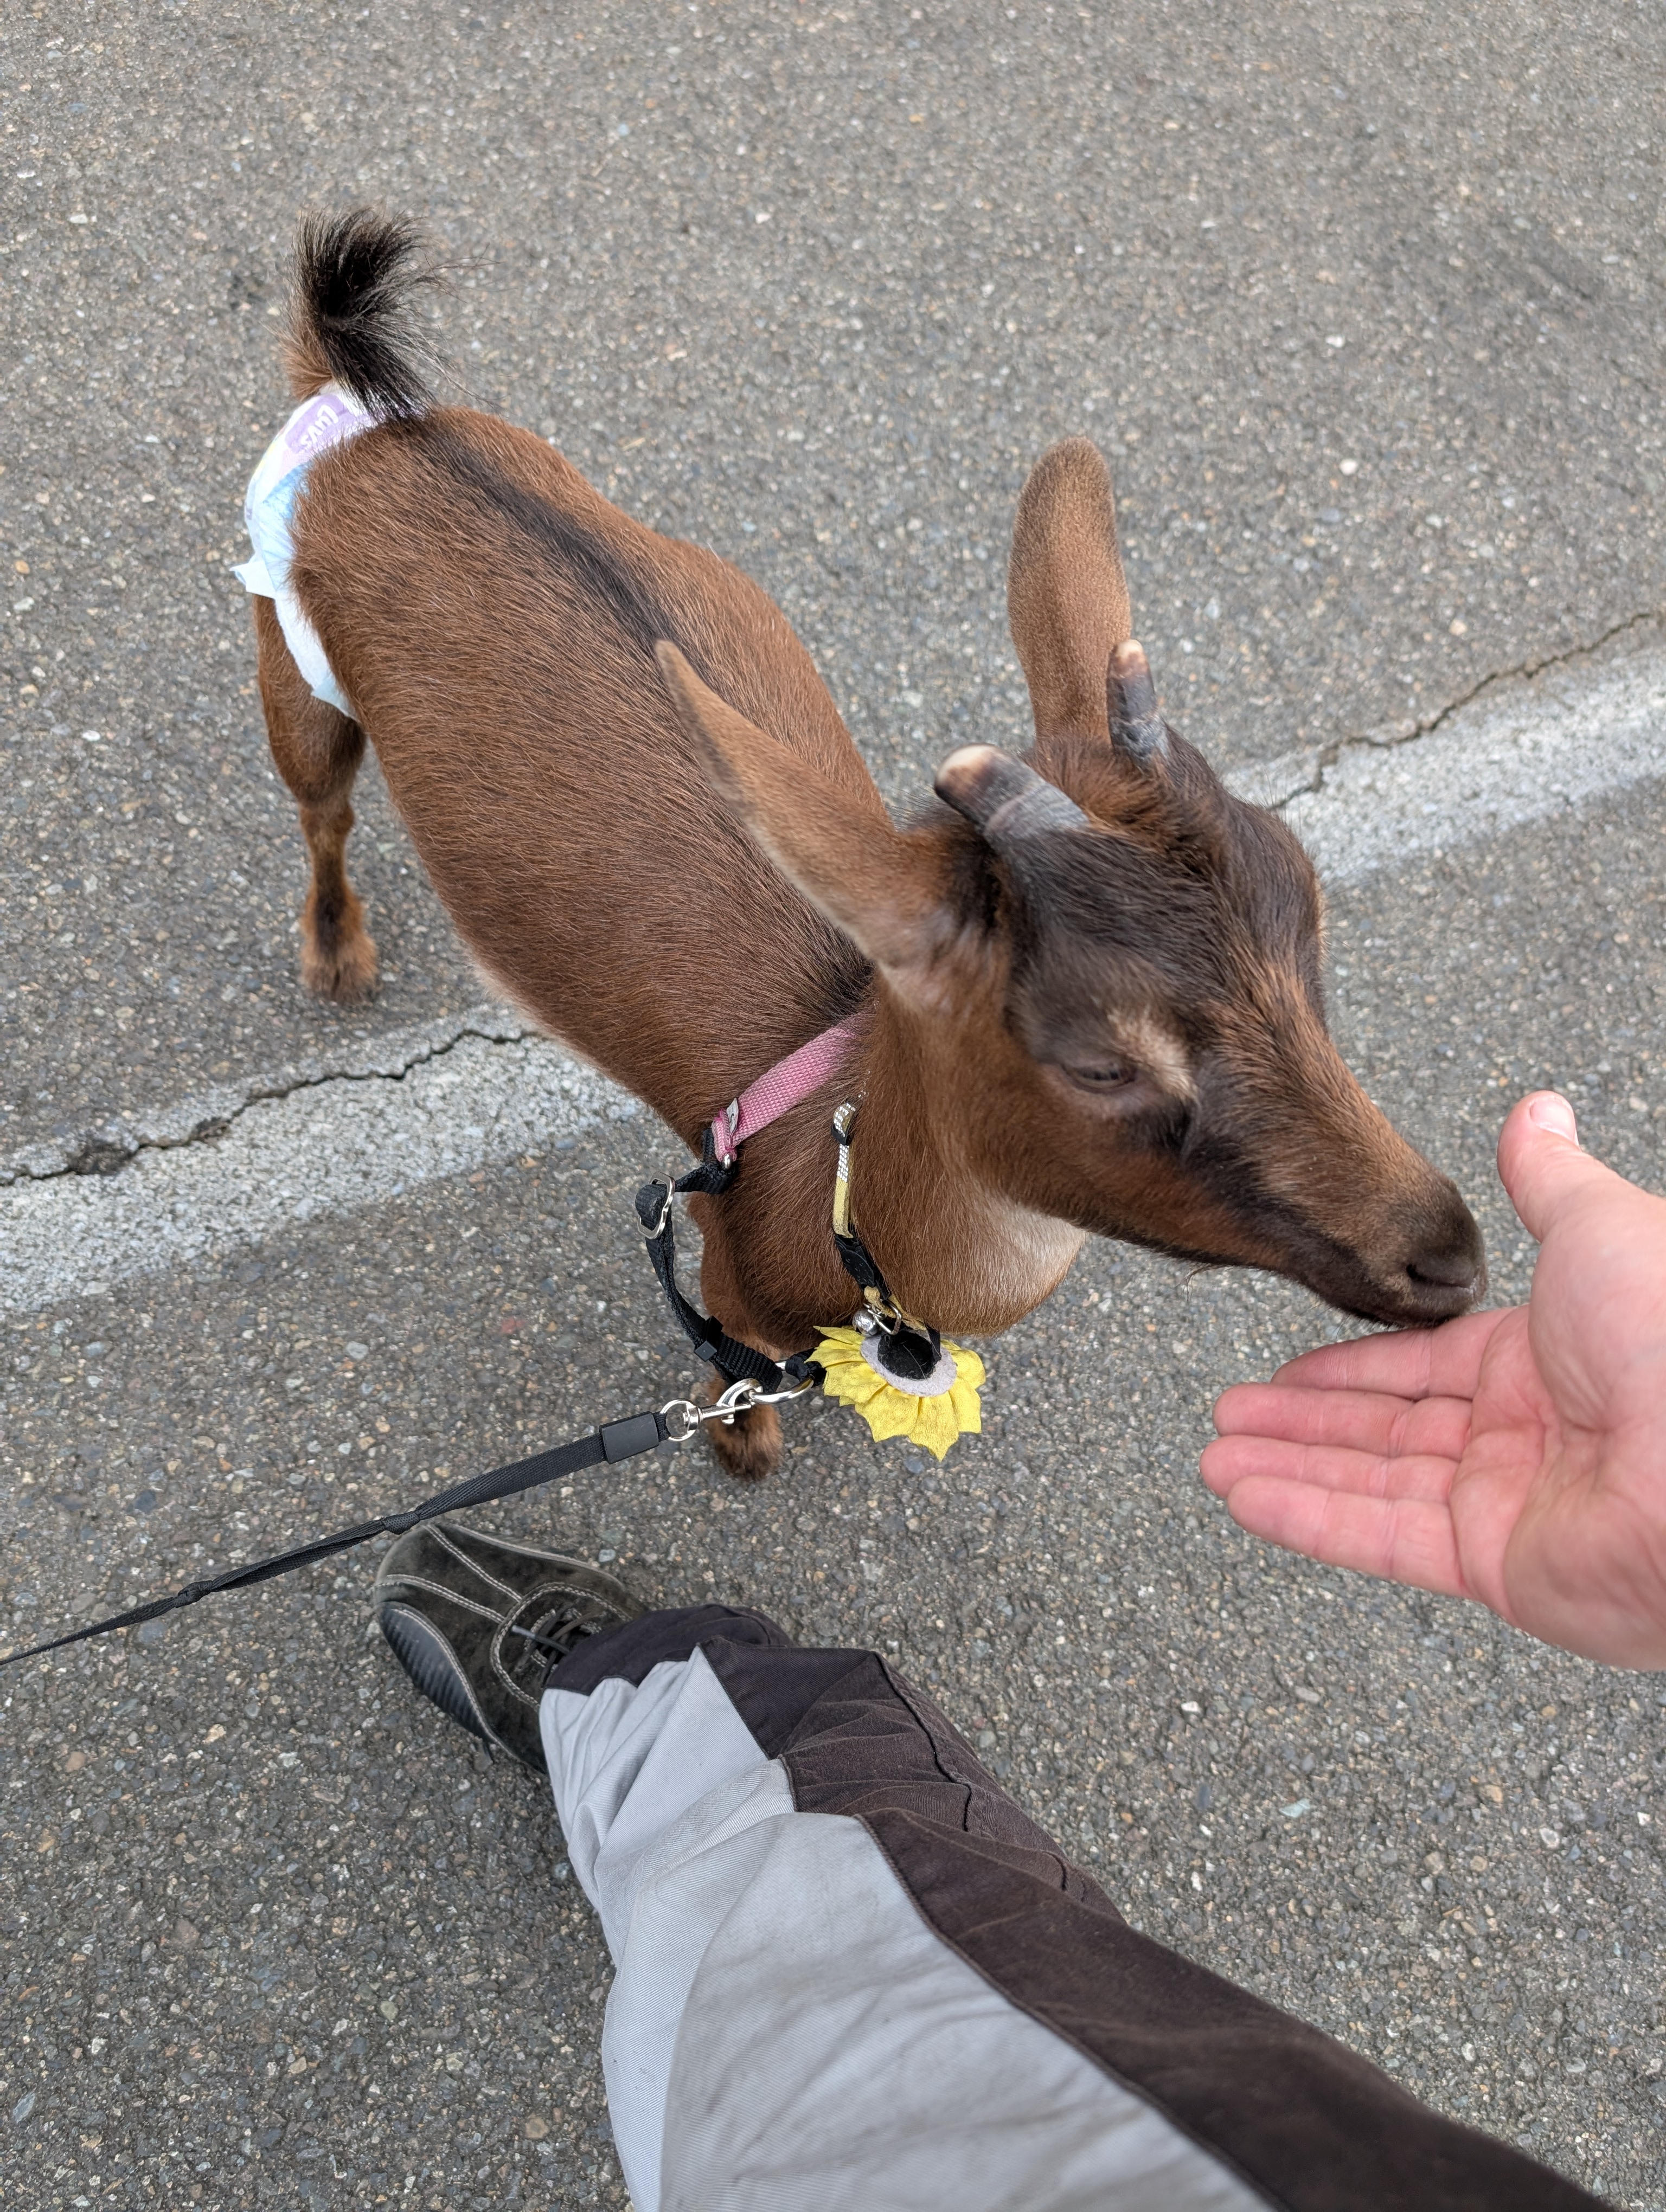
The tow truck driver for most good Ridge events has a pet goat! His wife walks it around the pits, and it's pretty cool to see! I fed it a piece of peanut butter pretzel for good luck!
A wide variety of friends I'd met before at the track were present, including a friend with their black on black C8 Corvette! What a looker this car was! I'm not normally a black car guy, but this one looked like a stealth bomber! I got to drive it for the final track session of day 1, and I have to say that is an excellent amazing car. I definitely want someday...
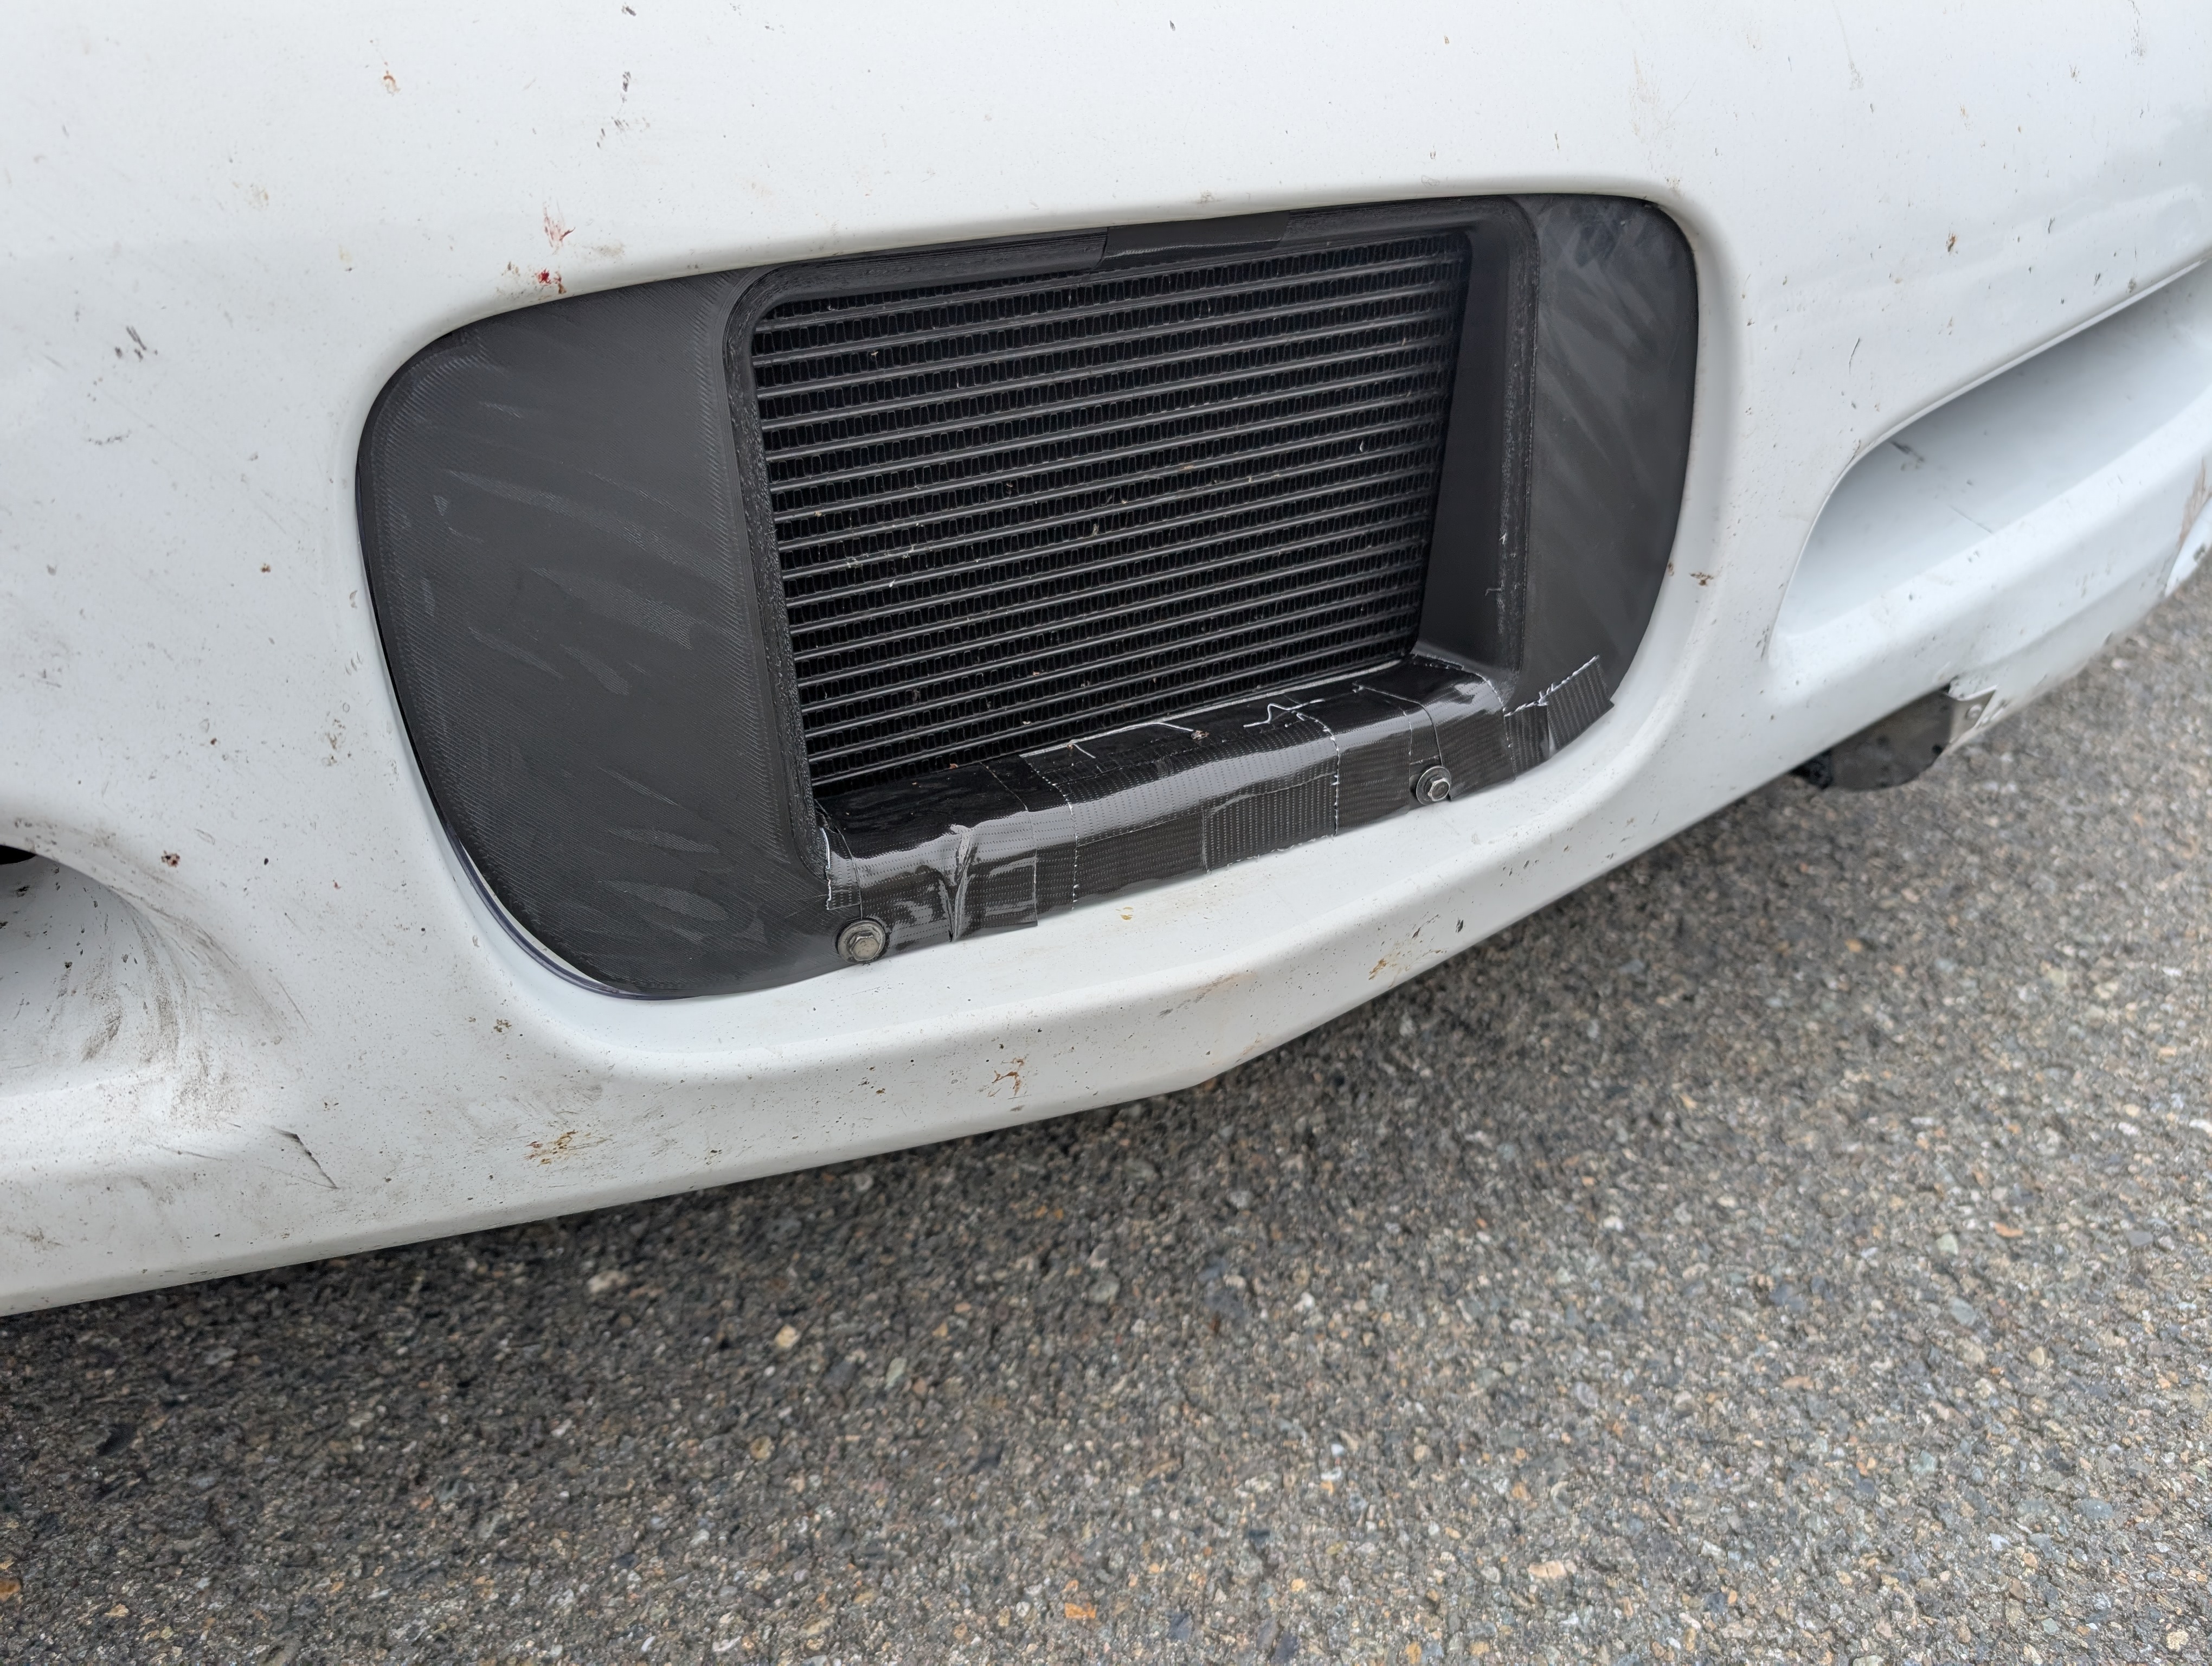
Unfortunately for me, my oil cooler duct would crack pretty early at the track. Turns out, I didn't do the print strong enough and reinforce it correctly with the right material in the right places. It was still fixable though with Gorilla Tape (my goto) and it did indeed improve oil temperatures about 5 degrees or so!
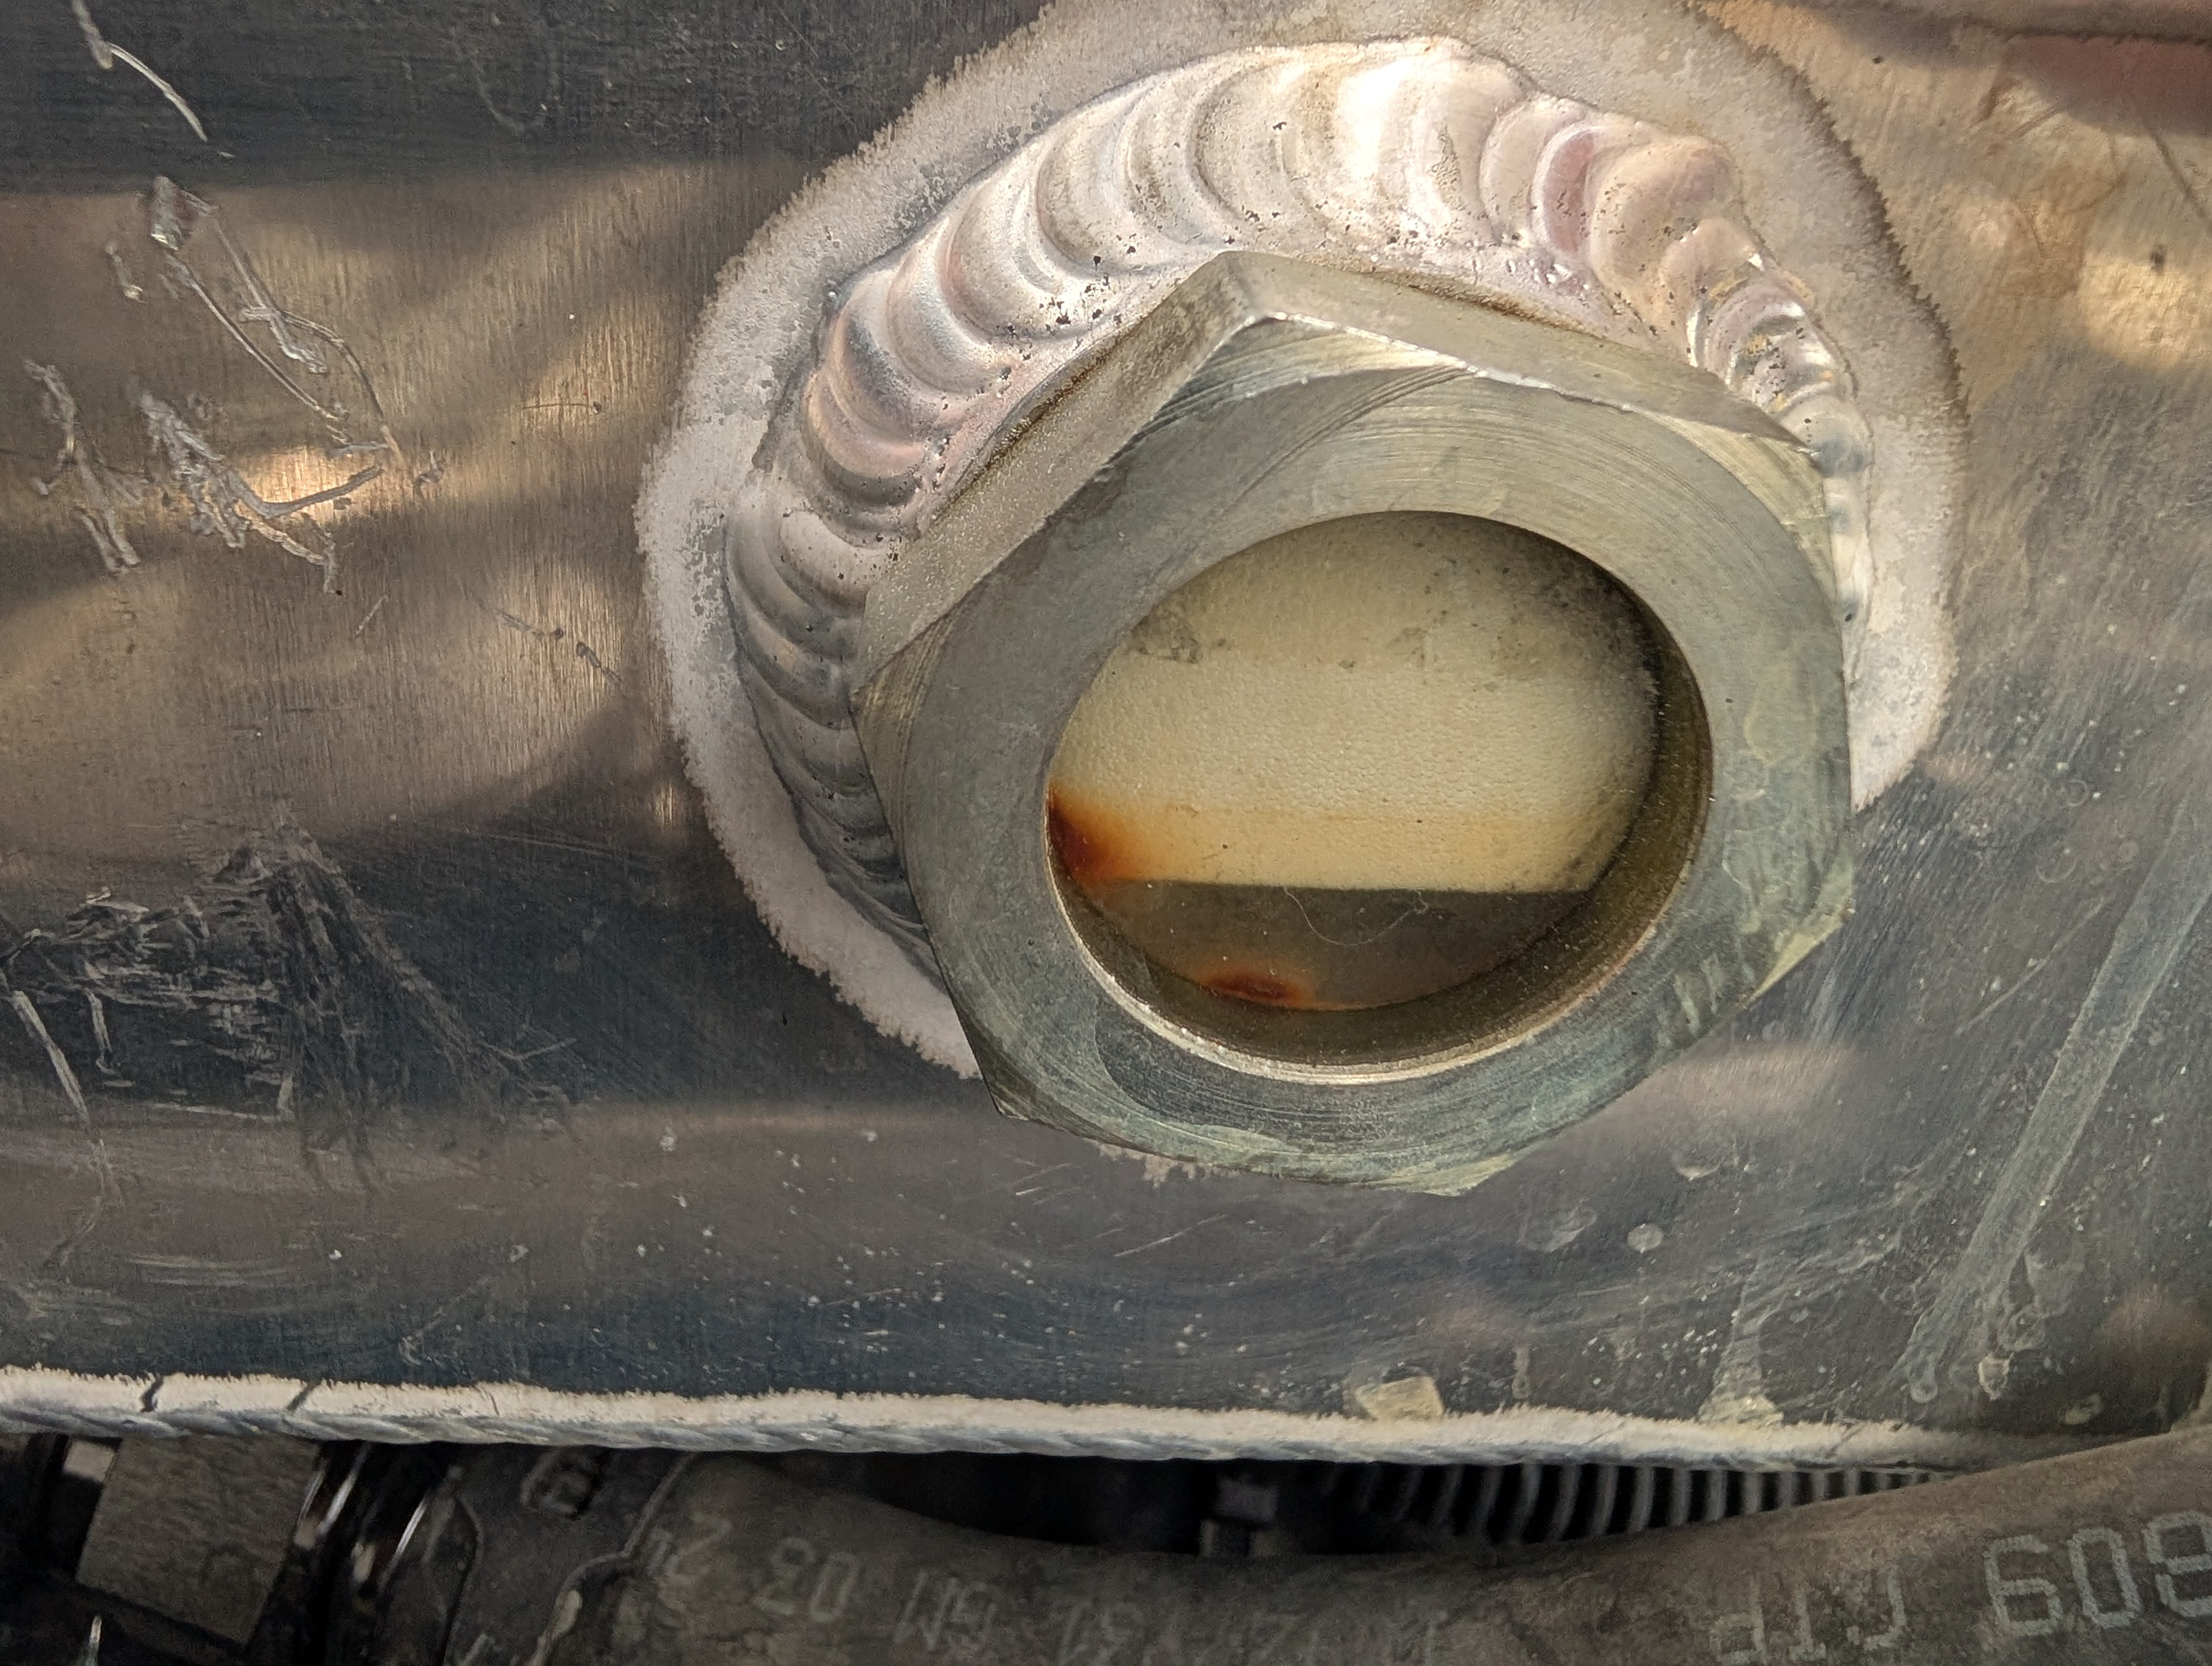
Something I did start to notice over some past events and this event is that the coolant in my reservoir is a bit "frothy". Not sure why or how but... this is what I am seeing. Car healthy all seems good though. Perhaps it's some air intrusion from my DIY steam crossover ports? Who the heck knows...
Track Photos
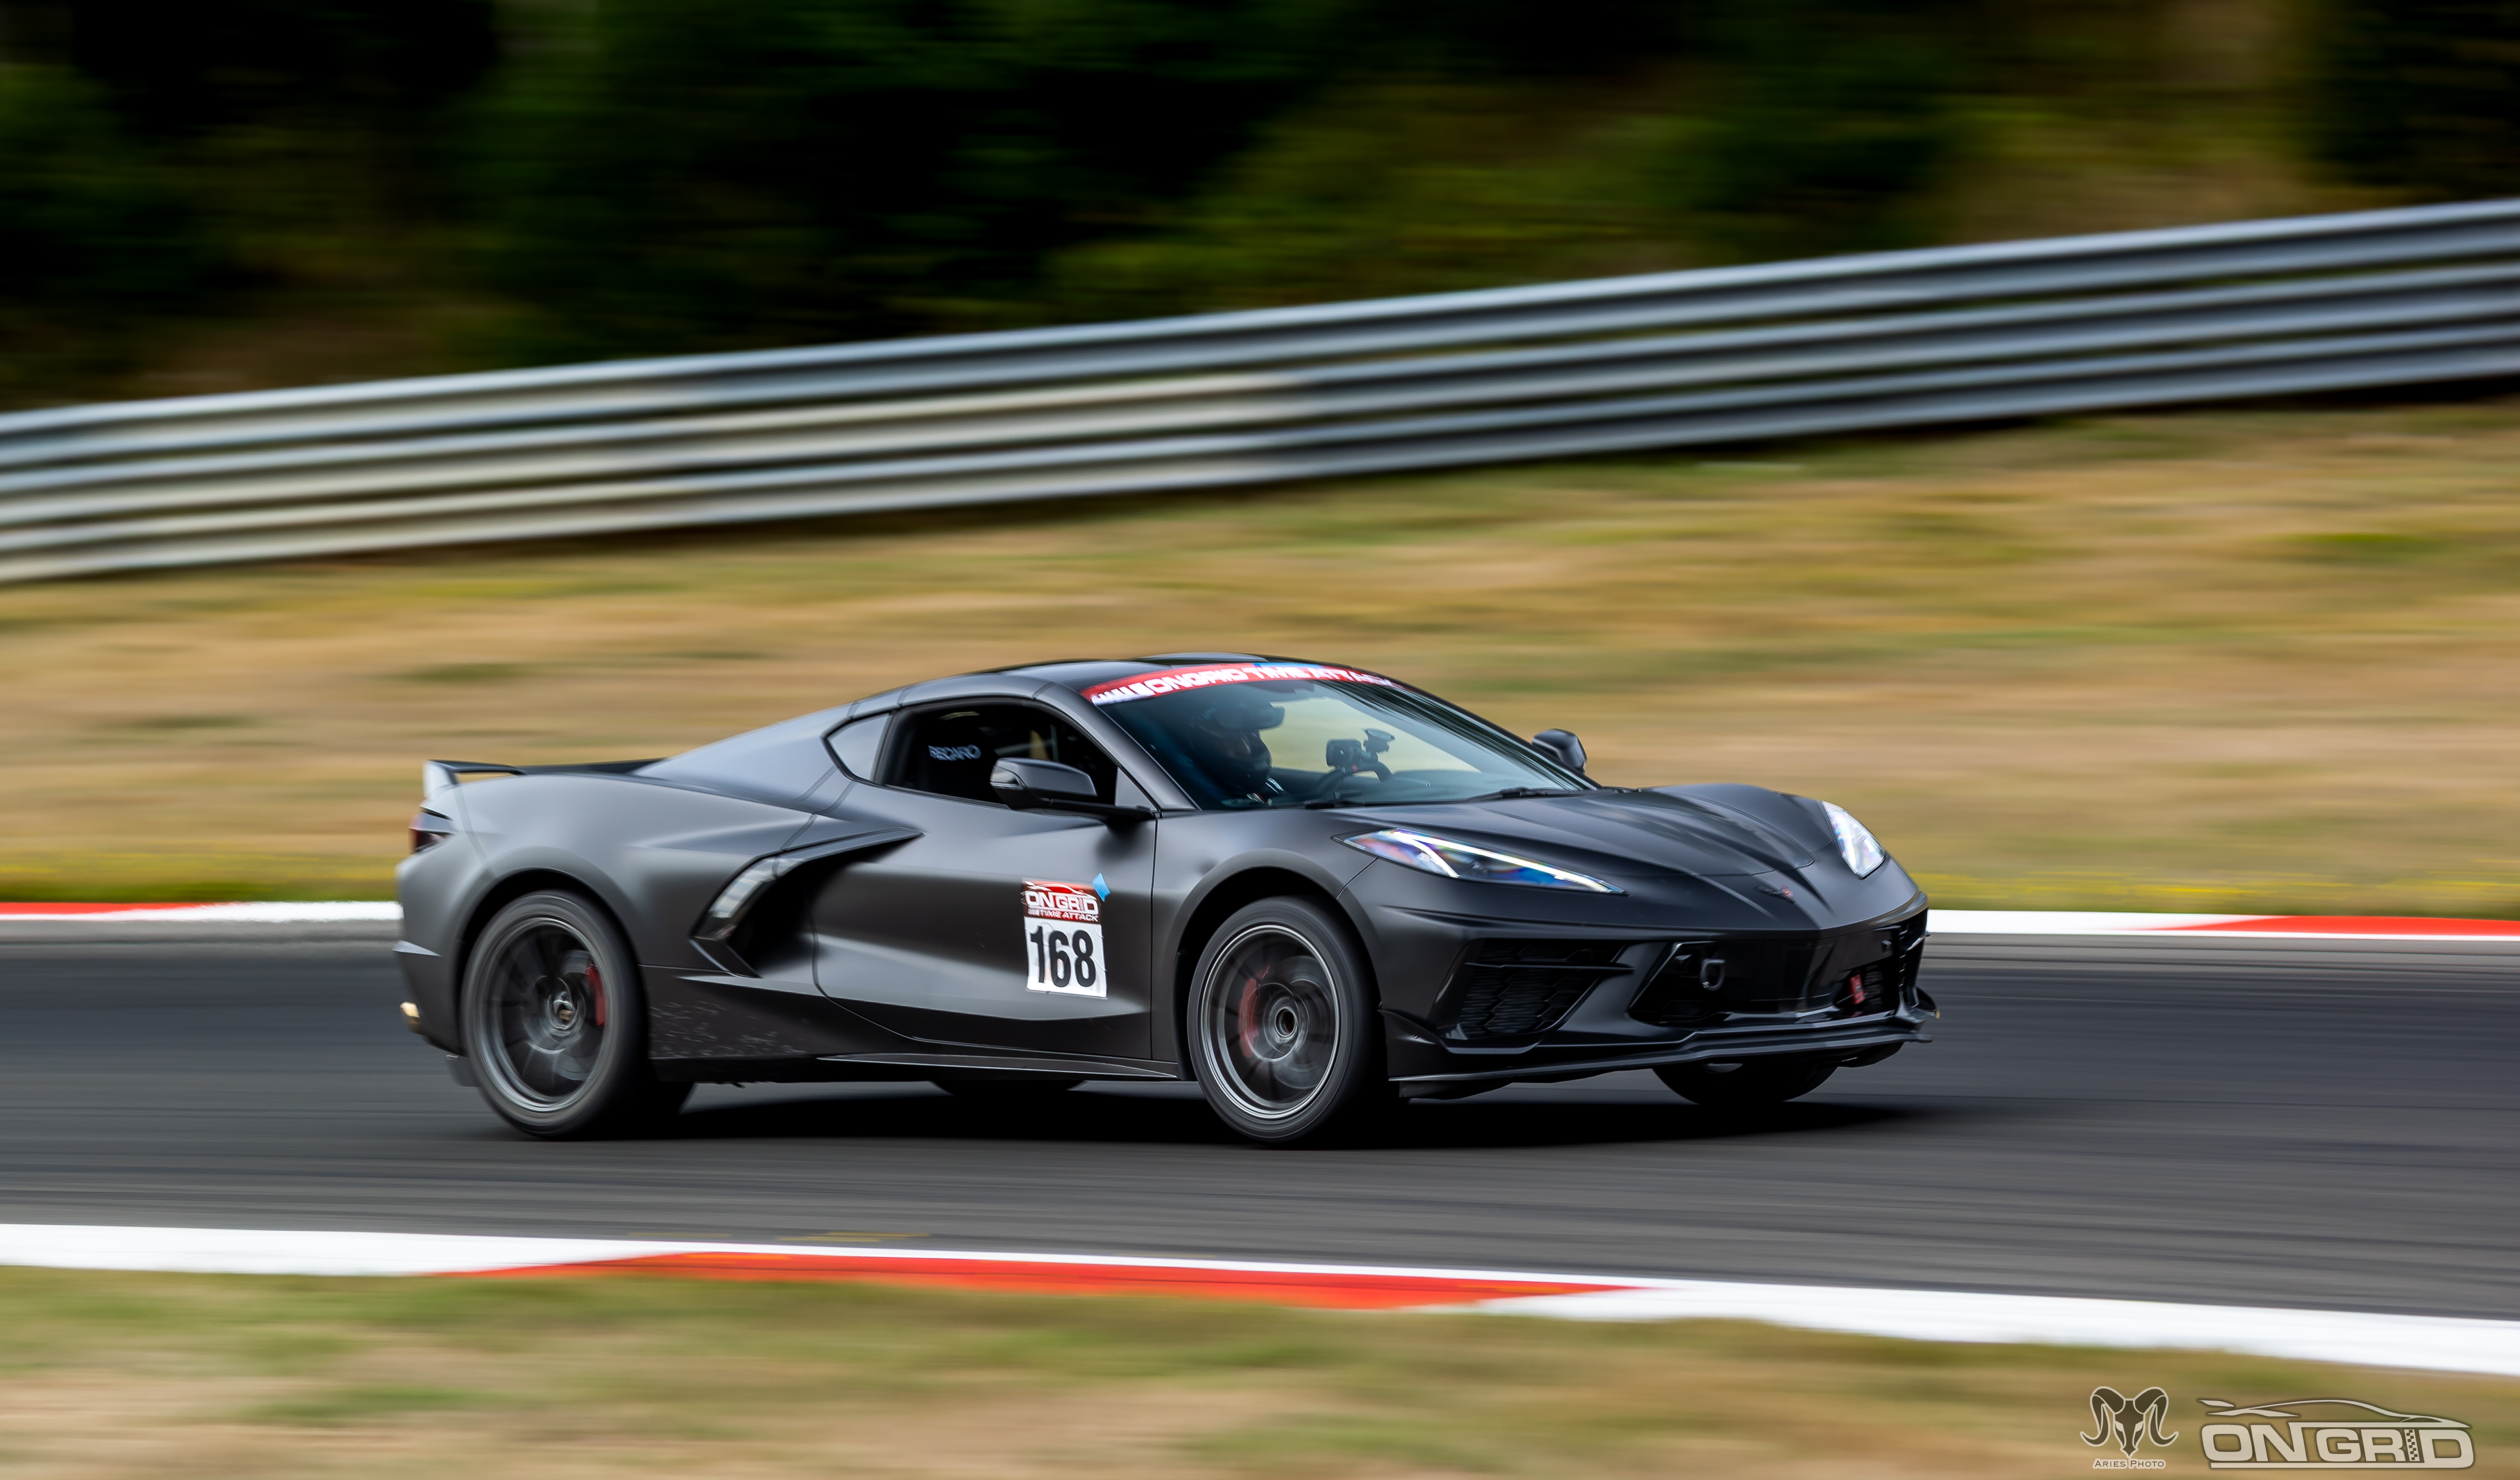
My Friends black on Black "stealth bomber" C8 Z51 I got to drive on track, and was competing with for Grid Position. He honestly just needed to remove his rear diffuser to be in the GT class and we would have been neck and neck!

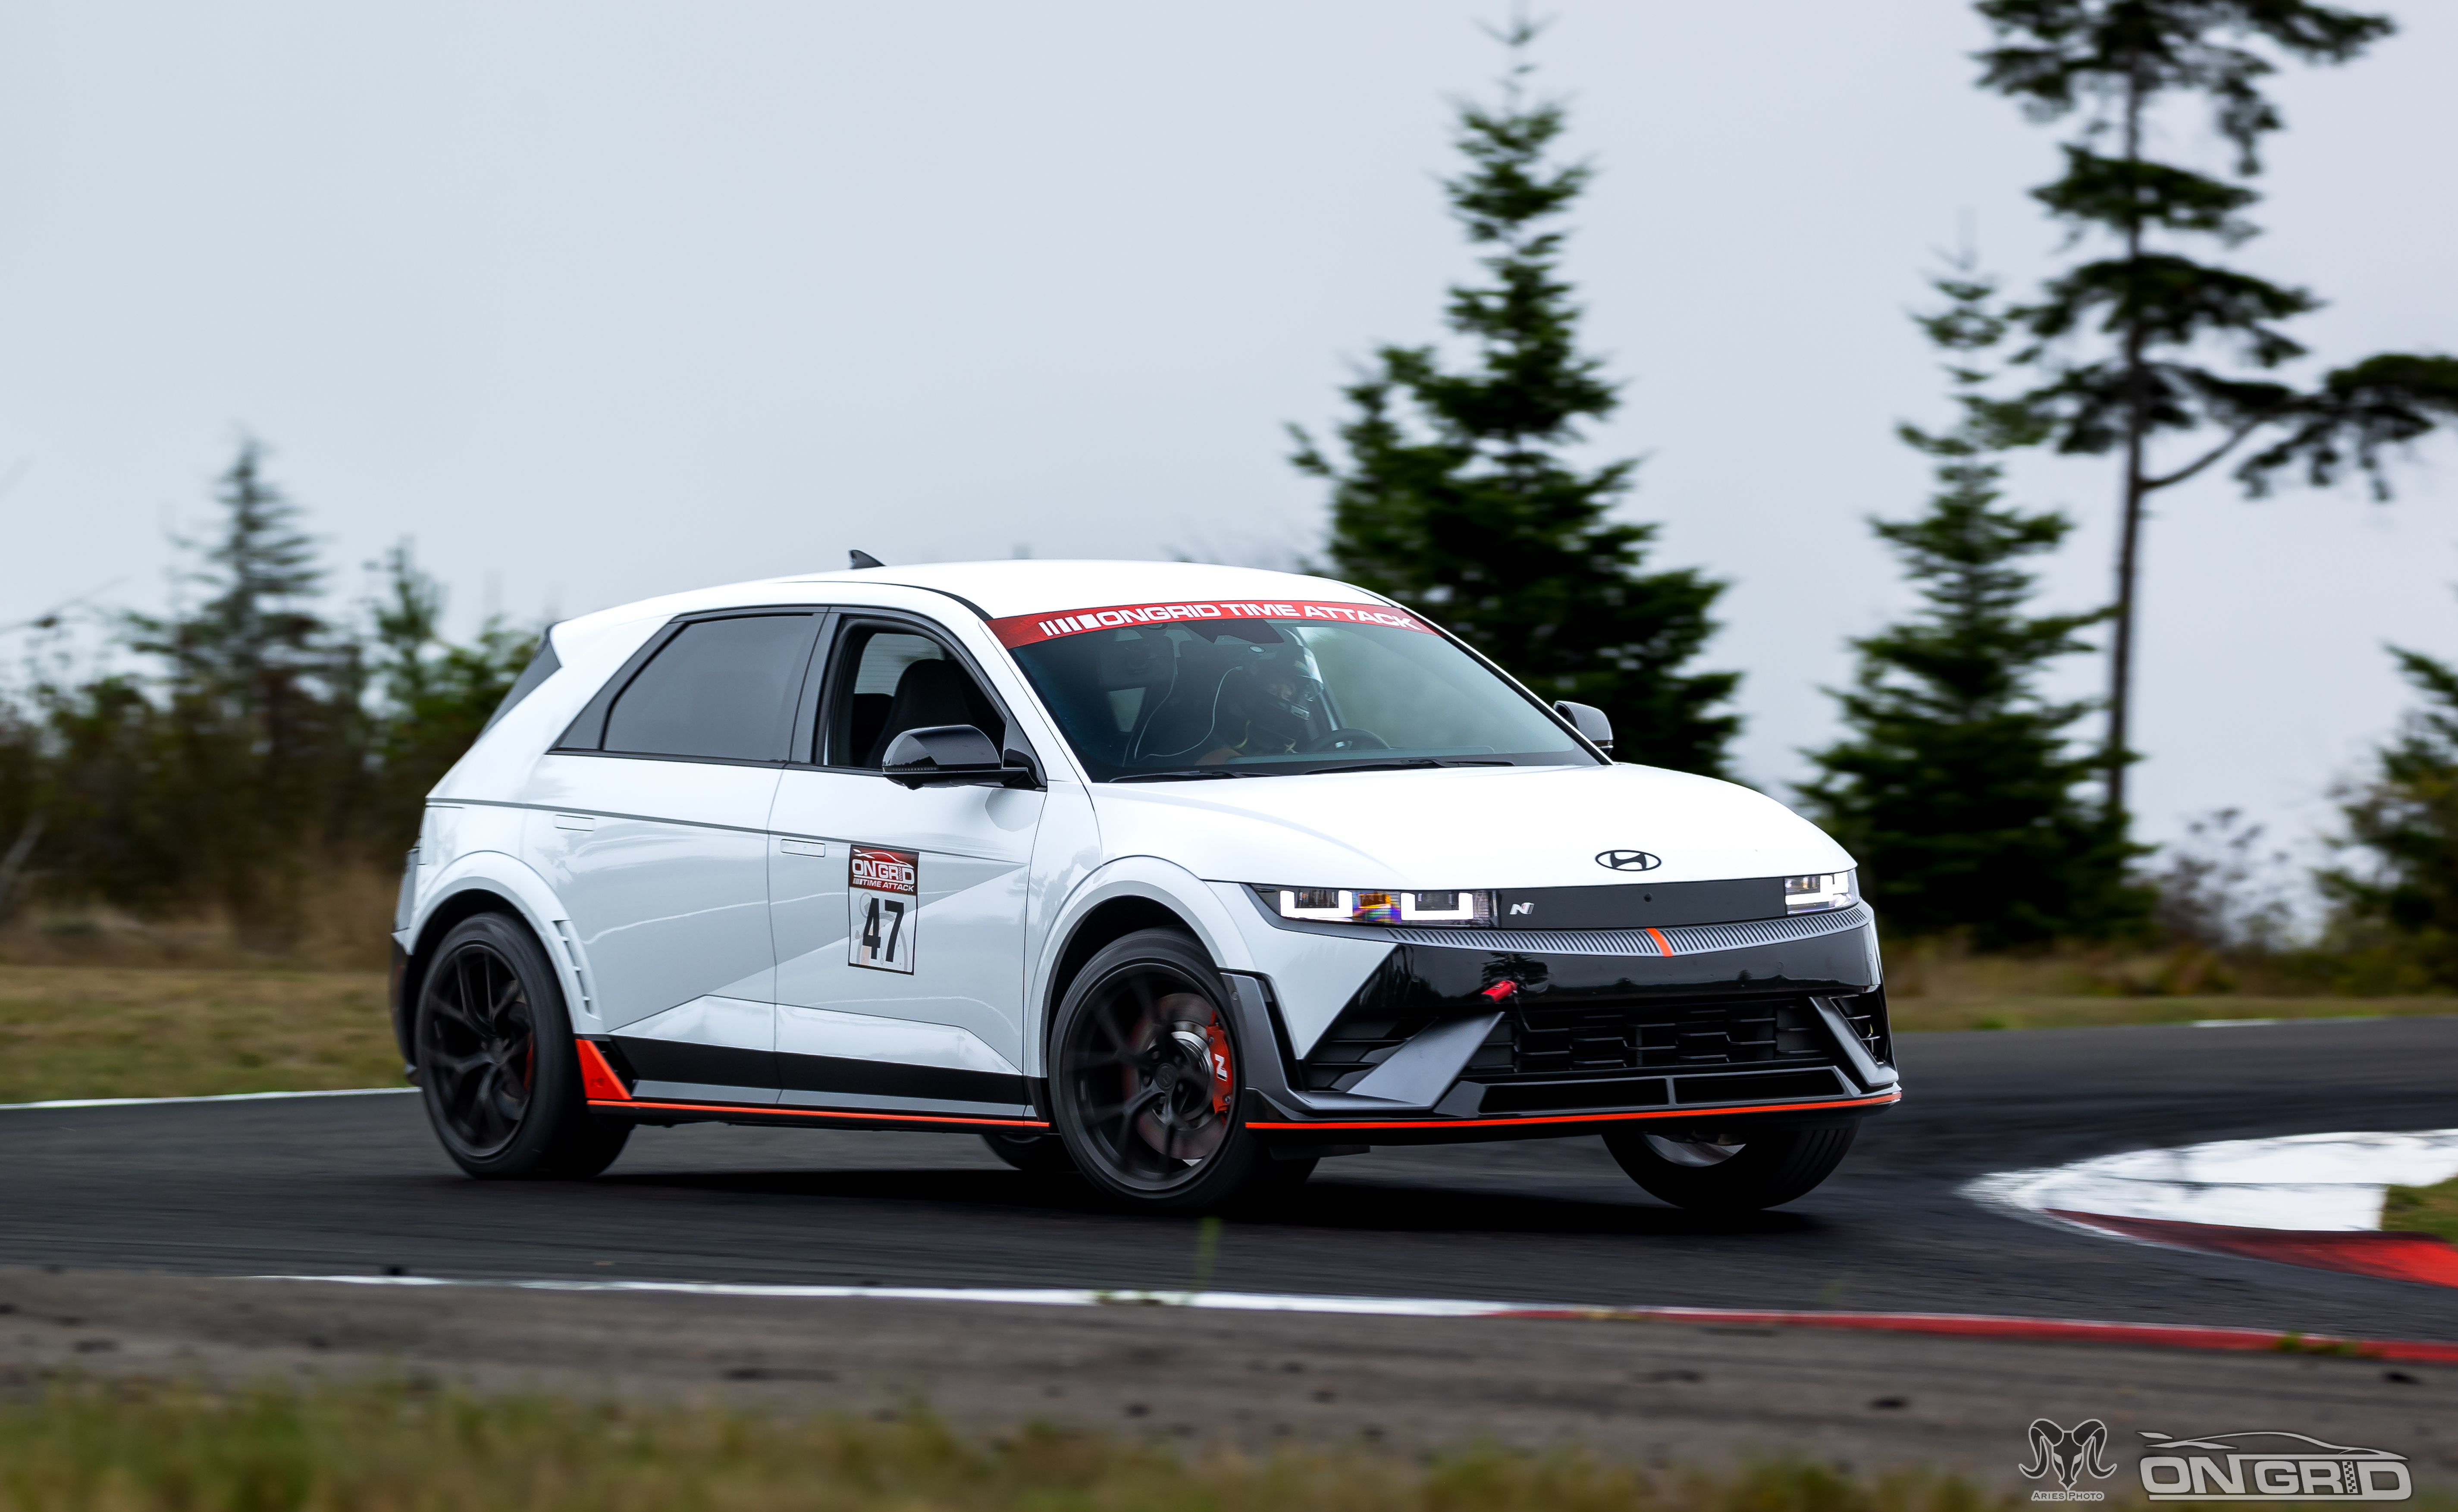
This White Hyundai Ioniq N was one of the other competitiors that I was competing closely with at first. Though I'd later come to put down a 1.5 second gap, I was surprised how quick this 4 door car was! It was a crossover SUV by comparison in size to my C5 Corvette, and it wasn't on Vitour tires like I was so maybe it could hang? It was definitely only good for a few short laps though, and it's times always dropped ever day as time went on. Still, impressive showing from this fellow!
Event Competition and Results
Day 1: So right out of the gate, I was a bit concerned about if I could actually win. My previous best here was 1:29.3, and that was with full aero. I now had a car with less aero, a lot less testing. I was also looking at previous winners, and while I was much closer to them in time, the previous winner was running 1:47.5 or so at best and was on the schedule to compete in this event.
Fortunately, first session out I managed to put down a respectable 1:50.52. While not enough to win, I was only a second behind my full aero setup, which isn't too shabby. I was also thrilled to see my primary competition hadn't shown up for the first session so maybe I'd have a clean run at first place? I consulted with ChatGPT about my handling characteristics, made some adjustments to suspension and tire pressures, and went back out there.
Second session I managed to turn an improved 1:49.50. I was now within .2 seconds of full aero, and that felt pretty good. I was also sitting in first place, with my closest competition trailing by a half second and seeing increasing times as daytime temperatures were increasing.
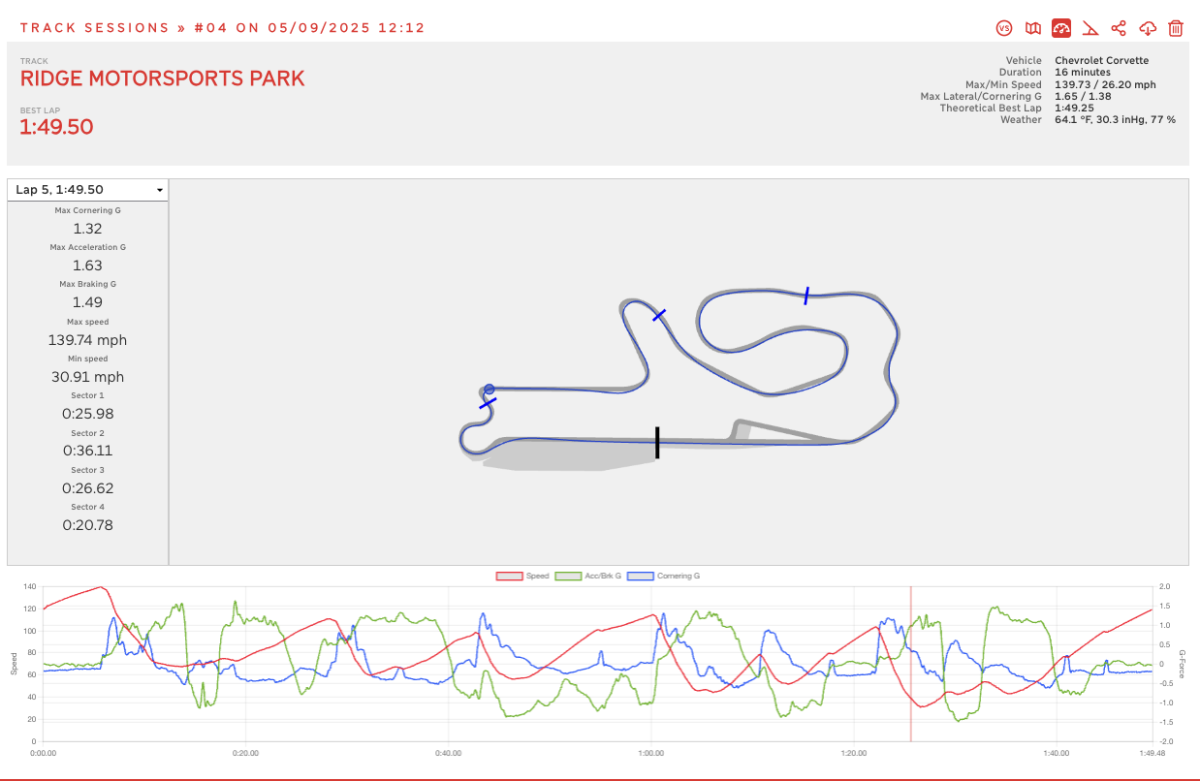
Third session... I got a bit screwed. I wasn't 5 minutes early to grid, so they put me at the back of the pack. That meant I had to fight traffic the whole way through. I only managed a clean lap for lap 6, and while it was a commendable 1:49.87, being such a late lap in the session I was well past the point my tires were overheated.
Unfortunately for me, the primary competitor I was concerned about had managed to show up for the last session and run .15 seconds faster than me. That was especially annoying as had I not been grid at the back of the pack I could have perhaps found that time! ARGH! I was pertubred... but prepareed to sort it out for the next day.
Day 2: Coming into Day 2 I was fairly hopeful I could at least maintain second, if not jump up to first place. Temperatures were down, I'd made some further adjustments to the car, and I was ready to go. I even went for a 25 minute drive around the local roads surrounding the ridge to put some heat into my trires and get the car fully warmed up.
First session out I was first on Grid, as the previous faster driver (William Yu, very talented driver in an S2k) had mechanical problems that took him out of the race. I had a clean runway and... I managed to turn a 1:48.96! This was now my new personal best at the track, and without aero to boot! Not too shabby if I do say so myself! I was also now in first, as I had both beaten my competition the day prior, and they had not shown up to turn a better time themselves.
Second session out was concerning. A brief spat of rain had proceeded our session and messed up the previous run groups best times. Our session though was mostly dry it would seem. I went out though, and although a missed downshift that went to 4th instead of 2nd meant I had to throw away one of my best prior laps. I also grabbed a bit of a lucky draft down the front straight to improve my top speed on my best lap, a fortutious bit of timing! I managed an improved lap time of 1:48.89, putting me into the 1:48's by enough of a margin that it wasn't just some lucky rounding!
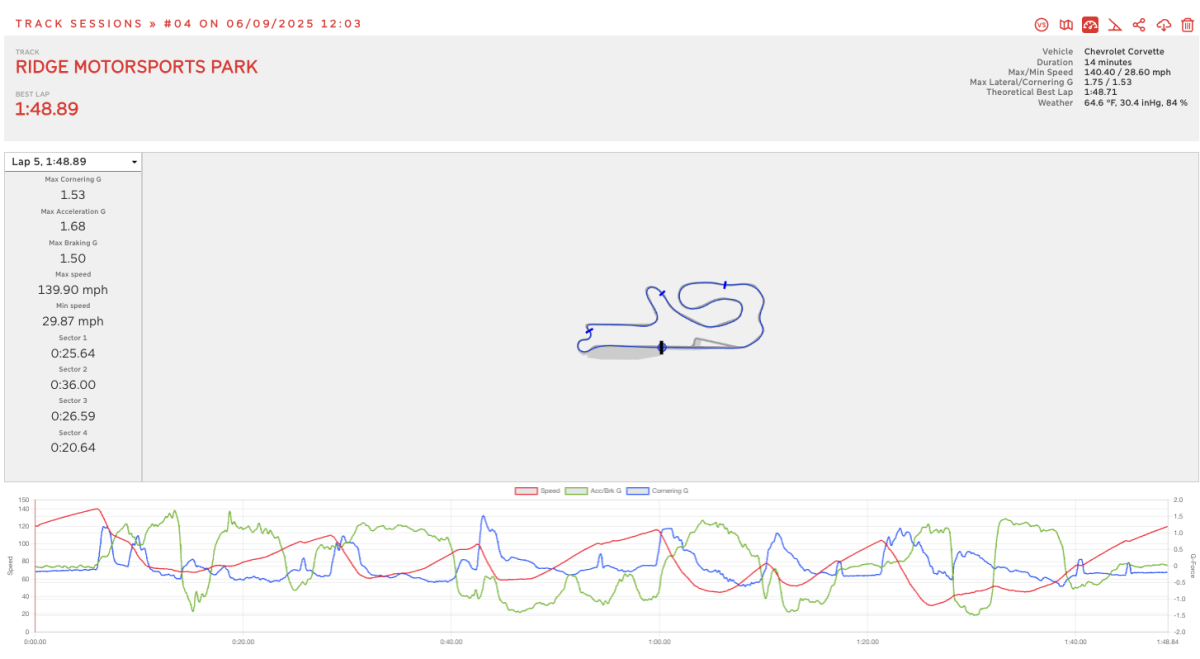
This now put me solidly in first place. My primary competitor wasn't yet present, and my other competition were seeing their times drop off instead of improve as temperatures improved. Podium was all but guaranteed, and first place seemed likely. At this point my primary competitor would need to show up, run their session with no other warmups for the day and beat my best time, all with increaseing day time temperatures.
Fortunately for me, the primary competitor I was up against was in the time attack session before mine. So I went out to grid to see if they showed up, and they didn't. At that point, first place was a near certainty. I decided to sit out my last session and save my tires for the time attack event the following weekend. Fortuantely, that strategy paid off and I retained my first place position!
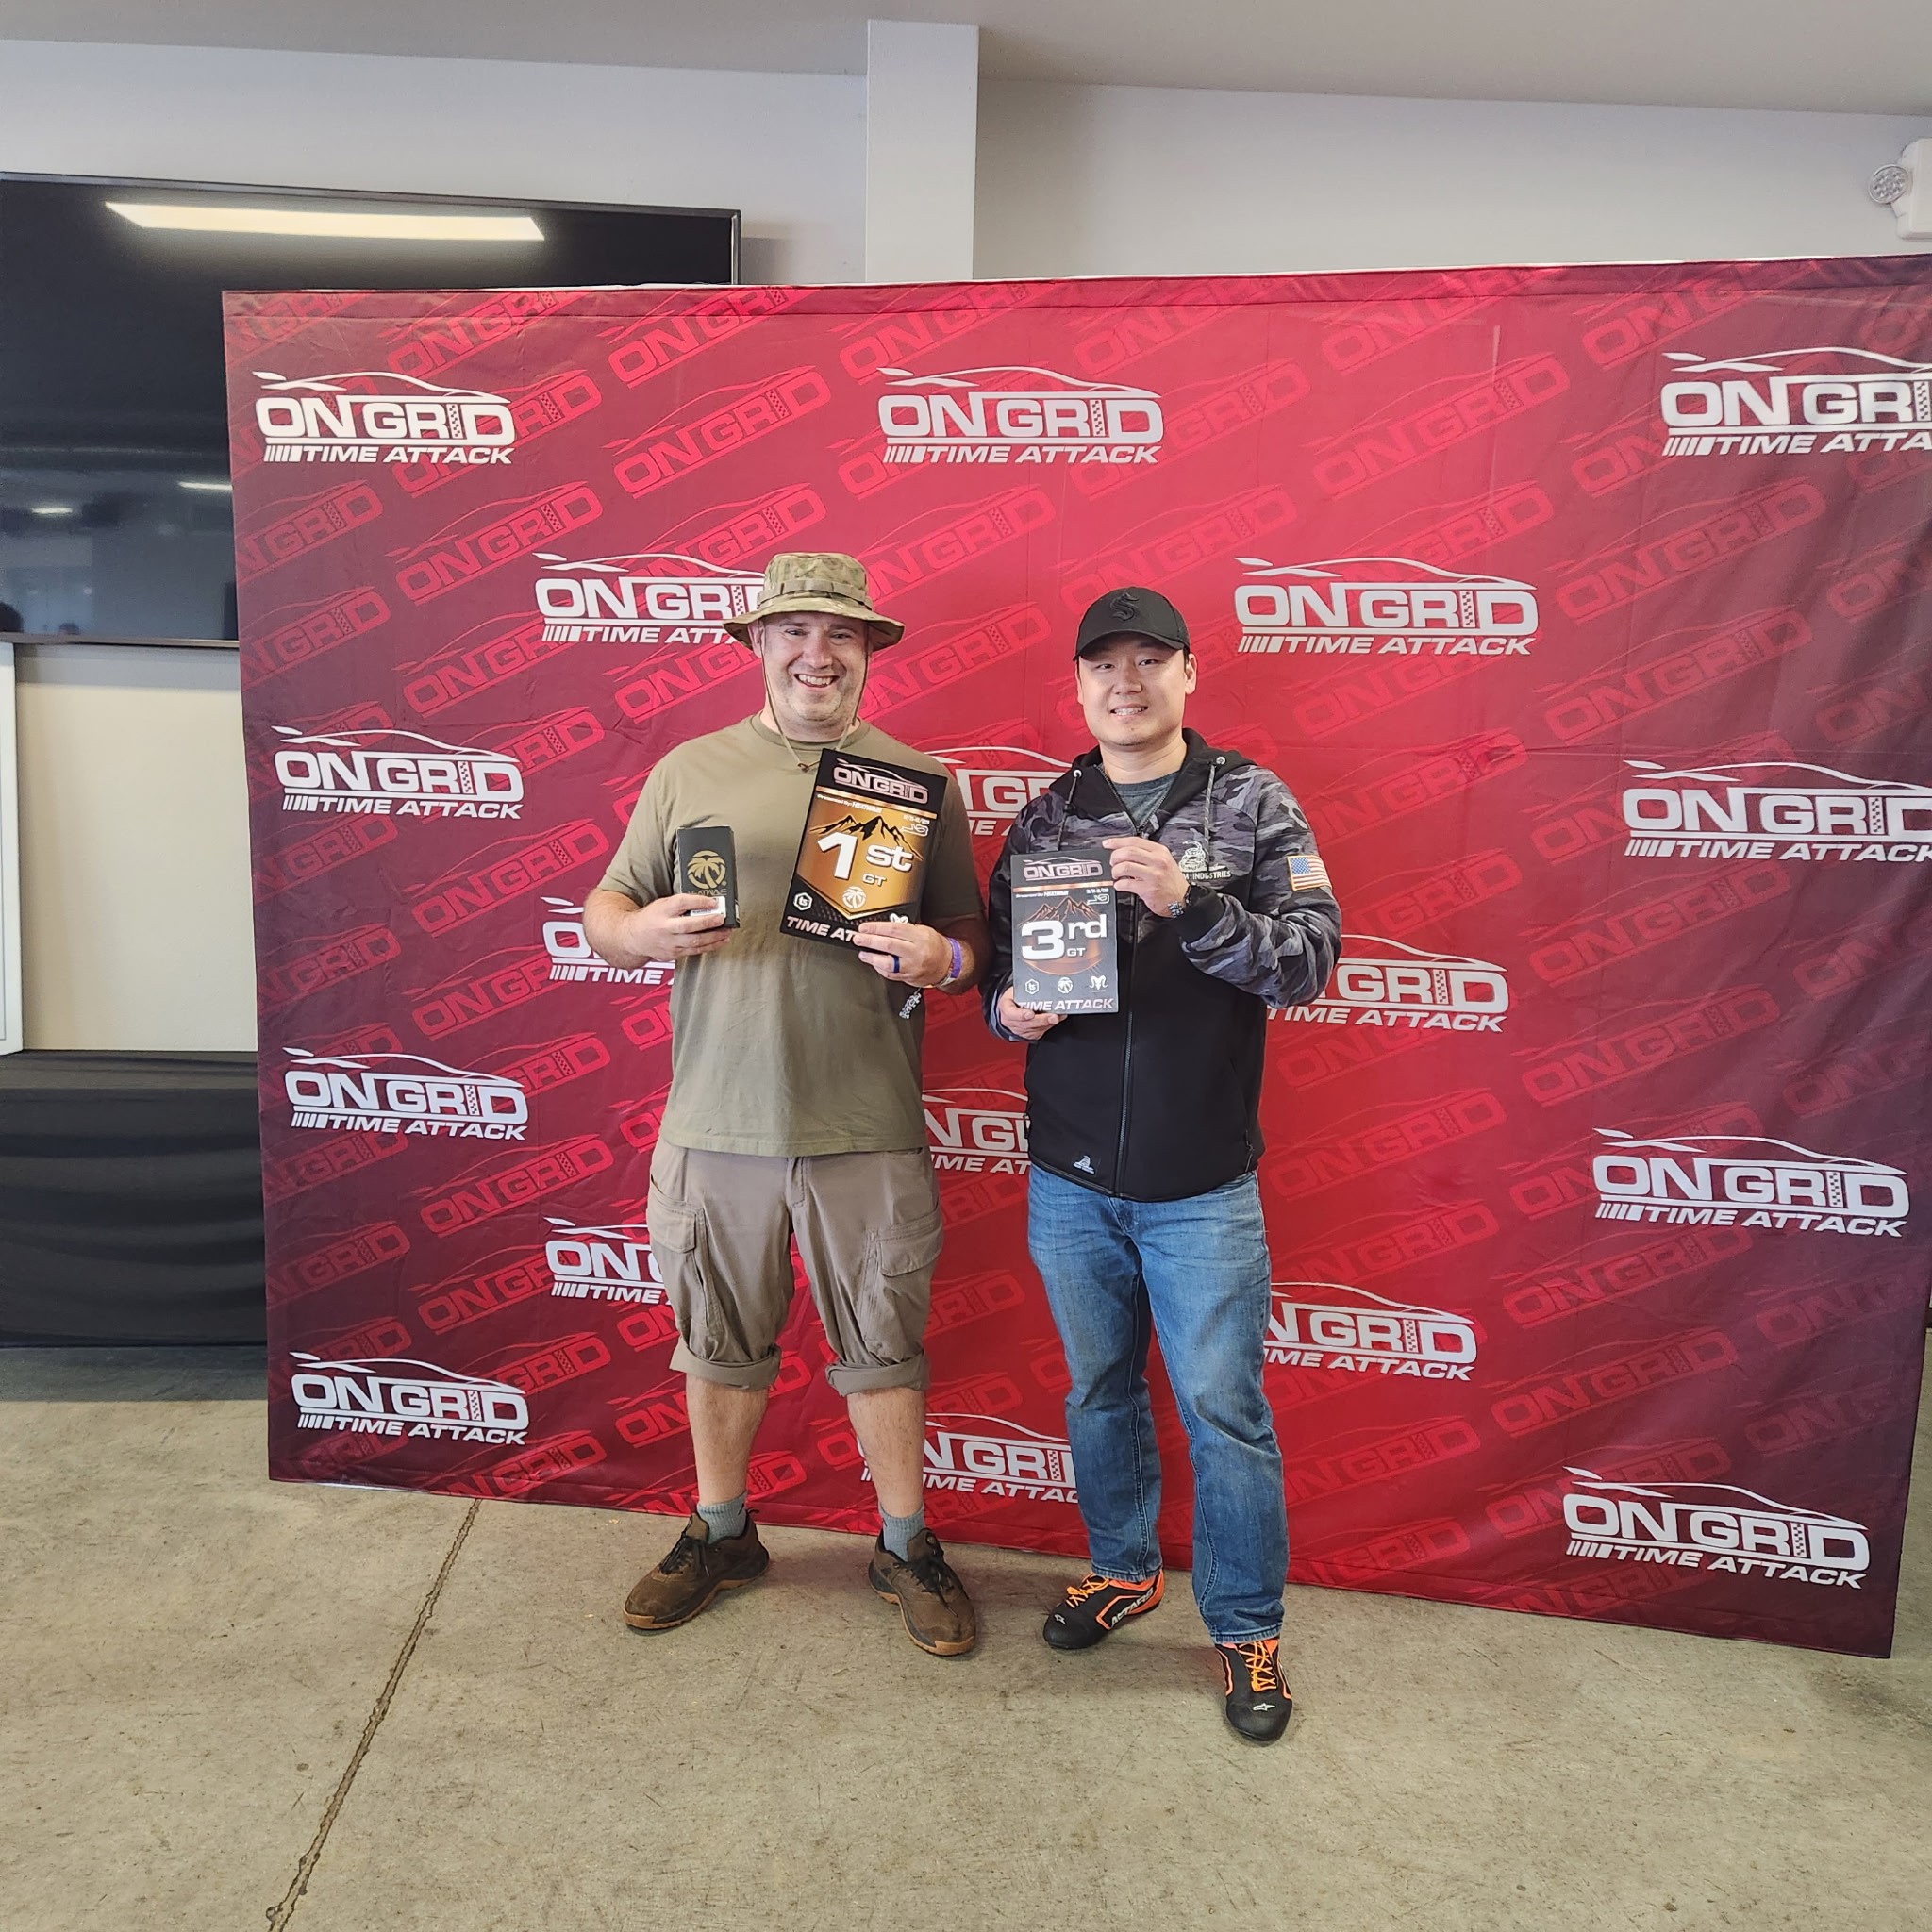
Here I am posing with the fellow in 3rd place. He was in a Hyundai Ioniq N, which did give me a surprising run for my money consider how much larger of a vehicle it was. His top speed was definitely superior to mine, but I think a combination of better tires and handling let me eek them out. I didn't see enough of their driving to quantify anything on skill, and at this pace I don't think you turn anything but a decent lap without some decent know how!
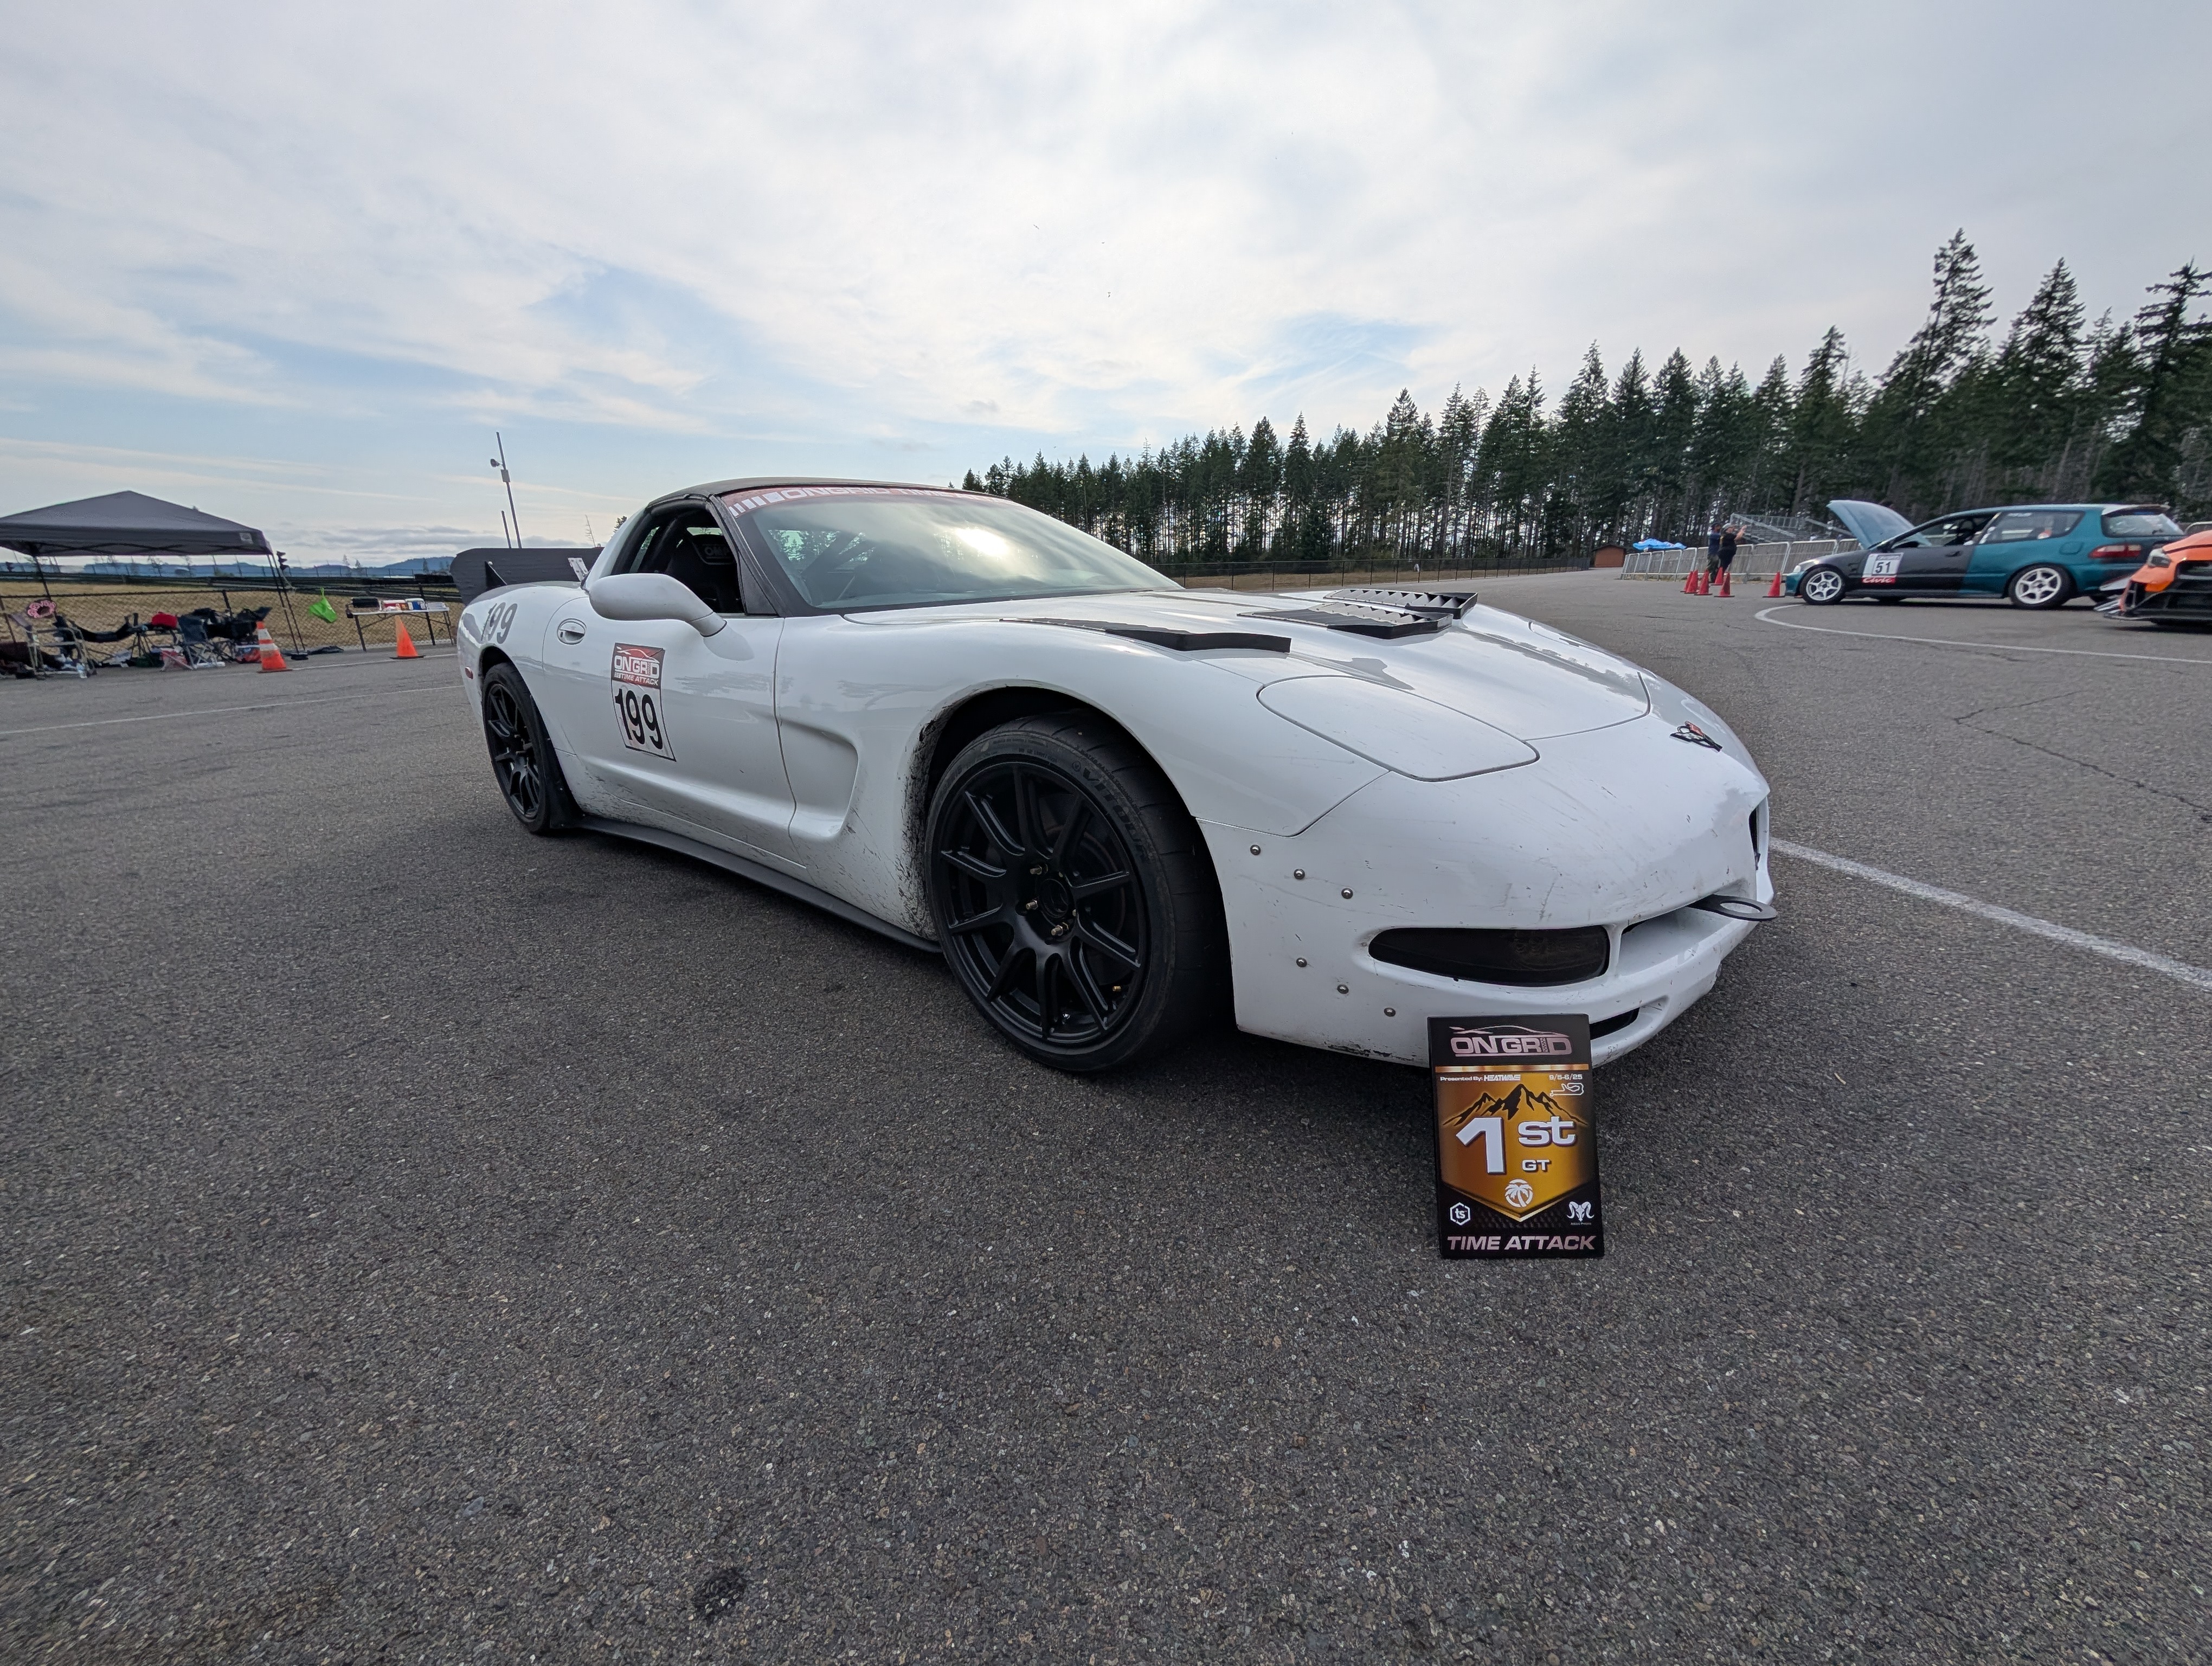
Here's the car sitting with it's first place plague. Car definitely deserved it, and not too shabby for turning 50 events old at this point!
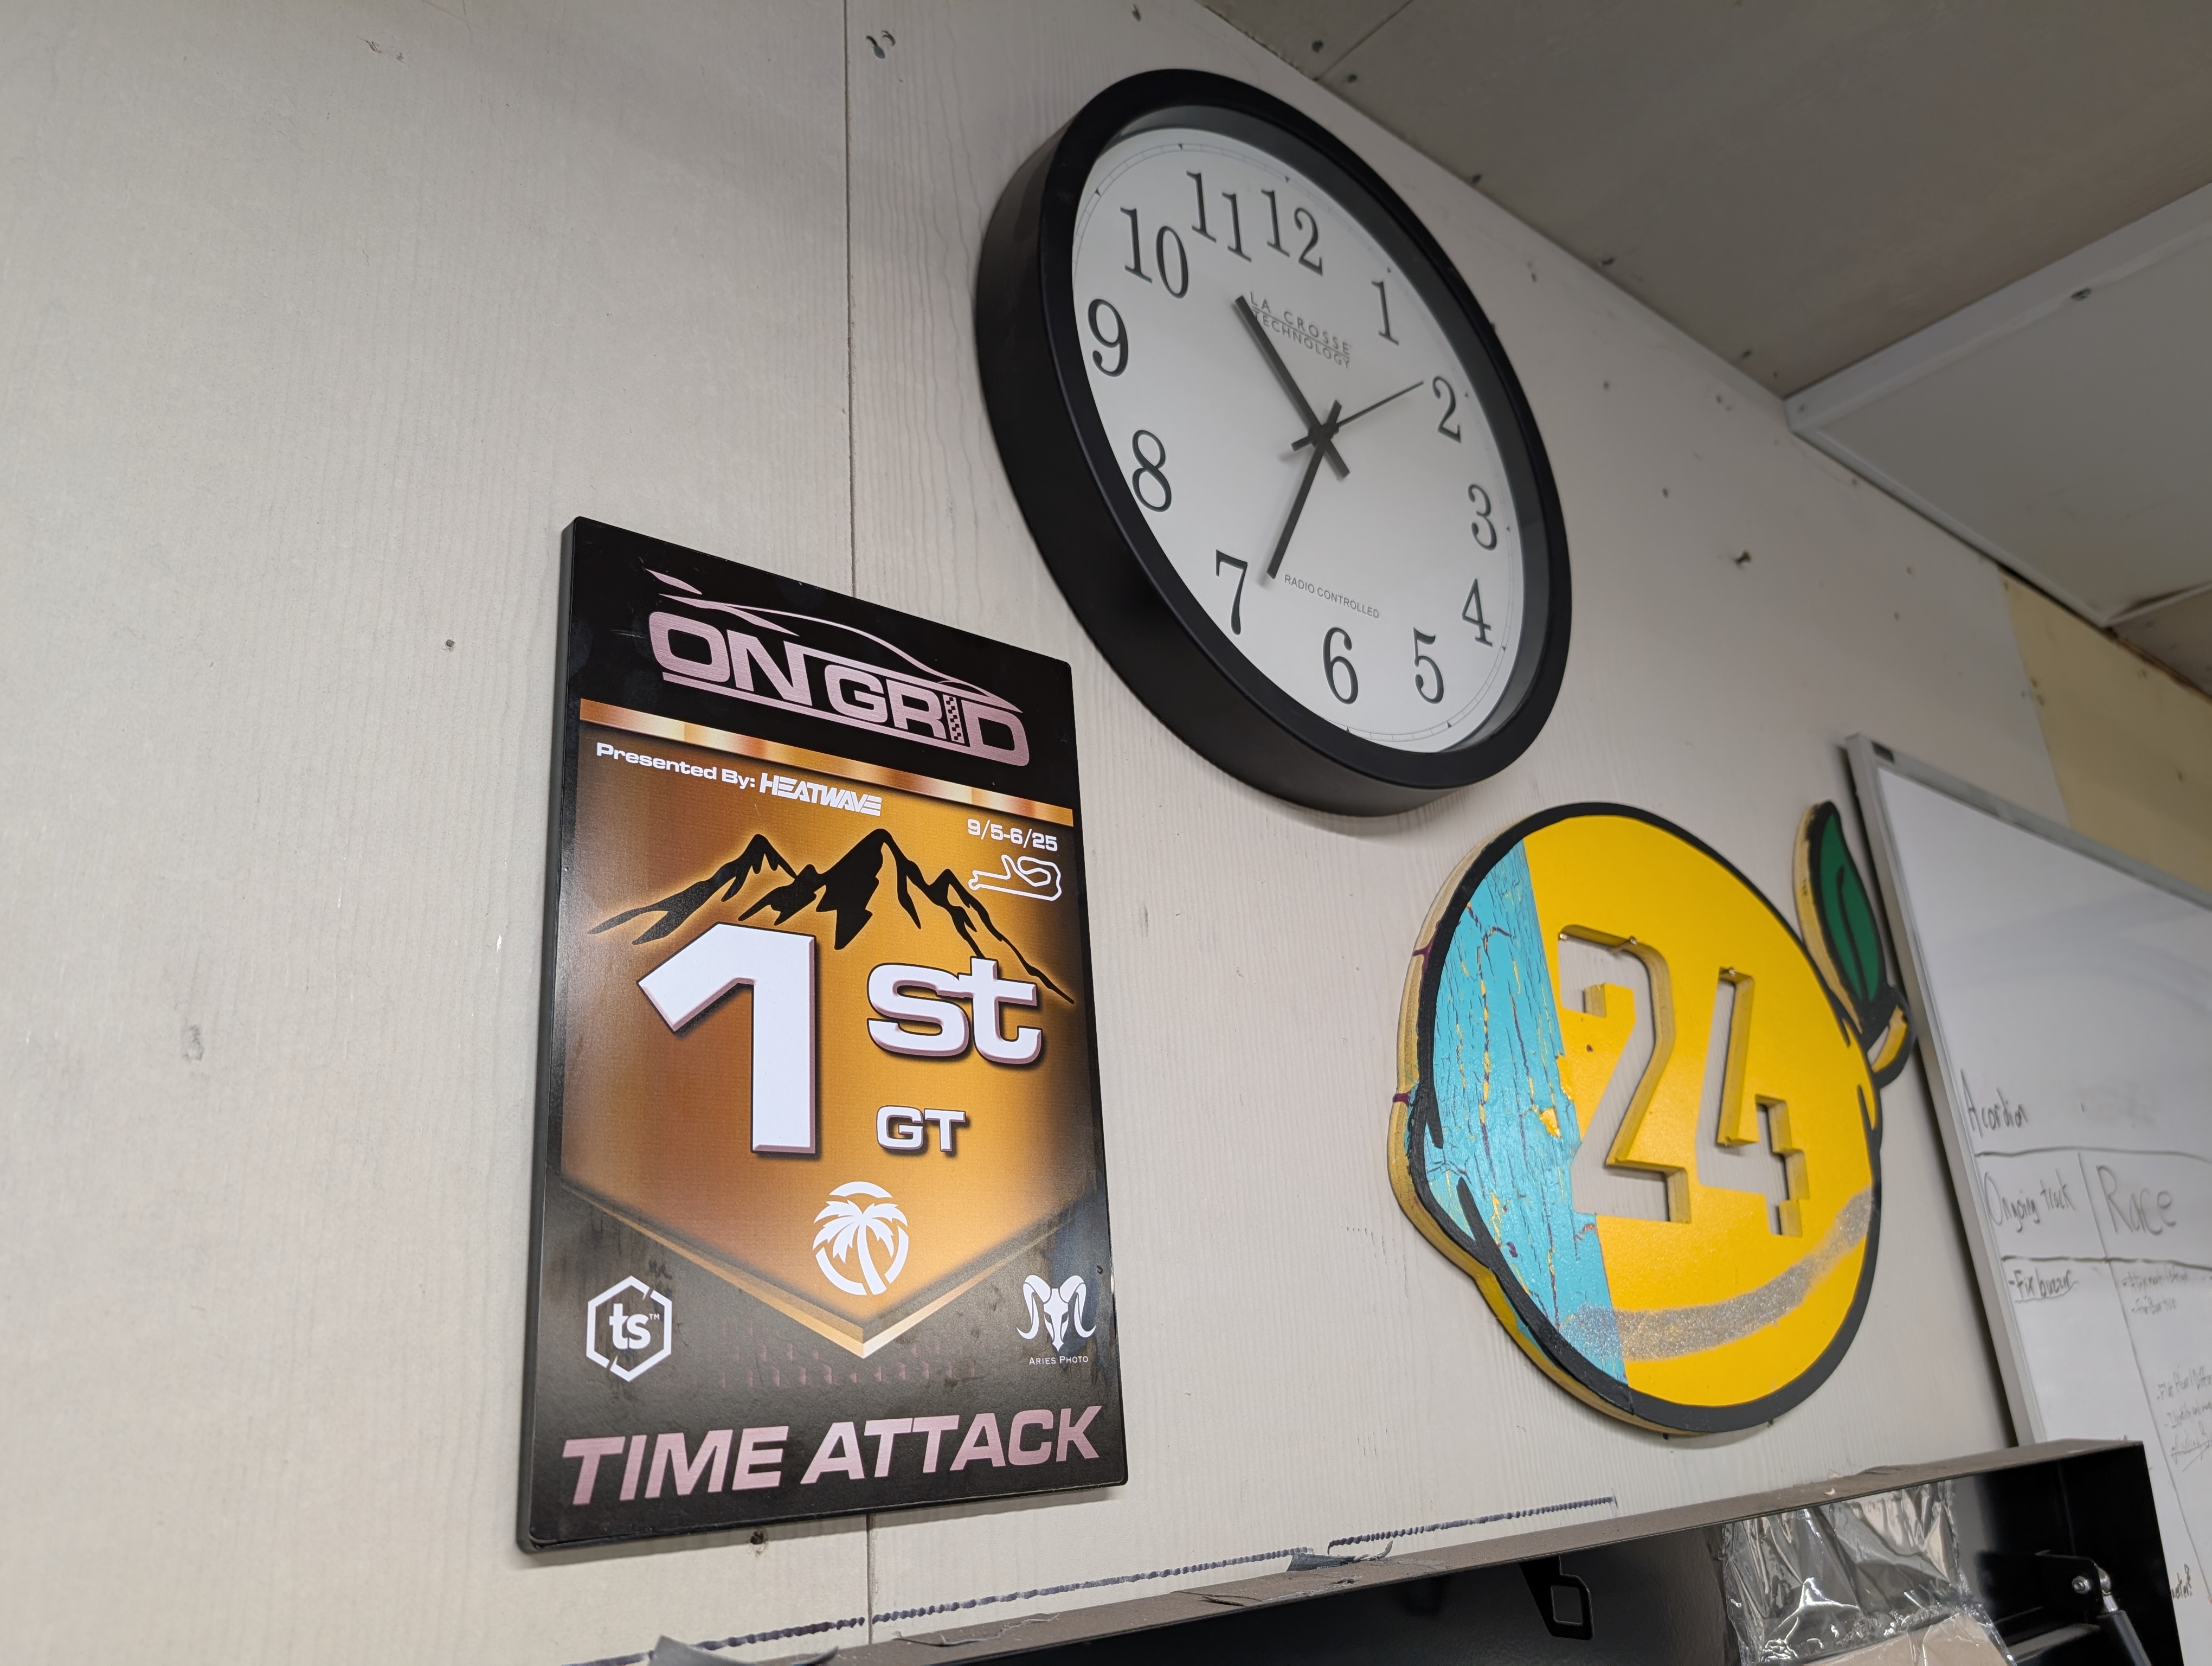
Boy does that plaque look good on the wall, right next to our 24 hours of lemons first place finish plaque!
With a time attack event coming up the following weekend... could I make it a hat trick? I'm hoping to not just win, but take the track record, which would be a real feather in my cap for that event! Here's to hoping!
So how was I able to run faster with less aero? What differences existed?
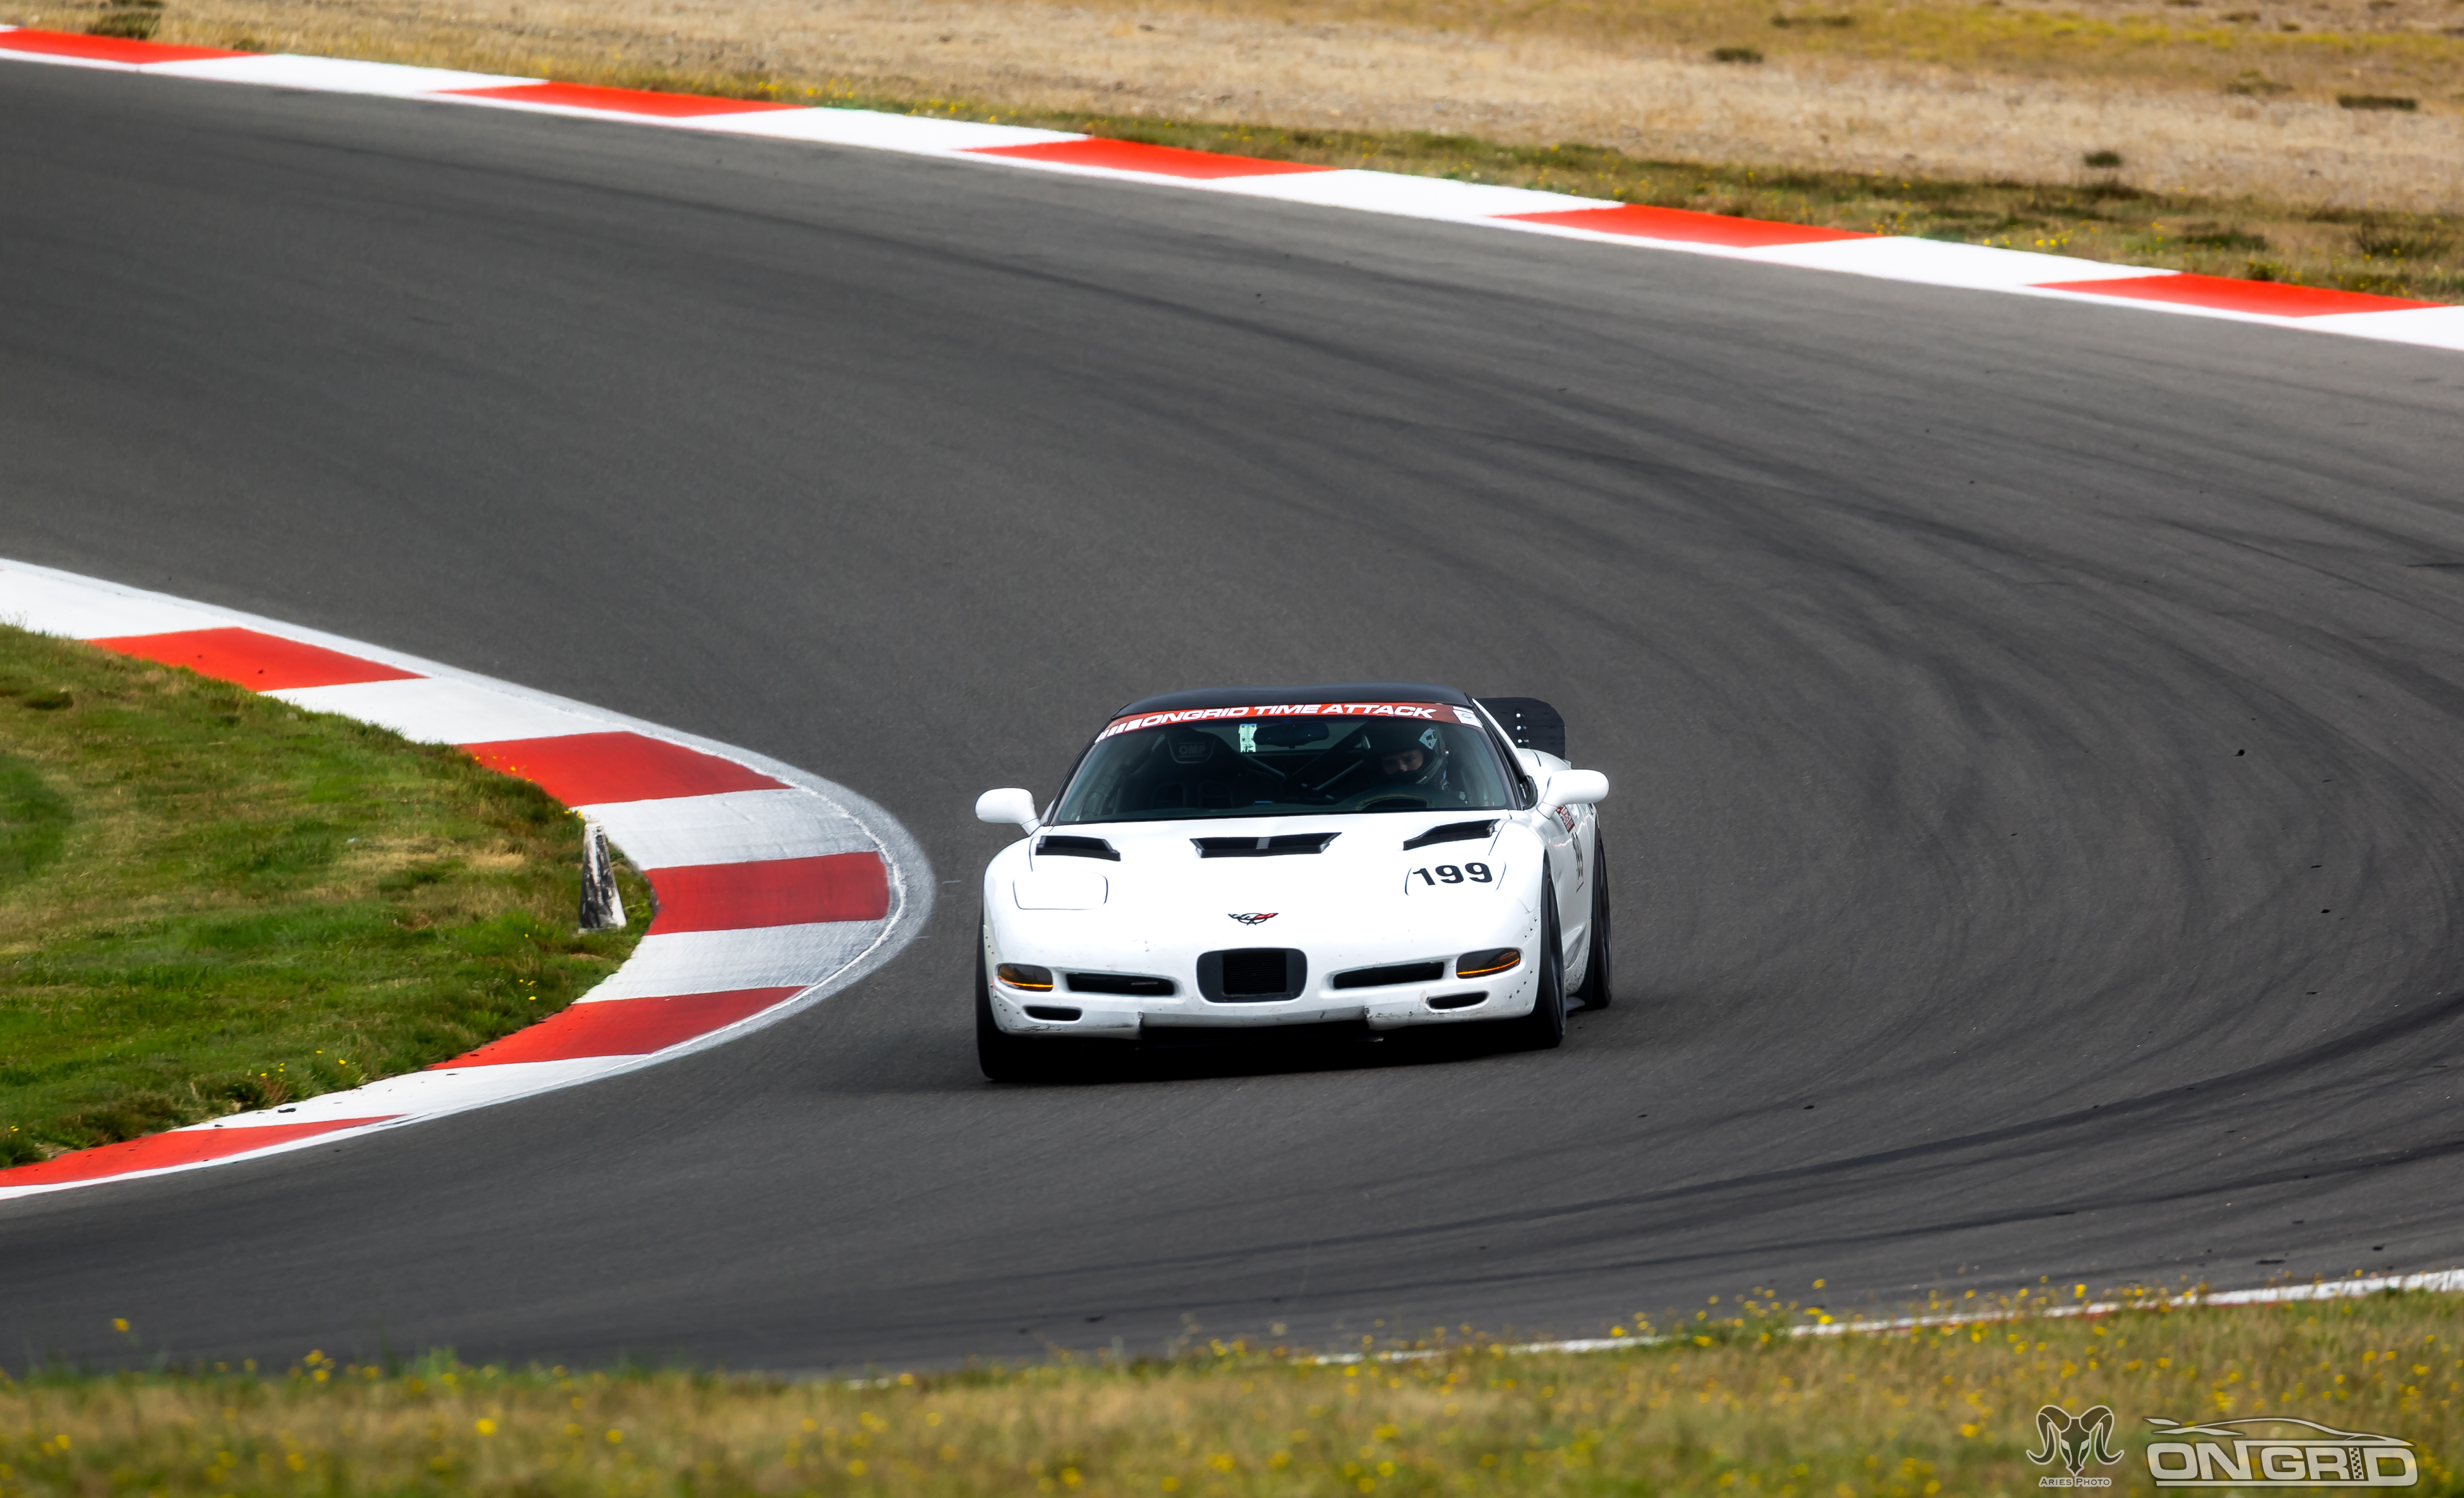
Right off the bat, I have to admit I got a lot more brave throwing the car through turn 1. That at least equated to a quarter second gain a lap. Other parts of the track the car just felt more predictable, allowing me to push the limit or even exceed it with confidence I wasn't going to totally bin it out there. I also spent a lot of time working with ChatGPT on making suspension adjustments and in general sharing what handling characteristics I was experiencing and making adjustments suggested to me.
| Session | Lap Time (s) | Top Speed | Min Lateral G | Max Lateral G | Weather (approx) |
|---|---|---|---|---|---|
| July 26 (Full Aero) | 109.36 | 140.98 | -0.643 | 1.328 | ~78 °F, partly cloudy, ~55% RH, ~29.9 inHg |
| Sept 6 (OnGrid GT) | 108.84 | 139.87 | -0.624 | 1.527 | ~71 °F, mostly cloudy, ~70% RH, ~30.0 inHg |
So right off the bat, just some simple data shows that with full aero my top speed was higher. This is likely due to the lowered drag of the wing versus my giant spoiler. Still top speeds weren't that far off. Max later G however was a notable boost to day 2, pulling .2g additional max lateral G. Perhaps some of that can be attributed to lower temperatures? Humidty was also higher which would give a desner air charge... combined with lower temperatures likely producing a lower intake air temperature. So... a few differences in my favor for the non-aero setup!
Turn 1 analysis (With ChatGPT)
| Session | Apex Speed (mph) | Apex G (derived) |
|---|---|---|
| July 26 (Full Aero) | 95.84 | 1.225 |
| Sept 6 (OnGrid GT) | 103.34 | 1.225 |
So I was infact correct, my peak speed was ineed faster through turn 1, but my apex G force was the same from my data. This appears to largely be due to an earlier smoother turn 1, either nescessitated by carrying more speed or just a change in approach in general. This alone accounted for about 0.35 seconds of speed gain, making up the majority of my improvement between the previous PB and the current one.
Where September Was Faster
- Turn 1 (entry/early cornering): Gain ~+7 mph
- Turn 2 (flow from T1 exit): Gain ~+4 mph
- Turn 9 (short chute/entry): Gain ~+6.6 mph
- Turns 13–14 (fast lefts before hairpin): Gain ~+6 mph
- Turn 16 (final corner exit onto front straight): Gain ~+3.7 to +4.8 mph
Where September Was Slower
- Turn 6 (carousel): Loss ~−5 mph
- Turns 8a/8b (ridge complex / crest): Loss ~−9 mph
- Turn 11 (tight left after ridge): Loss ~−9 mph
- Turn 15 (hairpin): Loss ~−9.5 mph
My Overall Takeaway: I gained most of my speed through Turn 1, which accounted for the largest portion of my lap time improvement. I was notably slower in several sections, and those were primarily high-load, front-grip–dependent corners (like the carousel, ridge complex, T11, and T15) — likely a result of running without the spoiler and on narrower 295 mm fronts instead of 315s. Other corners showed me carrying more speed, but not to the same extent as where I was slower, which is likely just normal lap-to-lap variance. With some focused improvements to my aero handling setup, I should be able to unlock further lap time gains in future sessions.
After The Event
It seemed relevant to quickly point out, that my plan to create an easy to change out aero setup did indeed work! The spoiler unbolted in a few short moments, and with some cutting to the Gorilla tape it was off and my wing back on in under 20 minutes. Not too shabby!
Overall the transformation took me the better part of 3 days, working about 4-5 hours a day on the car. So 12-15 hours or so of work. some of that time would be mitigated by having ready to go rear shocks instead of having to change springs over, and having ready to go front shocks (I had rebuilt fronts that I hadn't finished setting up). I also spent some time trying to figure out some other shock options I was presented that... were awesome but just weren't quite right for my setup.
I also made a few changes and adaptations working with ChatGPT to my configuration. I confirmed my spoiler angle was set correctly, I adjusted my wing angle, and I made some suspension changes to try and optimize my aero setup going into the next event.
I think in the future I could get the transformation down to 8-10 hours of work, both from having ready to go coilovers for both configurations, and in having my shop prepped and cleaned up, as this has all been a bit rushed with three back to back race weekends in a row!