Cadillac Brembo Front Brake Upgrade on a C5 Corvette - Information, Notes, Track Testing!

The Short Version - Caddilac Brembos Work on the C5 Corvette
Several years, podium finishes and hundreds of hours of testing later... the Caddy Brembos have proven themselves as not just the easiest bang for the buck brake upgrade option out there, but they have proven to be just as capable as much of the professional offerings out there. It's disrupted the industry offerings on the C5 Corvette, as they rival the C6Z for ease of pad swaps, and by the time you reach the cost of a set of aftermarket calipers alone on the C5, you could have been on the Caddy Brembos for years.
From early A<>B testing to prove the cooling was there, to on track testing over 40 events, to competition, these have lasted for me. I now have the joy of seeing folks at the track, asking them about their car and they say "Oh I've got caddy Brembos! You heard of them?!?". Why yes, I think I have!
Check them out. They seriously work, will save you money, and are pretty darn awesome.
The long version:
Per my review of various upgrade brake options on the market for the C5, the option that originally stood out the most was utilizing the Cadillac Brembo 4 piston calipers with 14" C6Z06 rotors on the front. The price was reasonable, parts availability would be excellent, and it allowed utilizing much larger rotors (14" vs 12.6"). The upgrade was also preformed and documented on youtube first by another fellow Sam McLean thus the parts and overall concept were documented enough to attempt this myself. Consequently this upgrade seemed like a good way to reduce heat build up while also increasing braking ability, and it didn't hurt that this involved a bit of DIY fun and a fair bit of cost savings over other kits.
Below is my experience with all of this. Failures, success, A-B testing to verify this was even an actual upgrade (so many keyboard warriors said it wouldn't be an upgrade) and any other findings and useful information I may have. Hopefully you find this useful and informative, and I definitely hope it helps put some doubters to bed. This setup WORKS and has now been track tested at over 45 events up and down the entire west coast. These brakes have taken to onto the podium many a time along with captured SCCA class records and even one SCCA track record along the way.
Parts list
- Drivers side caliper (GM Part # 172-2777 / 84544154)
- Passenger side caliper (GM Part # 172-2768 / 84544155)
- 2x Brake rotors (options below)
- Duralast - 72004 - 14" - 355mm - 99.99ea - Drilled Rotors - SPECS
- DFC Blank Rotors From Rock Auto - 14" - 355mm - $76.79ea - Solid rotors
- KNS Blanks - 14" -355m - $100ea (I use and endorse these)
- Other options discussed here
- 4x Caliper bolts
- GM Genuine Parts 11611085 M14x2x45 Multi-Purpose Bolt
- Bag of M14 washers
- You will use washers as nescessary between the knuckle and caliper to space your caliper on the rotors so it free spins with no interference
- Brake Pads
- AC Delco Pads ($82 MSRP, $40-50 on sale at time of linking)
- Track & Streetable track oriented options discussed here.
- NOTE: For track I highly recommend SR-11 brake pads.
- For alternative brake pads, look for a 2016 Cadillac XTS
- Brake Caliper Hardware Kit
- Sometimes not included with brake pads, such as the EBC SR11.
- Brake fluid of choice
- Castrol SRF - Highly recommend. Highest wet boiling point of any race DOT4 so it will hold up the best to a long service interval while also still having a massive heat threshold compared to standard DOT4s.
- Brake lines
- Factory will work but are not recommended
- Stainless braided brake lines in theory improve feel and improve safety in the event of track debris impact.
Initial Installation - A few minor things to learn, and then success!
My initial effort at installing these unfortunately was failure. The rotors fit great, and I was able to center the caliper on the 14" rotor with 2x 1mm M14 washer (linked above)... however the 18" "wagon wheels" did not clear the caliper. See the picture below. Also please note I did not drive the car like this, the wheels contacted the rotor just a few times attempting to check fitment chipped the cheap caliper paint. Such is life, pretty calipers are for posers anyways.
Other wheels may yield different results. I have also been advised that 5/8" spacers with extended wheel studs would allow a square setup with 4x 18" base model wagon wheels to clear as well. However, I went a different route.
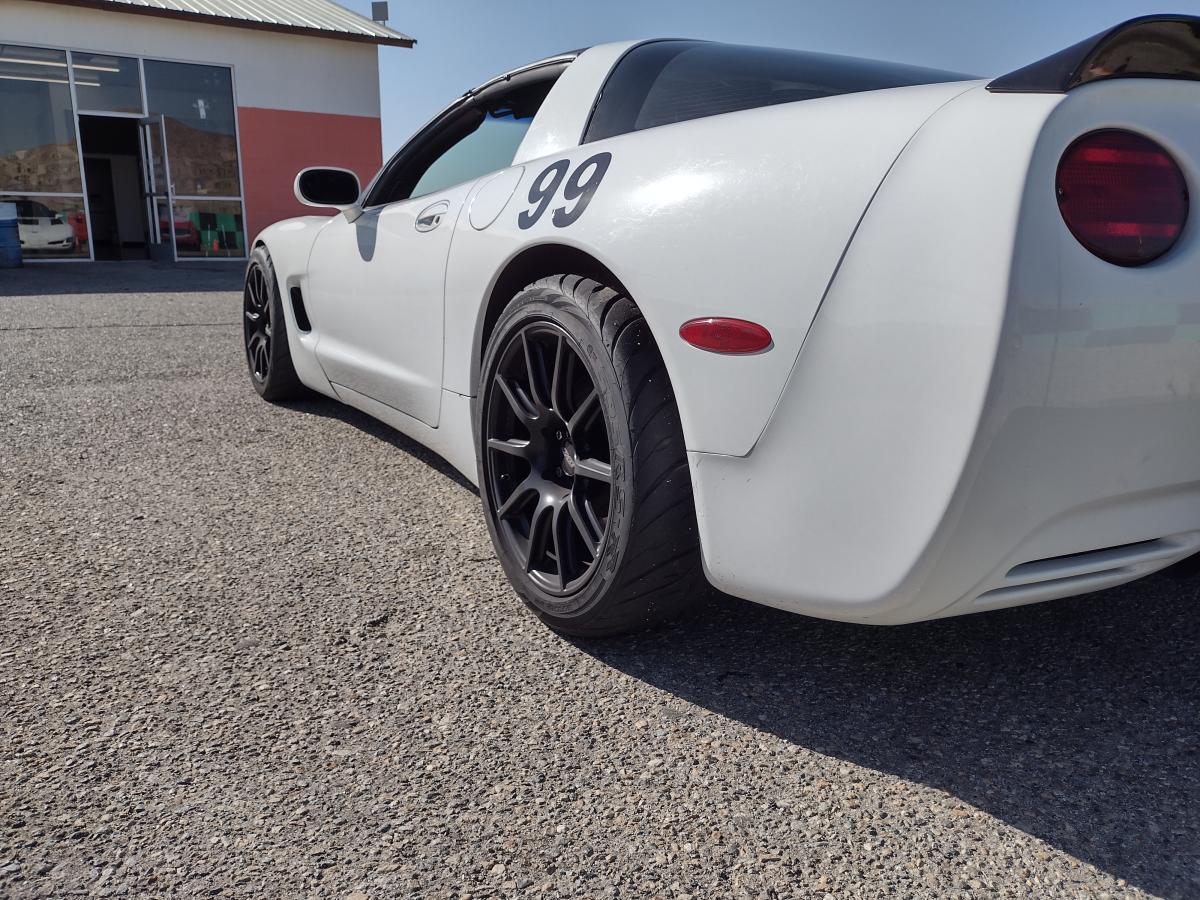
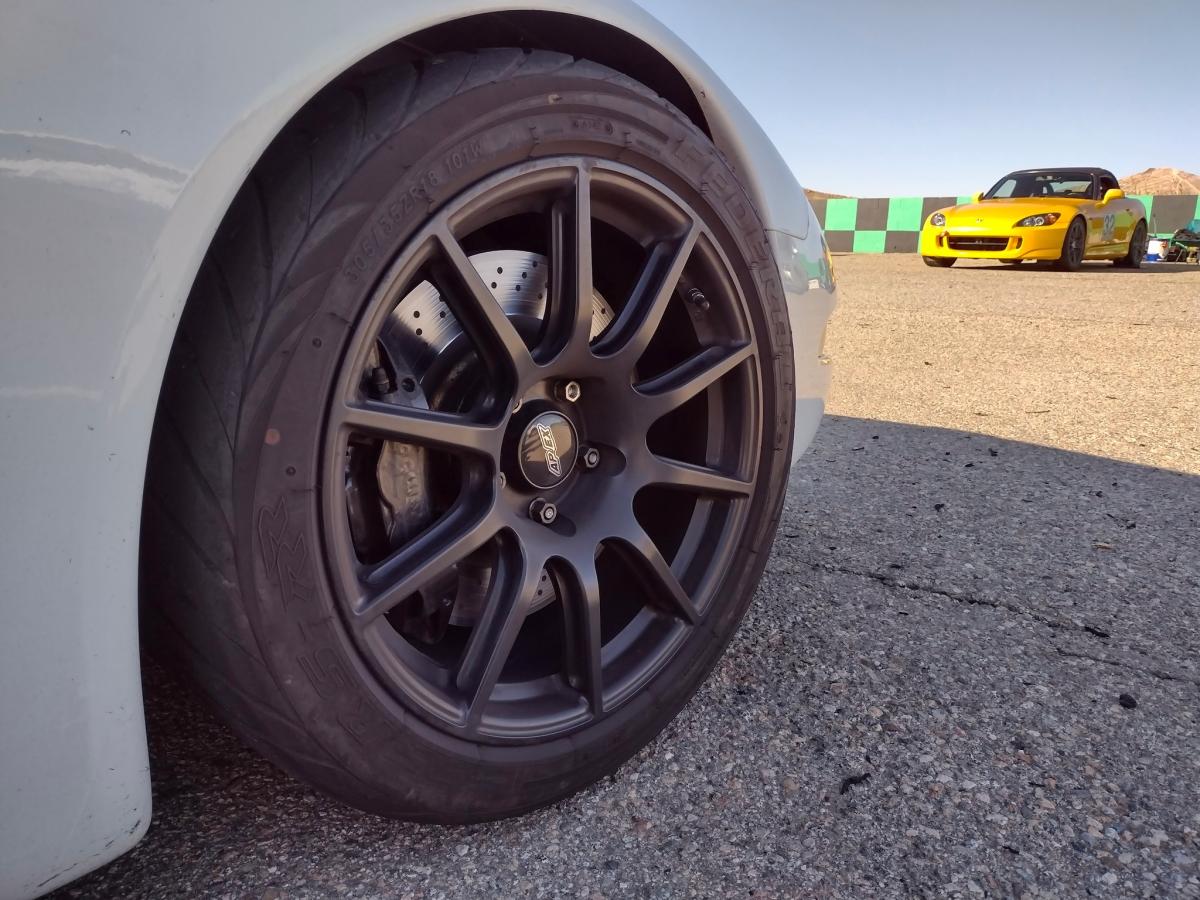
As I want the maximum width tires I can get on this car anyways, I decided to go with 18x11 Apex ET57 SM10 wheels with 305/35R15 tires (200TW). Later I would run 315/30R18 tires and wheels. These wheels are essentially the golden standard of wheel fitment for tracking the C5. It's the size spec Corvette utilizes, and you can't fit much more wheel/tire than this under the car without body modifications. These wheels also are specifically designed to accomodate maximum clearance for big brake kits, which in my case allowed for clearance of the Cadillac Brembo Calipers
The new Apex wheels cleared without any major clearance concerns at all. Not half bad and they do look pretty nice as well! Looks though take a back seat for me to performance!
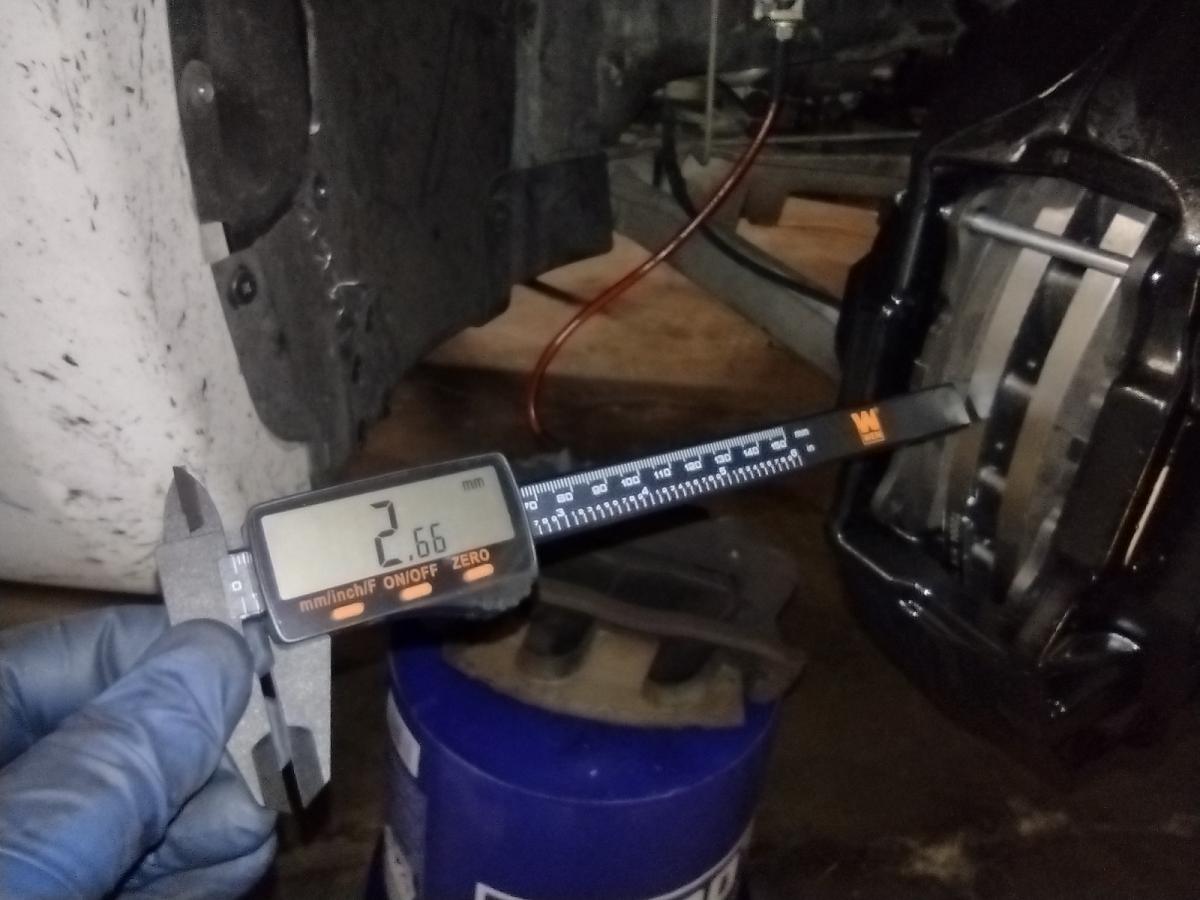
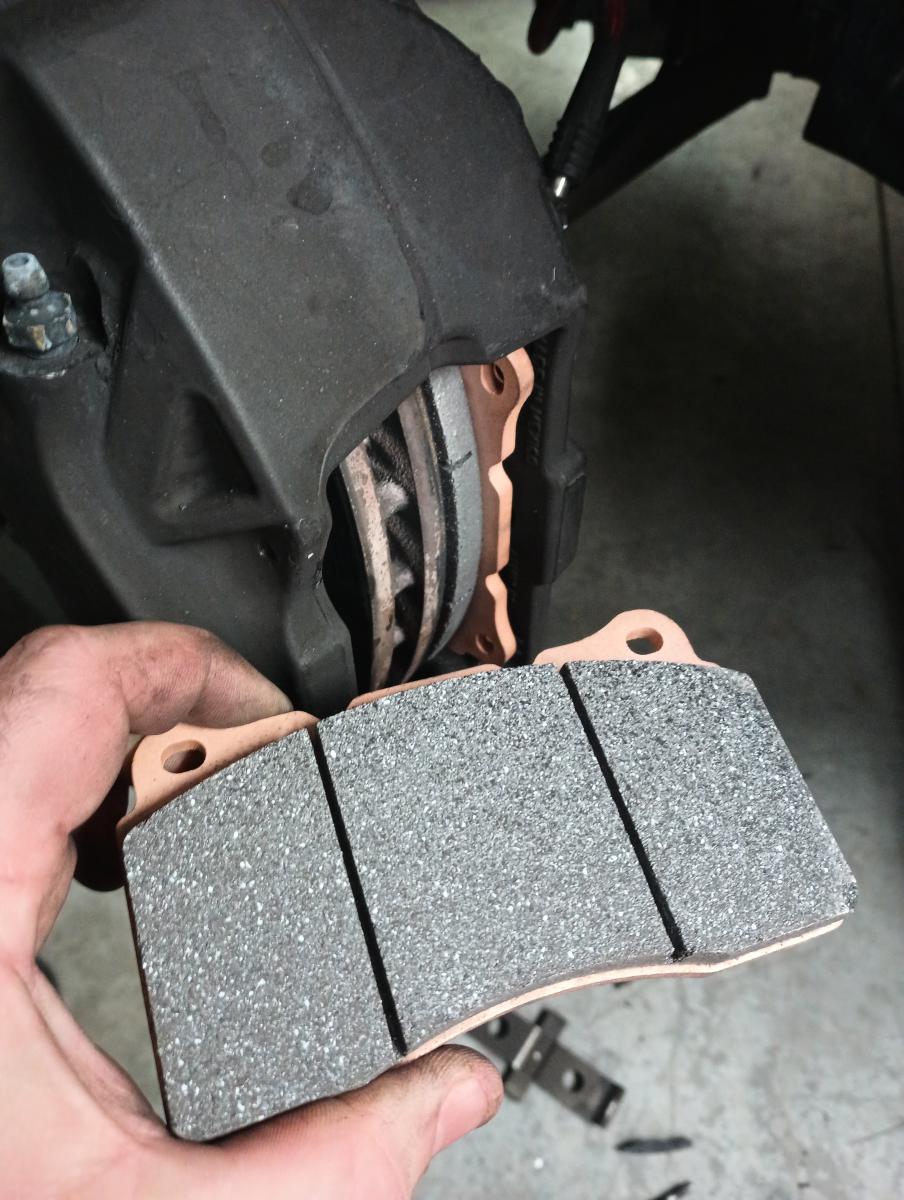
Another factor with installing this kit that wasn't terribly well documented or investigated was there there is a small amount of pad overhang with these calipers. I grabbed my digital caliper and actually measured the overhang to be 2.66mm. This isn't enough to concern me, and the pad itself goes all the way down to the bottom of the friction surface of the rotor. These pads are making the most of what is available to them and then some. I have no qualms running these.
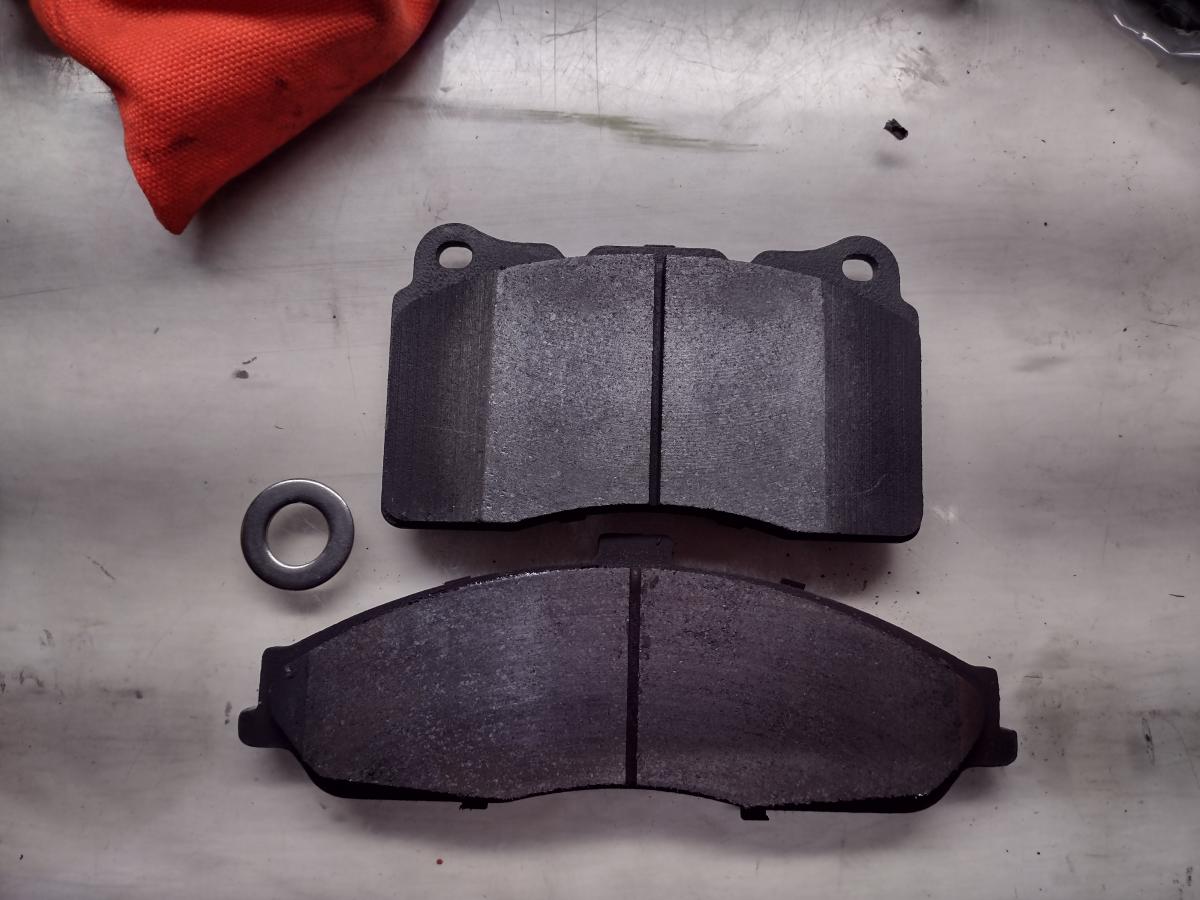
Speaking of pads, here is the Cadillac Brembo pads next to the C5 brake pads for comparison. The two seem to be pretty damn similar as far as stopping surface area goes. Add in that the Cadillac Brembos are 4 piston, this has all the symptoms of being an upgrade.
Anyways, beyond the pictures above, the install went smooth. I had the entire swap over done in an hour, with about 20 minutes of that me trying to determine exactly how the new pins work on the brembo rotors. Low and behold, you just wack them in. Want them out? Wack em out with a drift. Seems simple enough!
Initial break in testing
Having just installed these, I have to admit I was pretty excited to get out and try them. I took them to a remote desolate road that isn't very often traveled and began to follow the brake pads break in procedure. It called for 10x stops from 60-10mph at an aggressive pace, and then 10x stops from a higher speed to 10mph at an aggresive pace. We started performing these braking cycles in relatively rapid succession. As we were doing this, problems began to arose. First off, we started seeing sparks shoot out...so we pulled over and checked everything and nothing seemed bad. Perhaps it was just because we were testing on a VERY dark night and it was new rotors and new pads?
We proceeded to break in the pads, and at several points we had to discontinue and go for cool down laps as the calipers started to make a distinct metal on metal grinding sound. We pulled over after a cool down and the sound going away and reviewed and yet again, everything seemed fine. Odd. Not sure if this issue would arrise at the track under heavy successive brakings from a high rate of travel back to 10mph back to back to back to back...
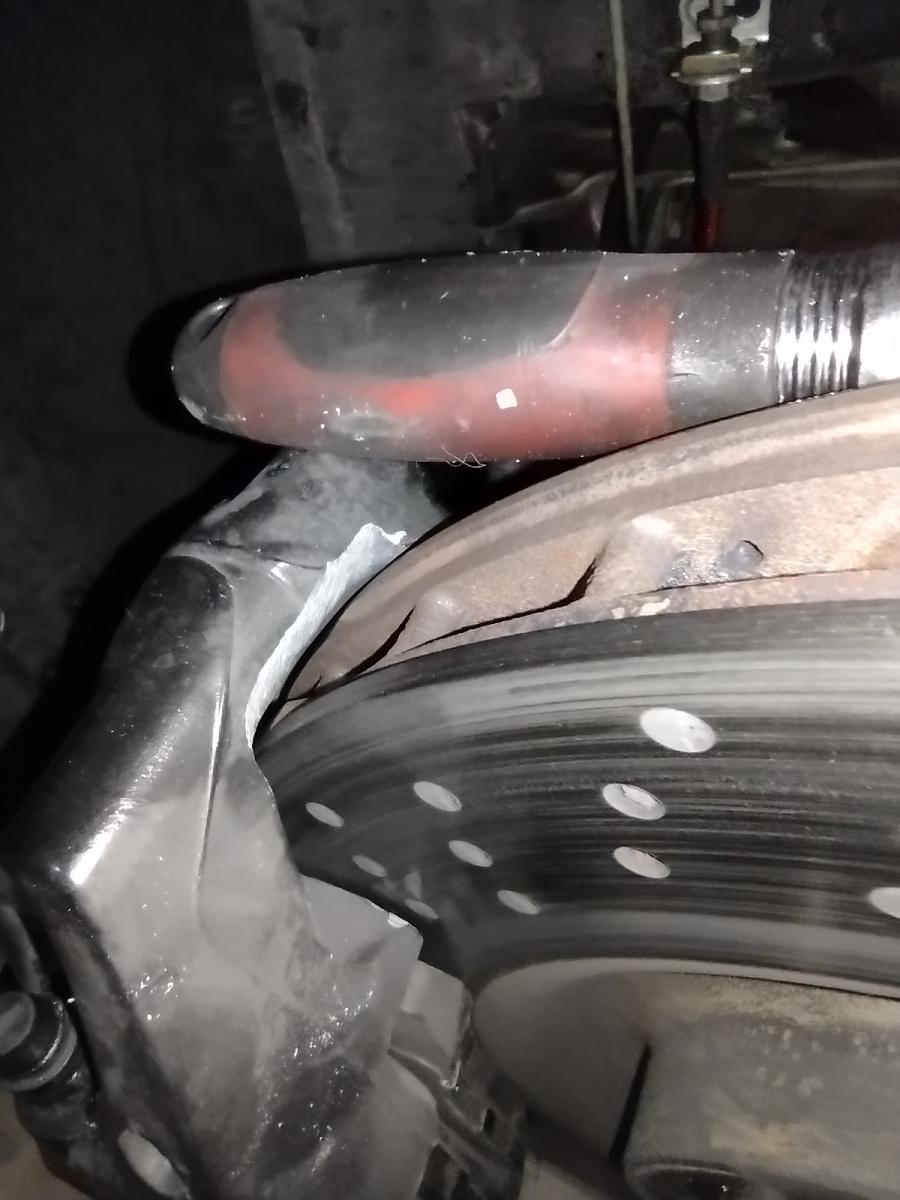
I took the Corvette home and next day I took everything apart to inspect. My theory was that perhaps the 2mm wider size of the Z06 rotors (The Cadillac rotors are 30mm wide, the Corvette Z06 rotors are 32mm wide) was perhaps causing the already tight side to side clearance of the calipers to rub. However, I could not find wear along these surfaces. However, I did find a bit of wear where the outside outward diameter of the rotor barely clears the caliper. Not sure if thise was perhaps braking material or road debris that got caught in there, but this clearance is also rather tight as well.
A spirited street test ride the next day confirm though that this works fine for spirited street driving withot issues. The brake break in procedure we followed was just quite aggressive, with the braking cycles done in rapid succession.
Baseline VS Brembo Caliper Stopping Distances & Rotor temps
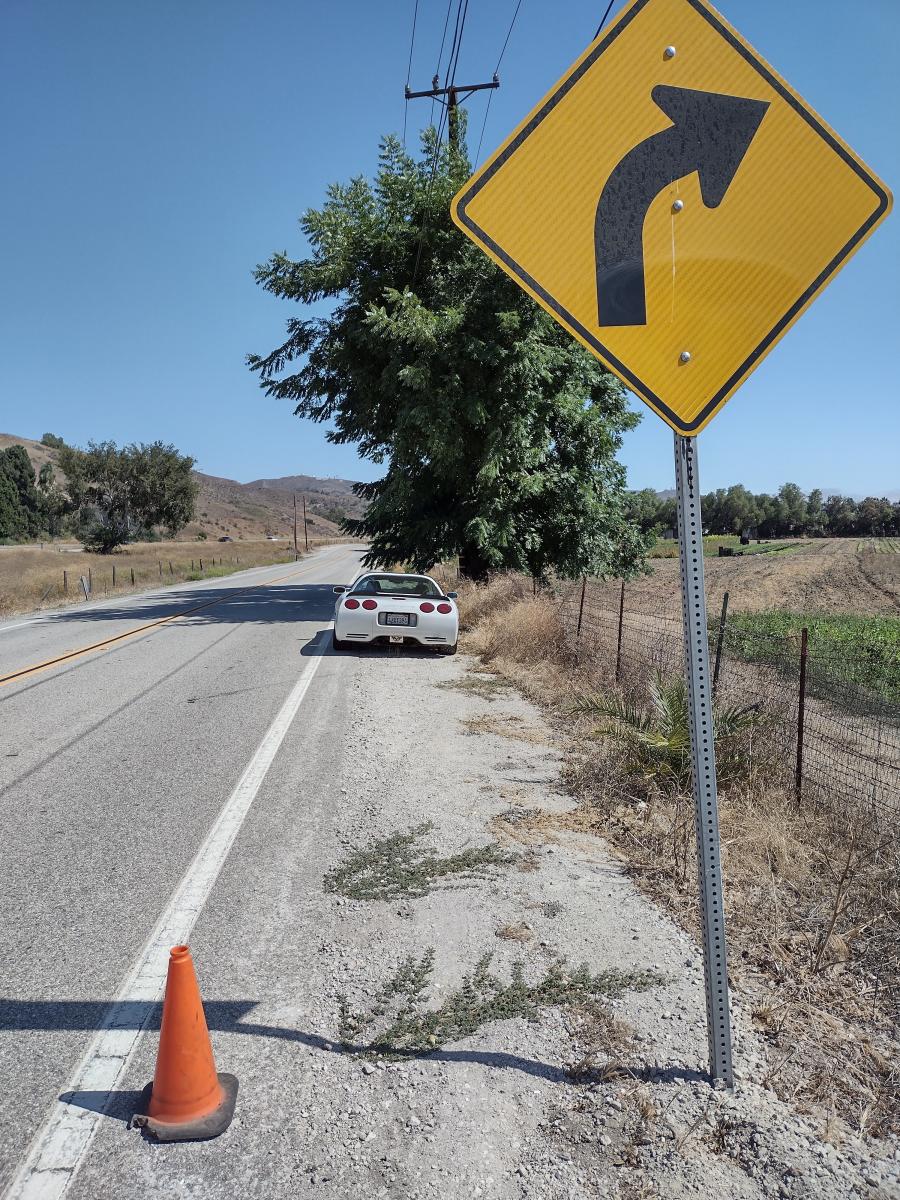
In order to determine this upgrade has a functional and legitimate purpose besides like is to determine a baseline of what the car did with OEM brakes. We setup a simple enough test: Take an initial temperature reading after driving from my house to the test location. Drive down a largely untraveled road at 50mph. At the road cone, stop as agressively as I can. Repeat 5x. Take a cooloff lap, check temperature again, and then repeat some additional laps. This would let us know just how much distance the brakes allowed us to stop in, and what sort of temperatures we were seeing on the rotors, which in theory translates to temperatures in the system.
Here are the findings
| OEM Calipers | Brembo Calipers | |||
| Test | Distance (ft) | Temp (F) | Distance (ft) | Temp (F) |
| Initial | - | 130 | - | 150 |
| Stop 1 | 70 | 170 | 66 | 180 |
| Stop 2 | 82* | 197 | 65 | 205 |
| Stop 3 | 75 | 230 | 63 | 220 |
| Stop 4 | 71 | 235 | 65.5 | 250 |
| Stop 5 | 74 | 280 | 65.5 | 240 |
| Cool Off | - | 280 | - | 195 |
| Stop 6 | 74 | 320 | 68 | 250 |
| Stop 7 | 76 | 320 | 61 | 270 |
| Stop 8 | 72 | 310 | 64 | 260 |
| Cool Off | 300 | - | 235 | |
| Stop 9 | 76 | 300 | 60 | 250 |
| Stop 10 | 65 | 320 | 61 | 260 |
| Stop 11 | 67 | 320 | 63 | 257 |
* Outlier value, possibly incorrect reading or human error braking.
General Analysis:
Stopping distances were notably shorter with the Brembo Calipers, and rotor temperatures stayed lower the further along the test went
Braking distance Comparison:
During the first phase of the test, average braking distance for the OEM calipers was 72.5, throwing out the outlier value. The average braking distance for the Brembo Calipers was 65, demonstrating the Brembo Calipers yielded a 10.4% improvement. In the second set of stops the OEM calipers averaged 74', while the brembo calipers averaged 64.3;, yet again showing the Brembos yielded a 13.1% improvement. In the final braking session however the OEM calipers averaged 69.3', and the brembos demonstrated an average of 61.3', demonstrating a final improvement of 11.5%.
Overall, it would appear safe to say that the Brembo calipers yielded at least a 10% improvement in stopping distance for this particular Corvette with wheel and tire combination.
Rotor Temperature Comparison:
During the first phase of the test, the Brembo calipers and rotors started with a higher rotor temperature and held a higher temperature until the 3rd stop, where the OEM calipers and rotors began to exceed the rotor temperatures of the Brembo Calipers. The OEM rotors held higher temperatures all the way until the cool off period, during which the OEM rotors also failed to decrease significantly in temperature during a cool off run.
For the remainder of the test the OEM setup would carry higher temperatures and achieved a highest temperature of 320 degrees. During the tests the Brembo setup peaked at 270 degrees.
During all cool down periods the Brembo configuration yielded the most improvements, dropping 45 and 25 degrees while the OEM setup dropped 0 and 10 degrees.
Overall, it would appear safe to say that the Brembo combination operates at a lower temperature despite starting at a higher temperature. It also appears safe to say that the larger rotors with the Brembo combination vent the most heat as the setup yielded significantly higher temperature drops between sessions.
A discussion on variability and the human factors involved:
There was definitely some variability in the testing, with a big part of that being the human factor. For example, on stop 2 with the OEM setup I clearly did not brake to full potential. There was also some variance in me getting up to speed and then setting cruise control. Sometimes I'd be a 48, sometimes I'd be at 52. I'd adjust the cruise control with 100 yards to go, but I can't be certain the car didn't vary in speed some amount between 47-54mph or so. I was also stopping as best as I could at a given marker, but there may have been several feet of variation there was well. When you consider the average human reaction time is 200 ms (.2s), and that distance traveled when going at 50mph for that period of time is 14.6667 feet, you start to see that the margin of error isn't exactly insignificant.
Another factor is the manner of travel between braking stops along with the speed of the cool down laps. At times I found myself enjoying my Corvette a bunch, so I would be driving quicker back to the starting location. Another factor is that my familiarity with maximum braking likely improved as well during the testing.
There are factors in here to consider, but overall the trends appear significant enough to say that the Brembo combination outperforms the OEM combination.
Brake pad comparison notes:
PST-1001 for Brembos, OEM was PST-731. Same model, same compound from same manufacturer. OEM had two track days of driving on them already though. Bremo just brake in bedding + 500~ street miles. Some possible variation in there but likely not much?
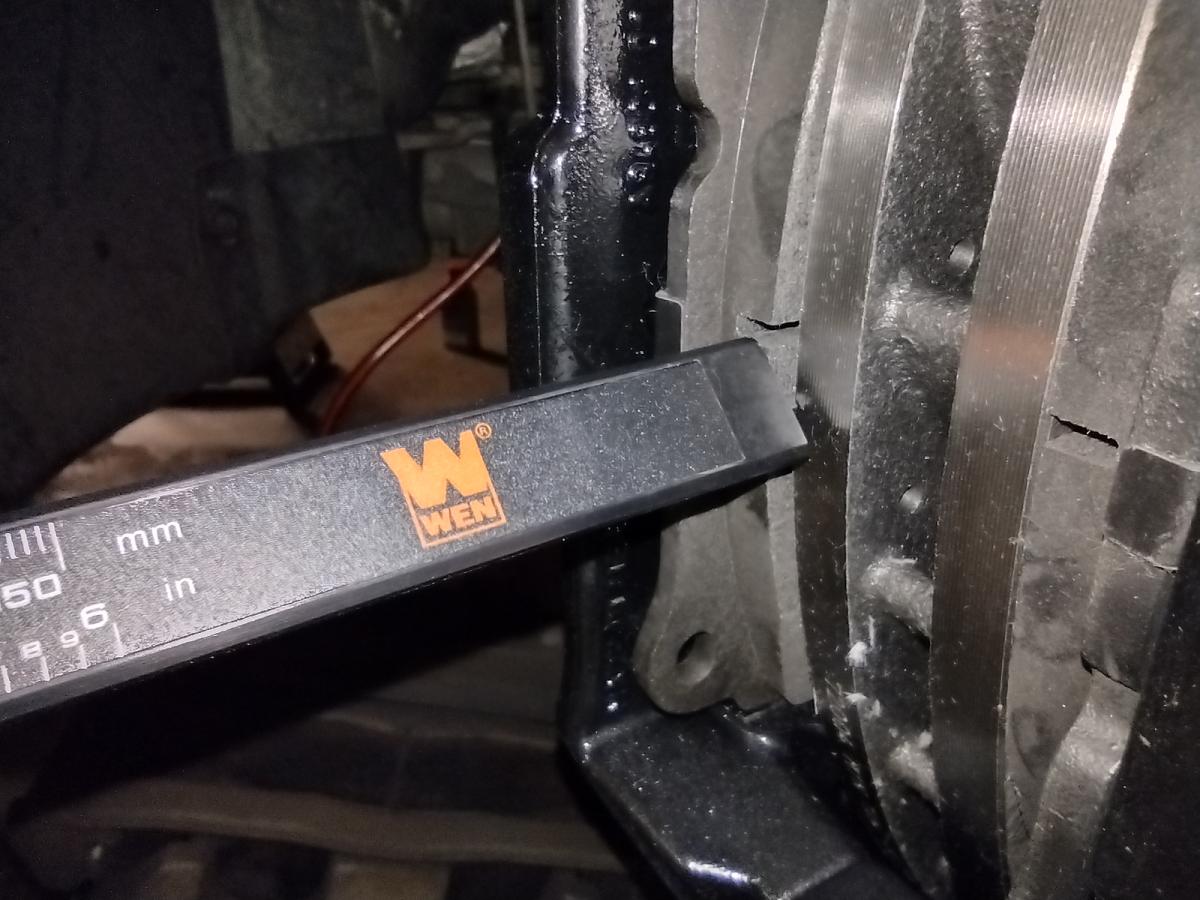
Additional Clearancing
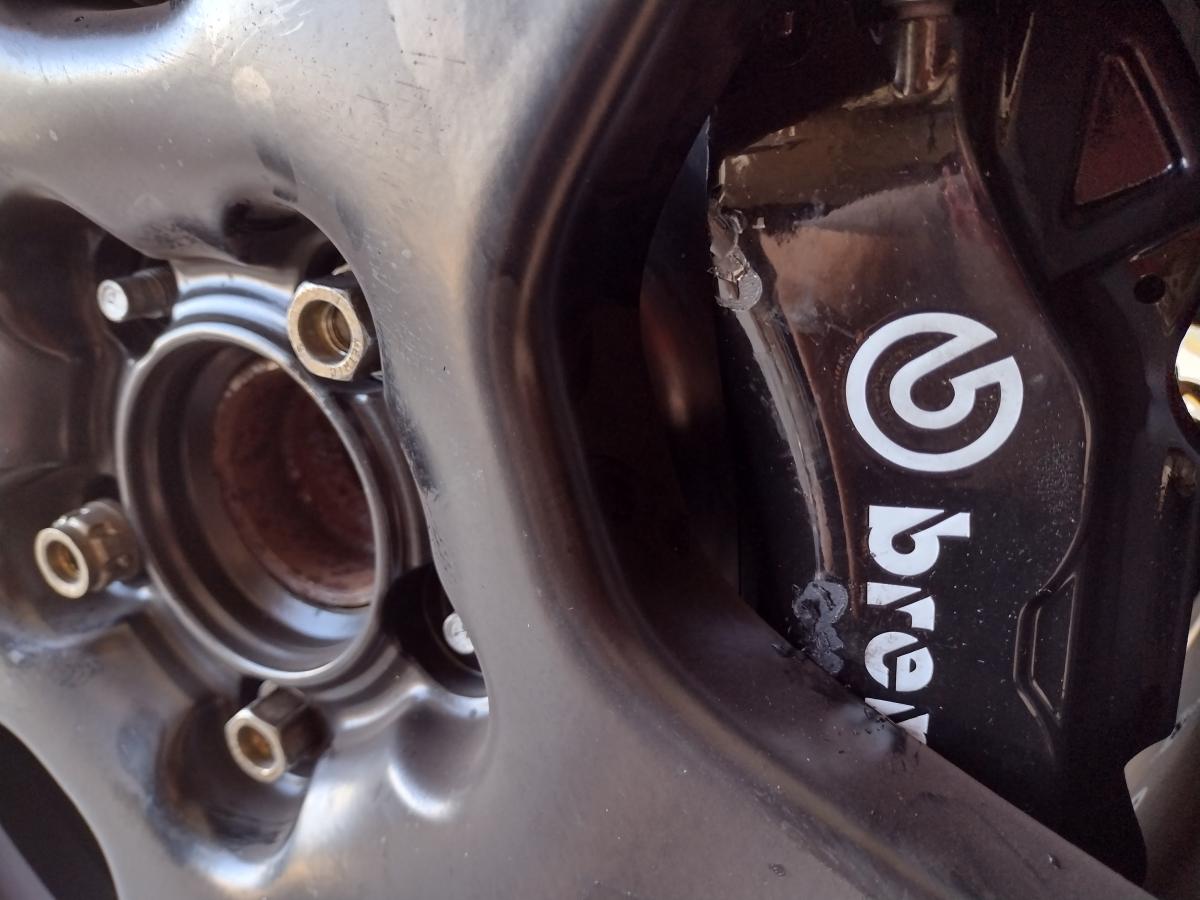
Reflecting on the few issues I was having, I decided to investigate the caliper and rotor clearances on more time. An area I had not considered was clearance in regards to their radius. Measuring the clearance between the caliper and the rotor using a feeler gauge I was able to determine the gap was .015" or .38mm! That's snug!
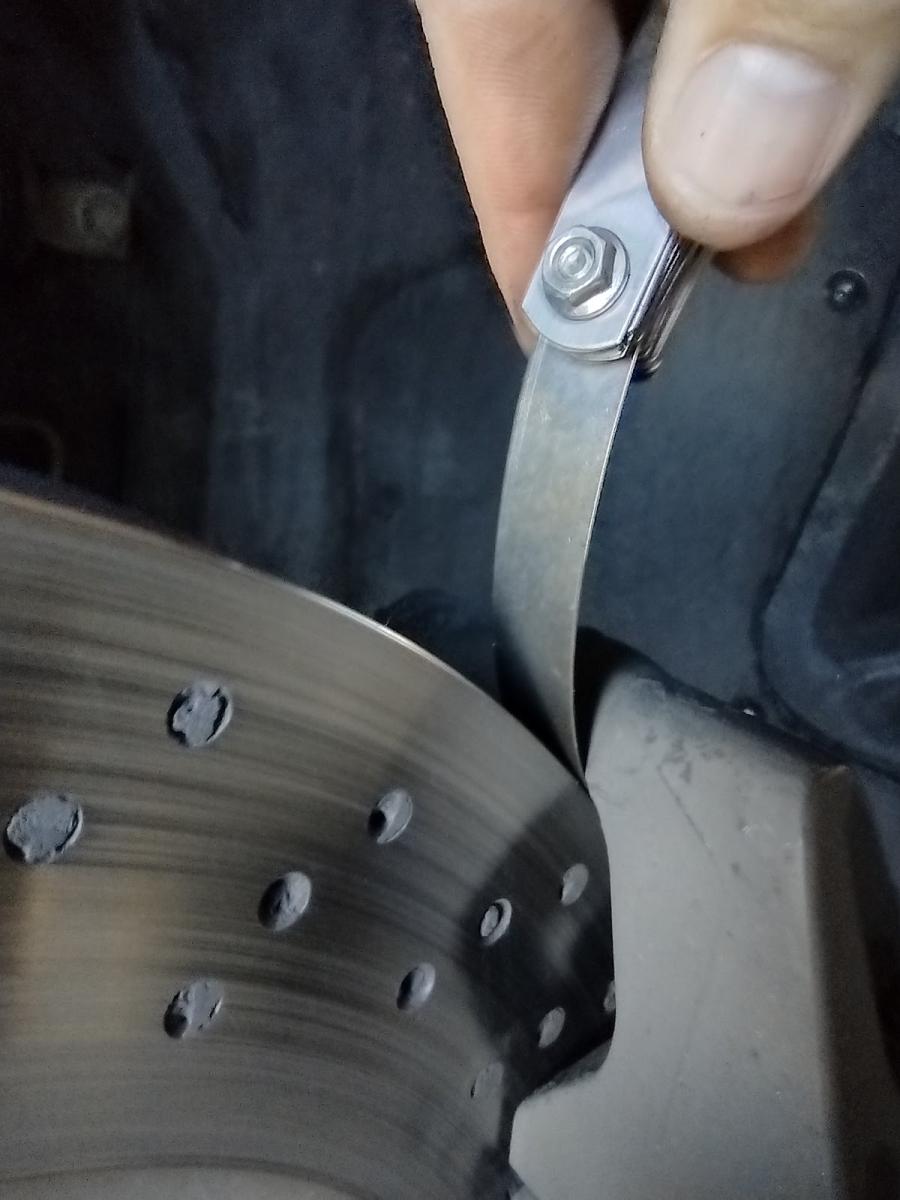
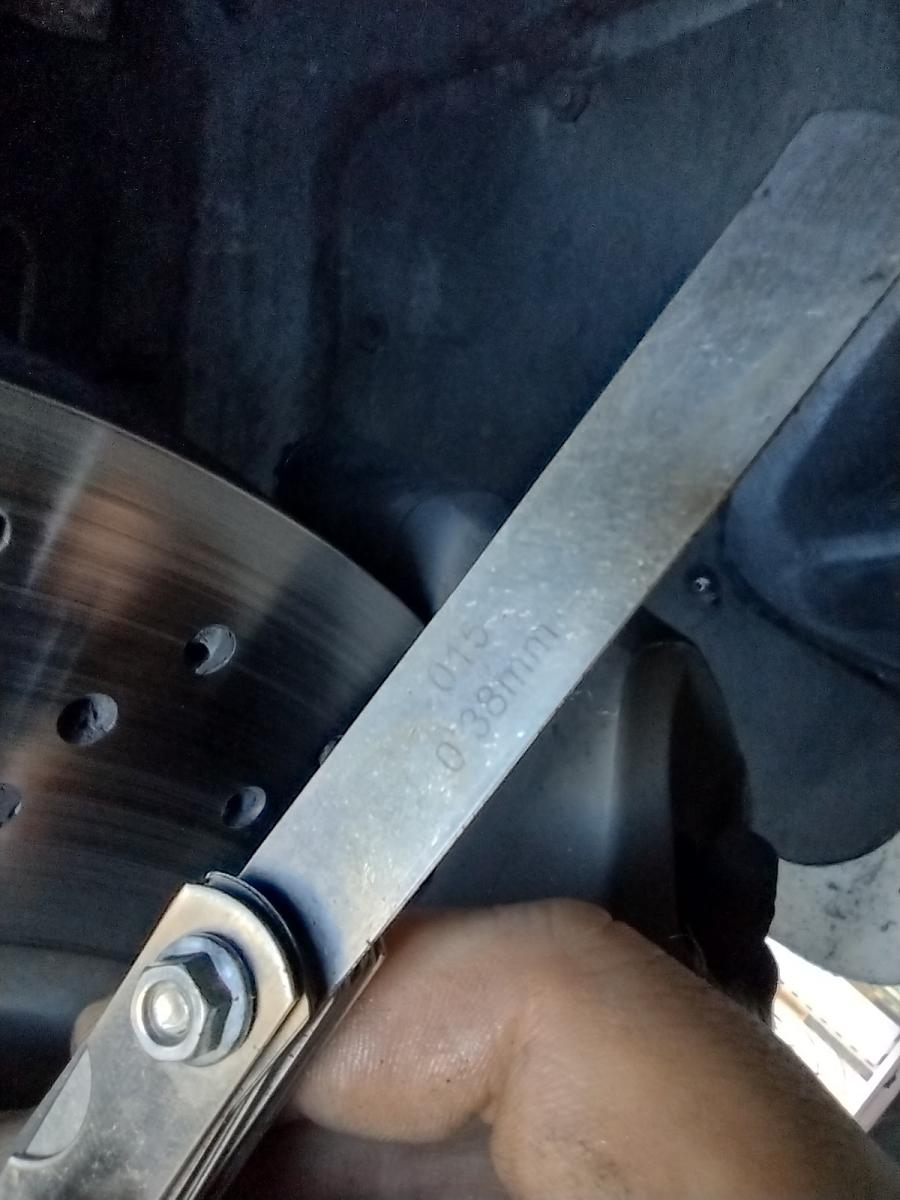
This seemed to me like a likely culprit for clearancing issues when the rotor expands when hot, along with for extra material from the brake pad stick out to build up and then impact the caliper itself.
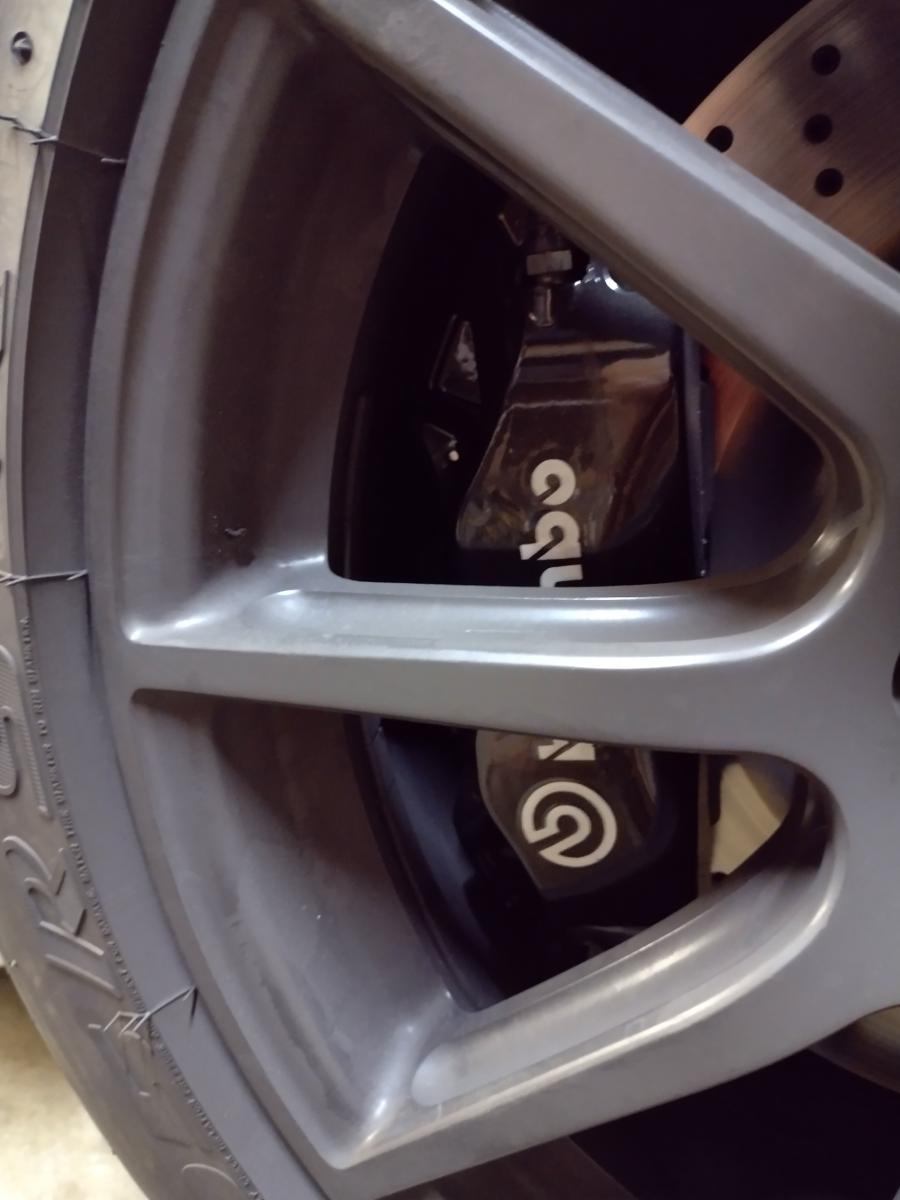
Being a highly scientific type, I decided to use the tried and true "Grind it until yer happy" technique to clearance the calipers. This yielded significant clearance gains.
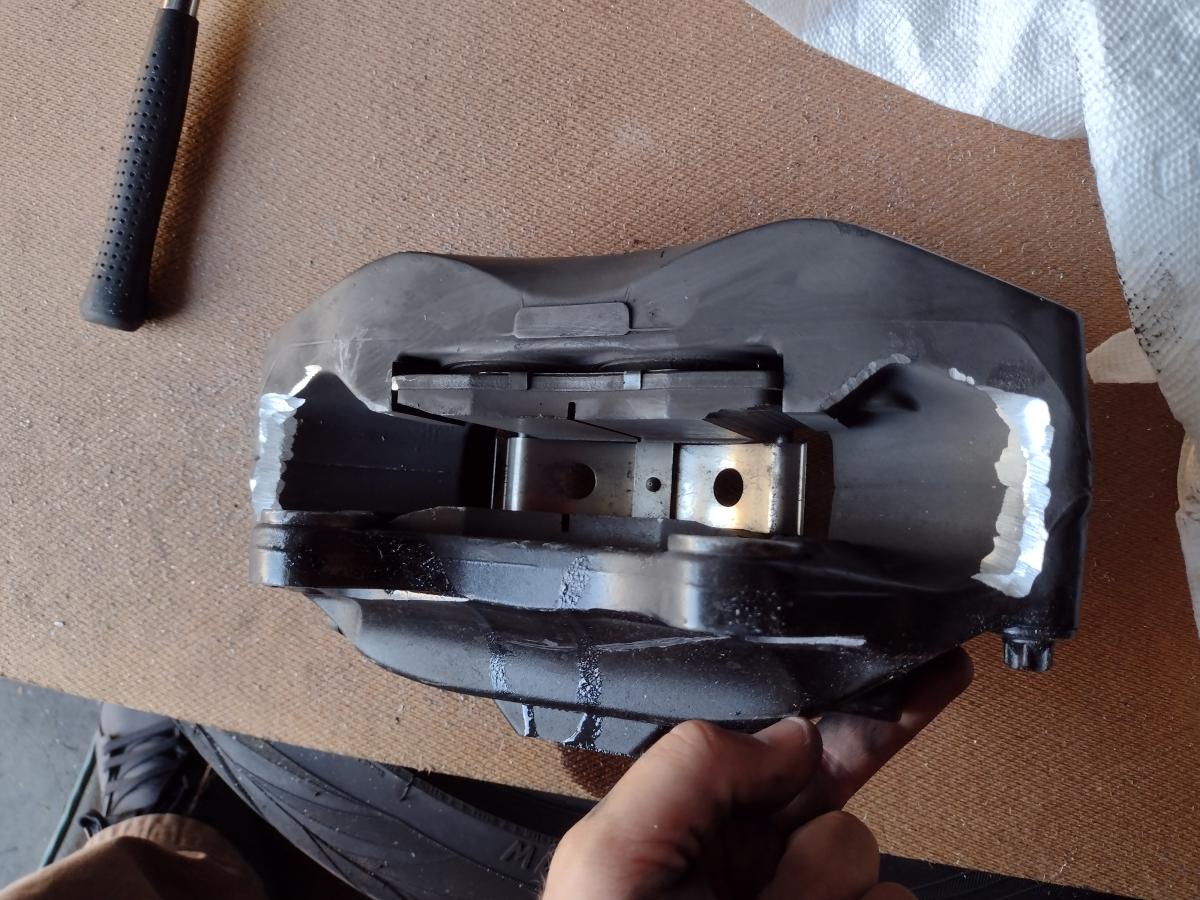
Hopefully it's fairly obvious in the final picture that the clearance was increased several fold.
I took the Corvette out and went for a long session of practice braking. Sure enough... everything held up just fine and no more grinding after repeated intense braking, nor was I seeing sparks anymore. Not bad not bad!
Initial Track Testing the Brembo Brakes
(NOTE: This were just my initial testing of the setup, I have since put 2 years of driving and 30+ events on these)
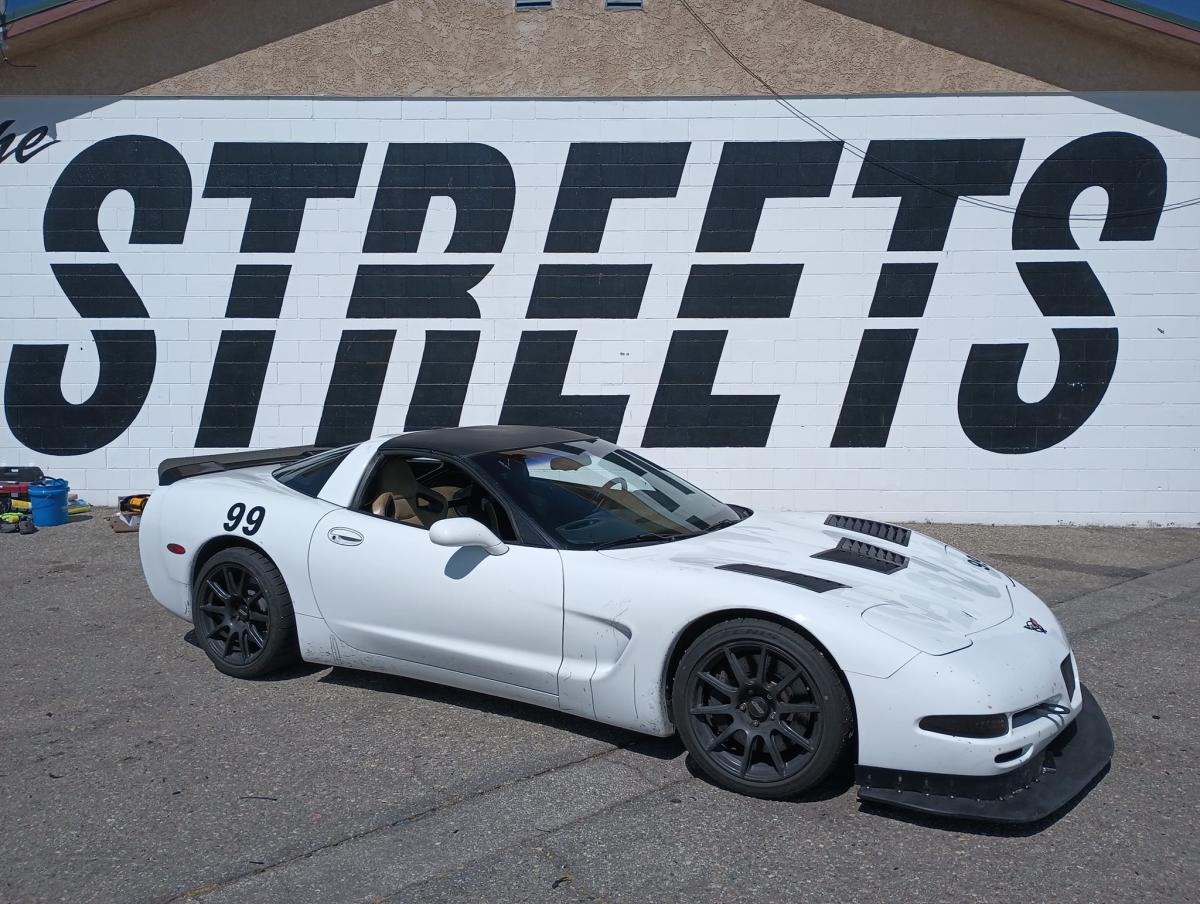
Initial testing occured at the Streets Of Willow track. I ran it both Saturday and Sunday, each day running a different direction (CCW and CW). I repeatedly hit 100+mph on the track with this configuration over and over, and not once did I experience brake fade. The brakes felt great and worked great the entire time. I was able to put down a personal best lap time, even with a blown coilover, of 1:28.162, which is over a second quicker than my previous lap times.
The biggest improvement of these brakes however was NOT that I improved braking distances or could brake any harder than before. The largest improvement I felt was that I could acheive threshold braking with significantly less physical effort. This meant heel toe-ing was much much easier, and thus I found controlling the car both braking and shifting while braking to be a phenomenal improvement over stopping the car with the OEM caliper setup. It is worth noting I utilize a specialized heel/toe gas pedal setup to help make things easier, but this yielded the best improvements to making that combination work for me!
After that initial day I continued to track test these brakes. After three track days and all of the above aforementioned testing, here is what my Powerstop Track day PST-1001 brake pads looked like:
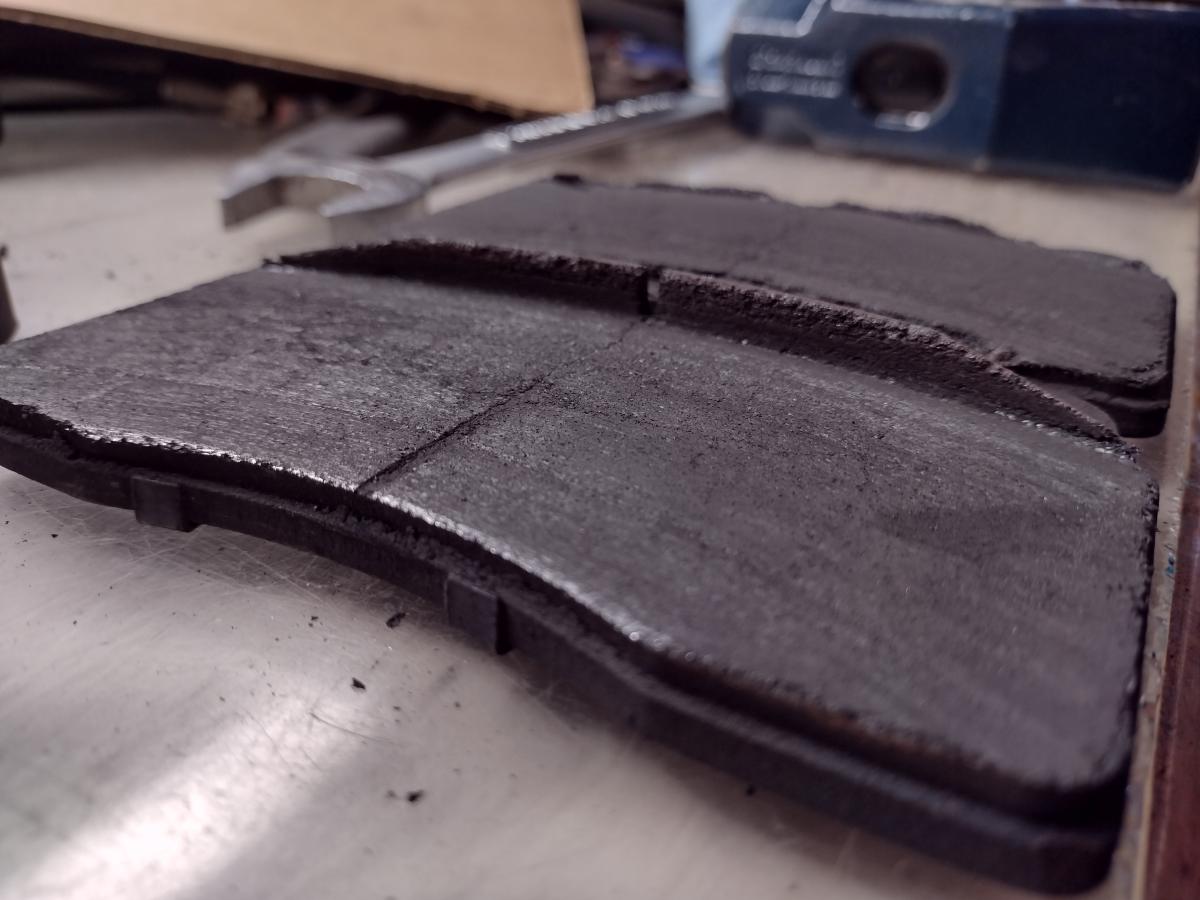
As you can see, the overhang on the top of the pad developed a slight lip / build up along with significant pad wear. The overhang/build up is no big deal, but wear wise most would also consider these pads unacceptable to continue to use at the track as the amount of pad material is less than the backing material. I'm inclined to agree and will likely be swapping the Powerstop pads out every three track days.
Ongoing Track Testing with the Cadillac Brembo Calipers
As of this update, the Cadillac Brembos have over 45 track days on them and that number will continue to go up. Unless you see otherwise here, these have held up well into double digit track days free of issue. This article will be updated as testing continues on these with different rotors and brake pad combinations. If you don't see anything in here though about catastrophic failure or any other such non-sense... consider these to still be working without issue!
At this point, the Caddy Brembos have carried me onto the podium, along with secured several SCCA class records, and one SCCA track record. These don't just work, they can win.
Also of note is that since I've performed this upgrade many other folks have done the same on their Corvette for utilizaiton at the track. Everyone thus far has been happy with them and their capabilities. They are the best budget option for the C5 Corvette that are proven to work, especially with the right pad combination!
Brake Pad and rotor options
I've broken my collection of information on brake pad and rotor options out into it's own page as I'm starting to collect a lot of information on this topic, and this page is already long enough. So check out all the different options I've been able to find along with some personal reviews in there!

Answers to Commonly Asked Questions:
Now that I've done this write-up and am sharing it a bunch, I get a decent amount of questions. Some I never though to address as to me they are obvious, but eh you don't know what you don't know when research this, so I'll get all the questions and answers here.
Q: Can I use a rotor size different than 14"?
A: You cannot. You need 14". 14.125" ish would potentially be ideal, but 14" is the biggest I could find, and no one has tested anything bigger to my knowledge.
Q: What brake bracket did you use in the front to make this work?
None. The "bracket" if you will is built into the body of the Cadillac Brembo Caliper. You will remove your OEM bracket, and just bolt the Brembo caliper directly onto the kunckle, with the appropriate amount of spacers to clear the rotor.
Q: Will this fit under any 18" wheel?
A: Wheel fitment is tight. I would say that unless others have confirmed the wheel will fit a big brake kit, presume it won't. To test fit your wheel as cheap as possible, purchase just one caliper, remove OEM caliper, remove rotor, and bolt in the new caliper just shy of all the way torqued. Don't bother breaking any brake lines or anything, just leave the OEM all ready to bolt right back up but hanging out of the way. Try and fit the wheel over the new caliper. If it clears, congrats, it'll work! If not, DOH, you need new wheels, but you're only out a single brake caliper so no big deal!
Q: What about brake balance front to rear?
A: Good question. While I did not test this, this presumably adds more braking power up front. Given this is where the lions share of the braking power on most vehicles is at, things should be fine. However, I went a step further and use C6 J55 / Z51 rear brake brackets and rotors. This let me increase the rear brake diameter as well, which presumably increased cooling and helped bring some balance back to the car. I cannot guarantee any of this though as I did not do any specific testing for balance... but my car has over 30 events and counting with this setup on there. So far, so shreddy!
Q: How much does that pad overhang matter?
A: Per my testing, it does not, but bear in mind I am not a professional. I've personally had good luck now over several sets of brake pads. The top overhang, which is only minorly significant at 2.66mm, did not interfere with driveability at all and as best as I can tell influenced nothing. With the KNS brake rotors and Carbotech XP10 brakes there was also a notable inner lap that formed on the inside brake pad. This did not cause any issues however aside from making pad removal a bit interesting. Simply press the pads apart while still in the caliper and you'll be able to sneak the pads out.