Brakes More Brakey, Less Breaky
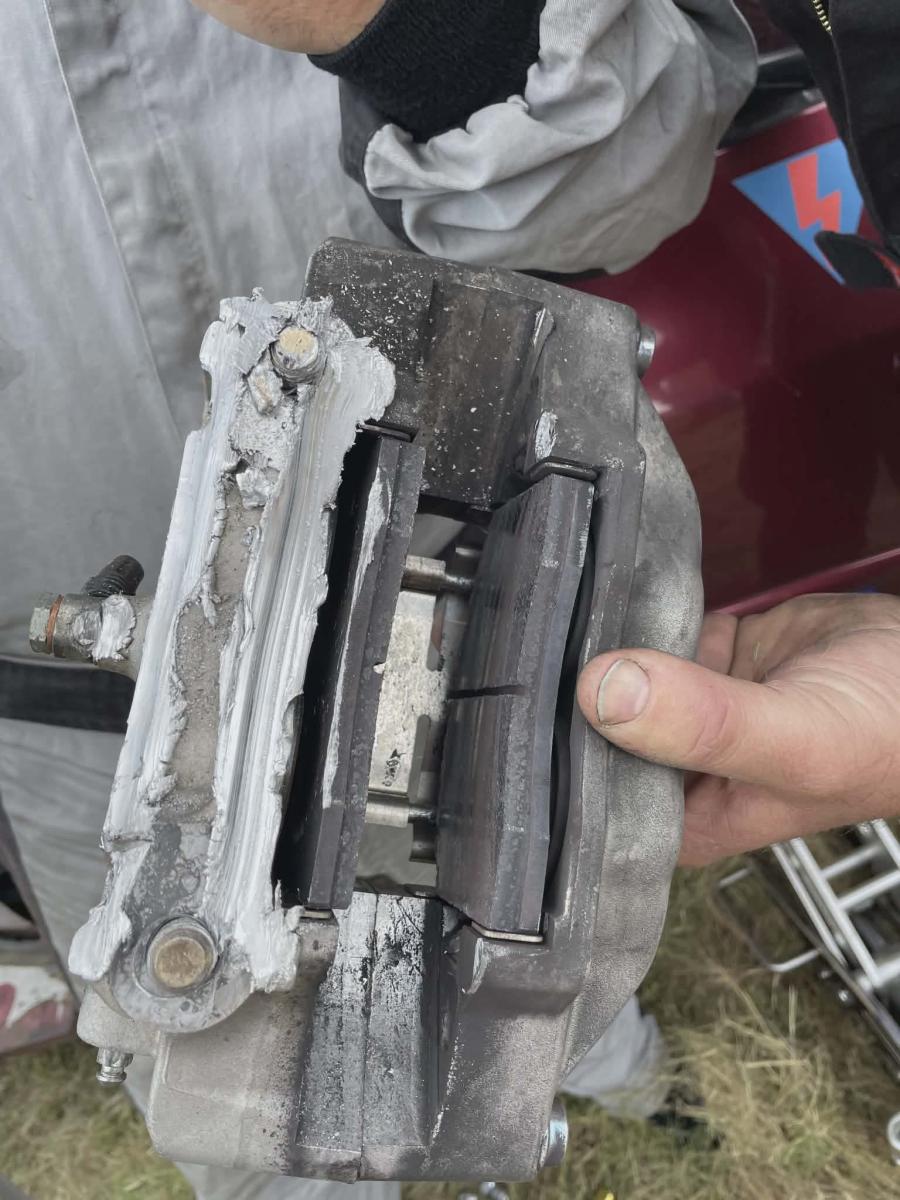
This picture should get your attention! That's a brake caliper. It should be on a car. It's not, and it's clearly mangled.
How did that happen? Read on!
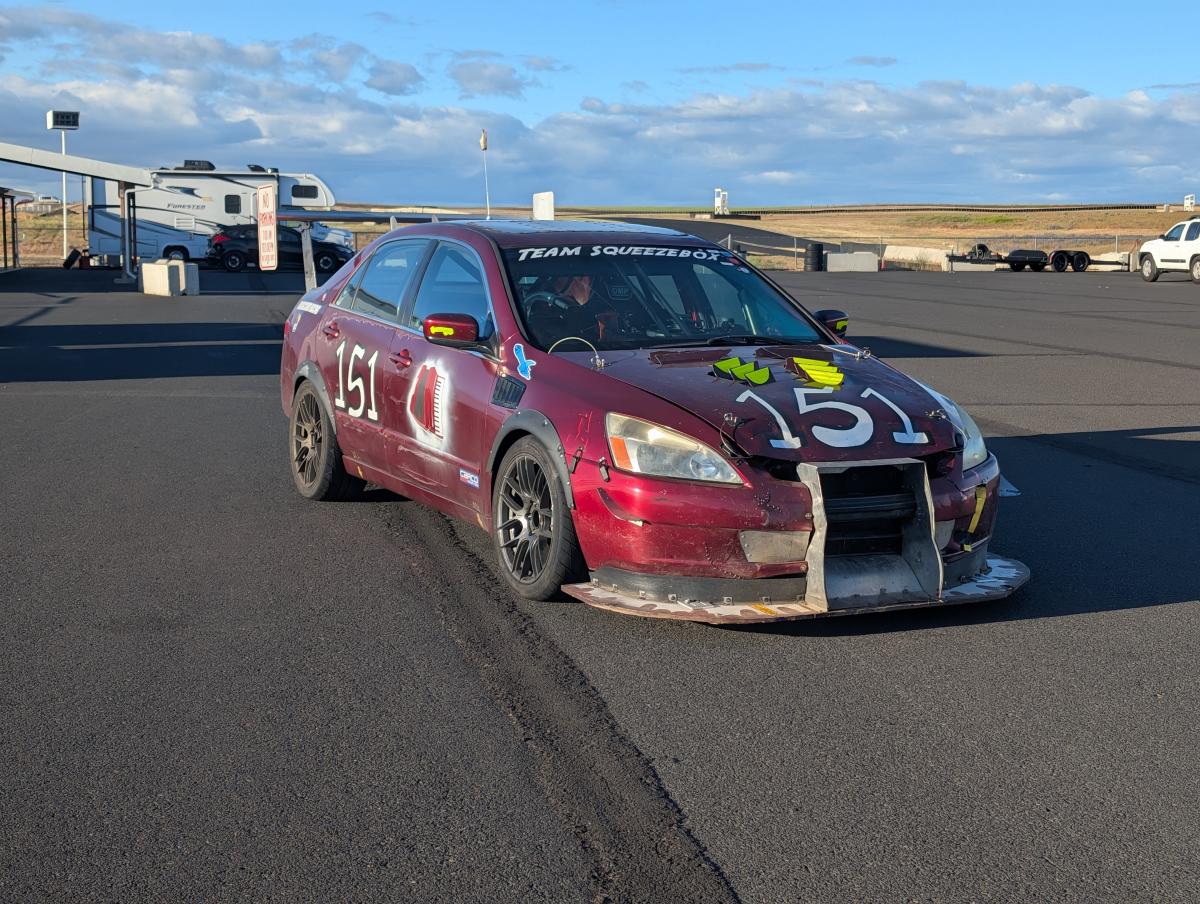
We like to get out to Oregon Raceway Park for practice and fun... but we're terrible at going there, because every time we go something breaks. We figured this time would be no exception, we'd just mosey on in... have some fun... etc etc.
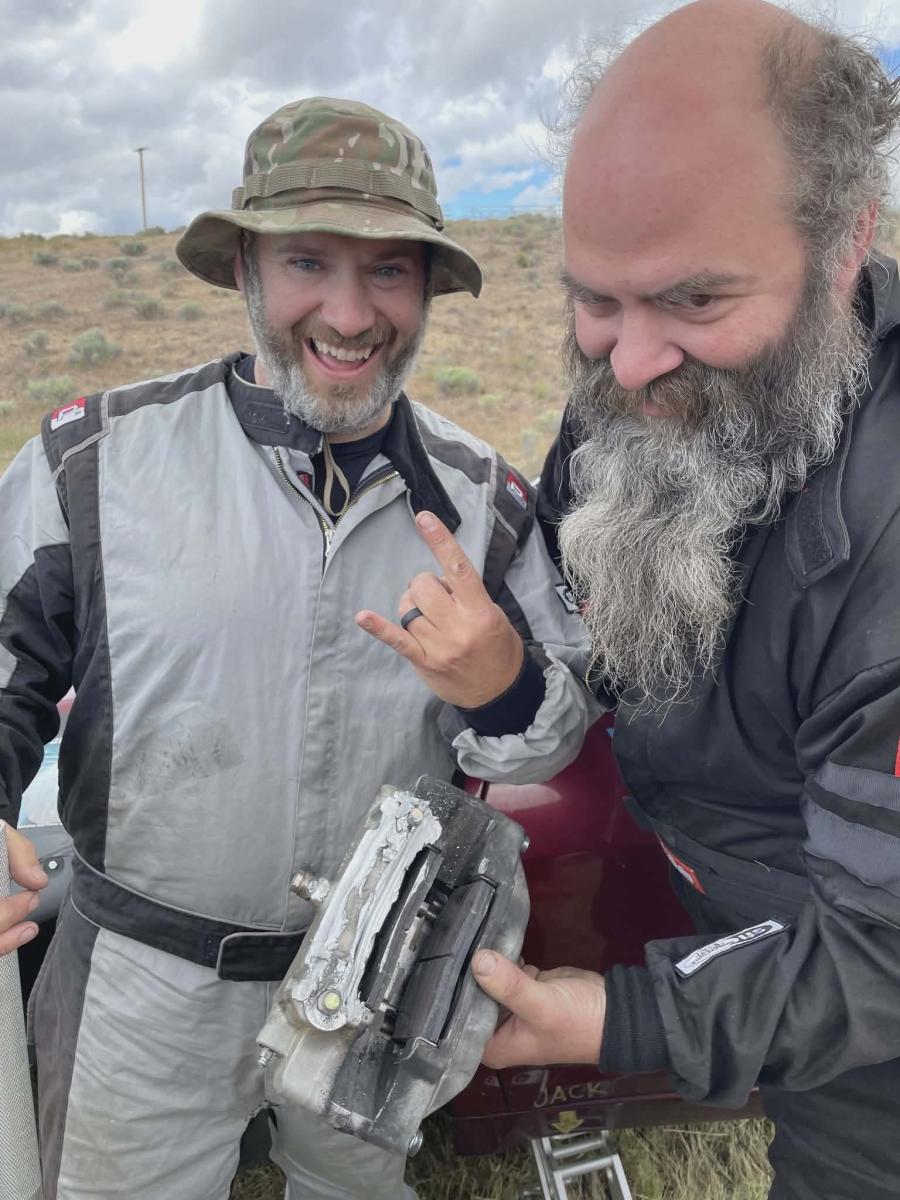
So much for that. While some earlier adjustments we made to the brakes were phenomenally bettter... our driver Dave reported over radio that something significant broke, and he had to be trailed off the track. Come to find out, a caliper had fallen off.
We clearly had some work to do.
Diagnosis & Solution
This should surprise nobody... but there really just aren't any legitimate racing products for a 2004 Honda Accord. The one product we did manage to find worked well and carried us through two races and two seasons... but then it failed on us, and we know why.
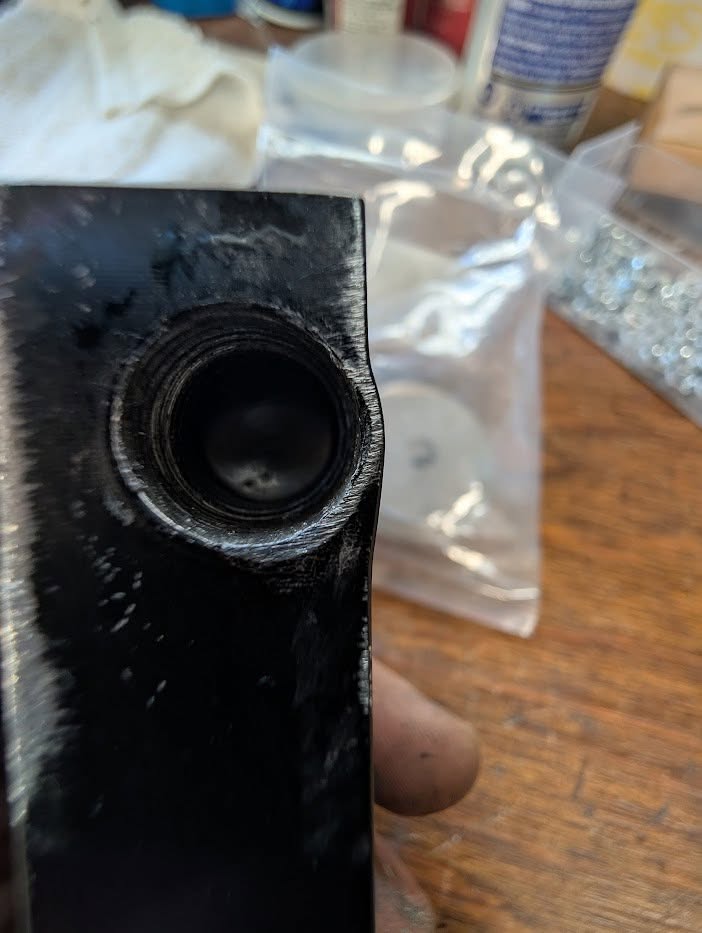
Pictured above is the brake bracket we utilized and where the caliper bolts onto the bracket. See how close the mounting hole is to the edge? There was maybe 0.75mm of material between the hole and the edge. Divide that weakness by the design being a fairly soft aluminum... what we are confident happened is that over time the strain of braking slowly distorted the hole. The threads were doing their damndest to hold on... but with only about 18mm of threads holding on for dear life, it eventualy wasn't enough
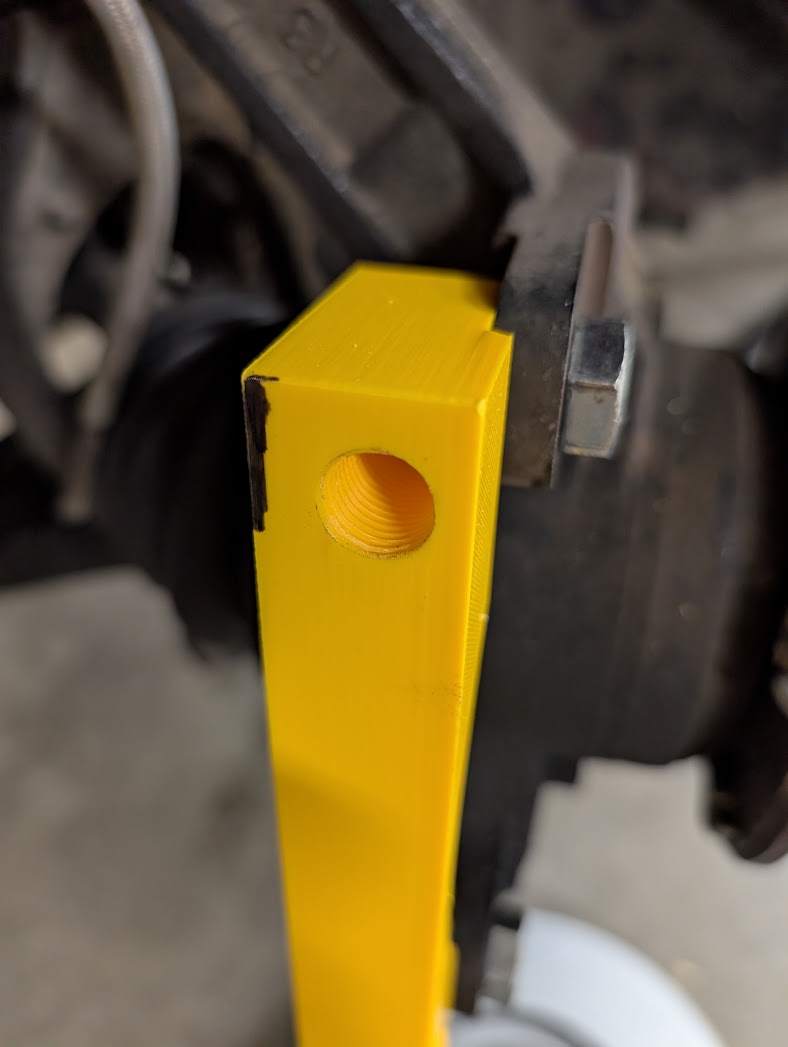
The solution... more material! Unfortunately, the location and diameter of rotor chosen by the designers of this bracket did not facilitate more material. However... what about larger rotors? Going up from 324 to 355mm rotors have us 31mm of extra diameter, or on the side of our backet 15.5mm of extra thread depth we could use. If you see above, we could utilize that extra length for more thread engagement AND we could put a thicker shelf of material in there to help ensure the caliper cannot reasonably distort the aluminum.
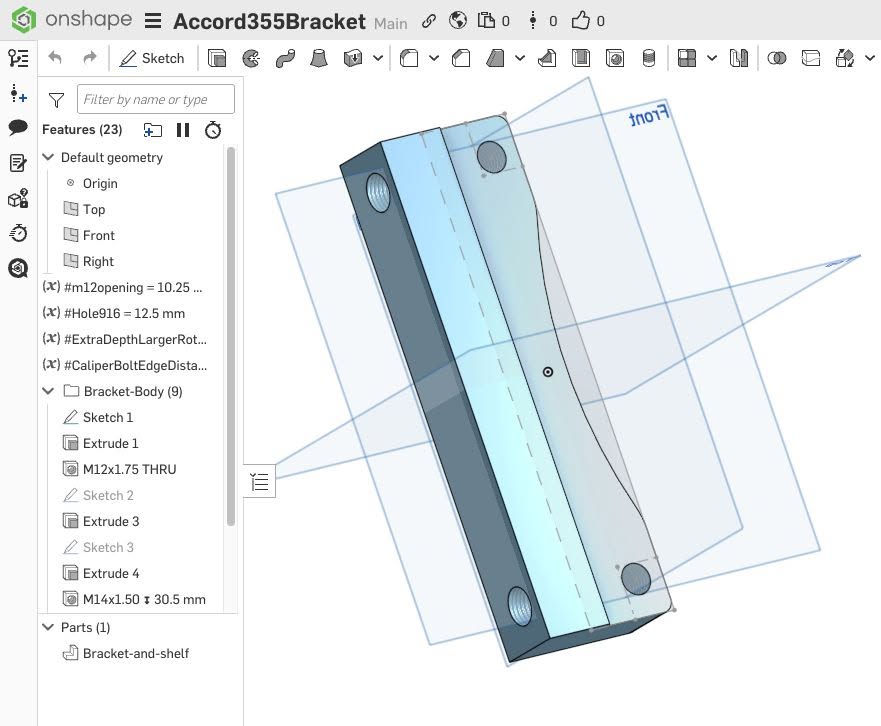
Pictured above is the OnShape revised design that has the shelf and bracket all together. I am particularly proud of my abilties improving up enough I was able to make this, and especially happy I'd invested in 3D printing so I could prototype up new brackets.
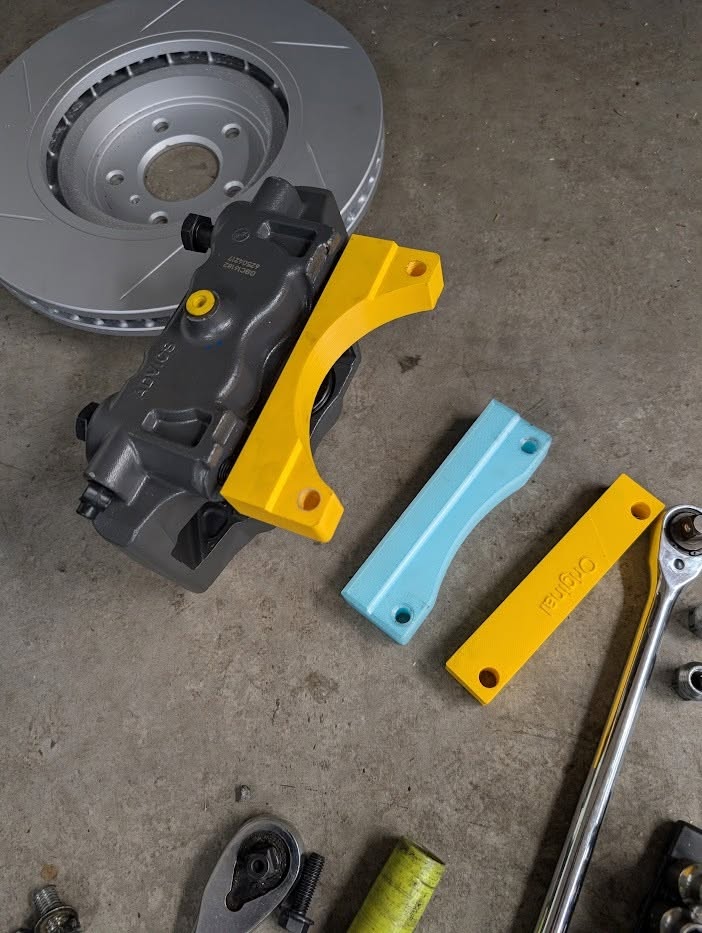
Here are some of the prototype brackets. You can see the original on the right, and then two revisions to the left. Be aware that the large half moon cutout of the bracket on the far left is not part of any final design, it was just to reduce how much material I needed for printing. I'm also hoping it's obvious but these were just prototypes. We're not going to use plastic on our race car brakes!
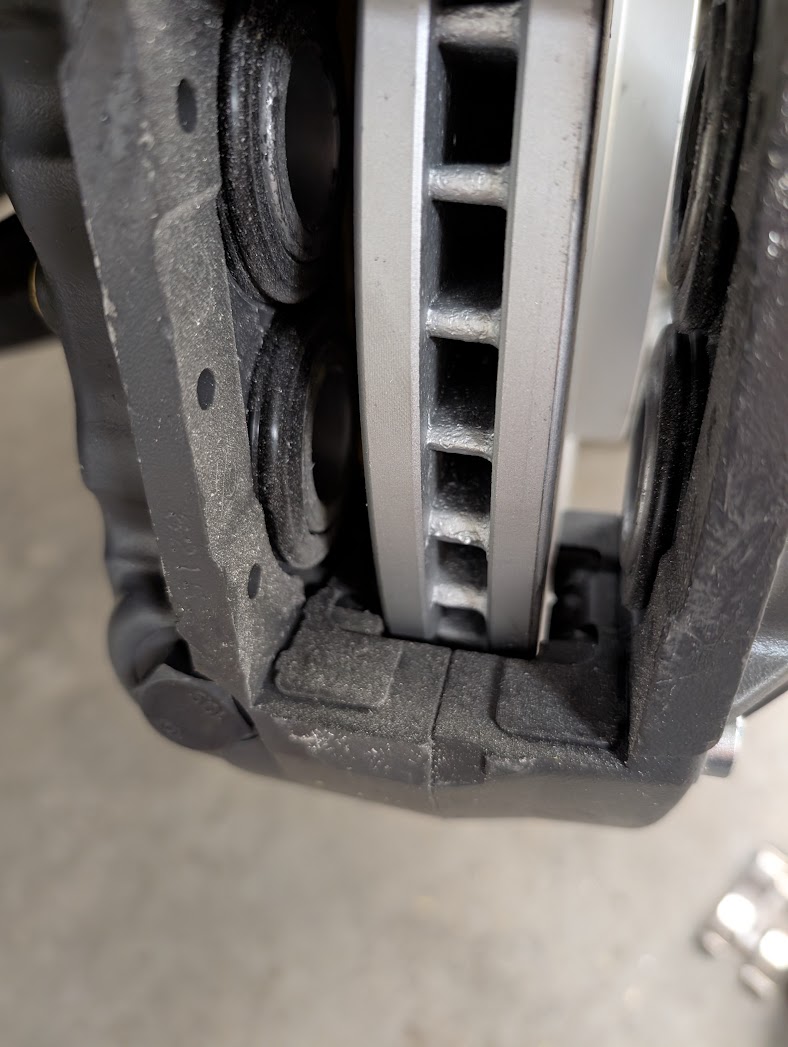
One thing of note for anybody utilziing this design... the caliper will require clearancing, and you may need your rotors turned down 1mm or so. There's shit tons of material there so it shouldn't be an issue, but do be aware that clearance will be SNUG!
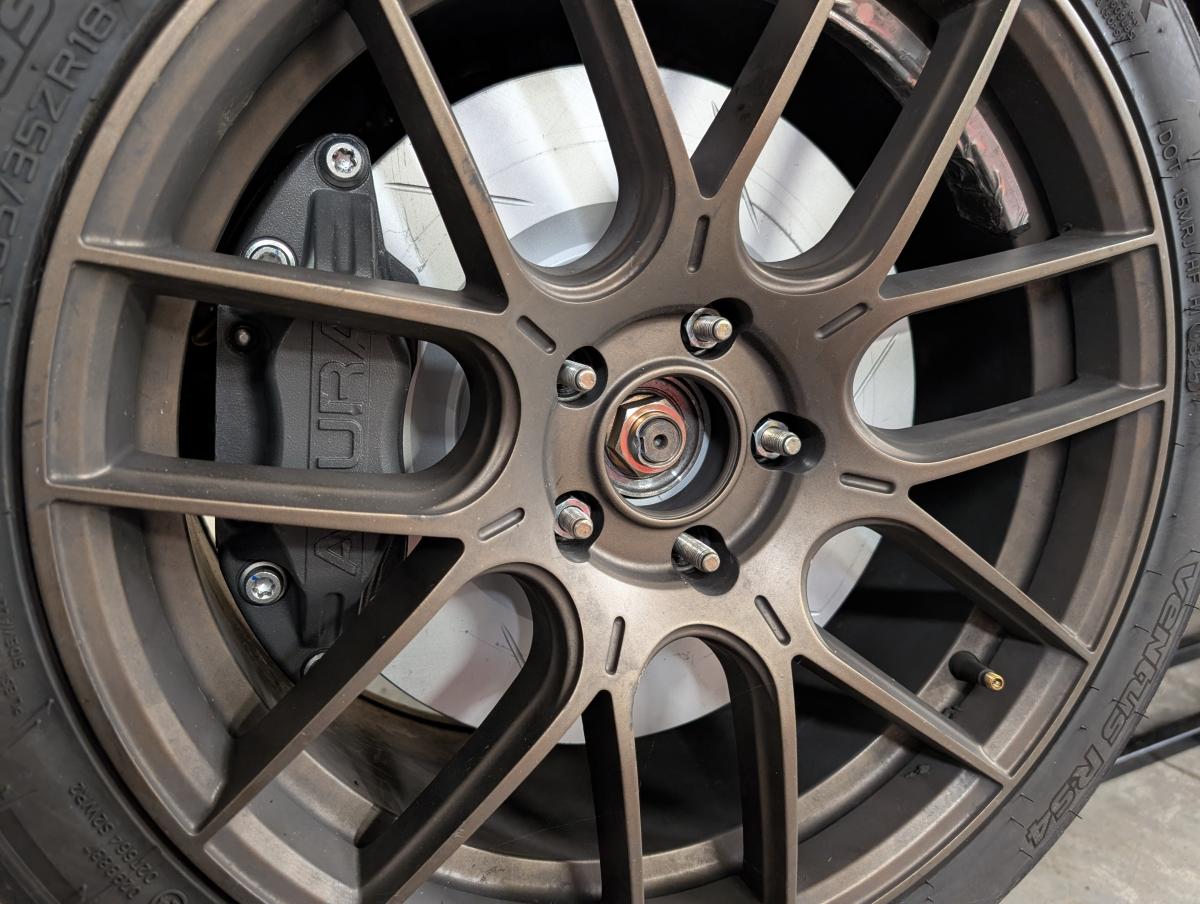
Here's a picture of me test fitting the larger rotor and caliper on the car. The picture doesn't quite make it obvious, but you couldn't possibly go larger than this without a far lower profile caliper. For what this car is, these rotors are MASSIVE! Also be aware I know that the rotor is on the wrong side. I just slapped this all on as a demonstration.
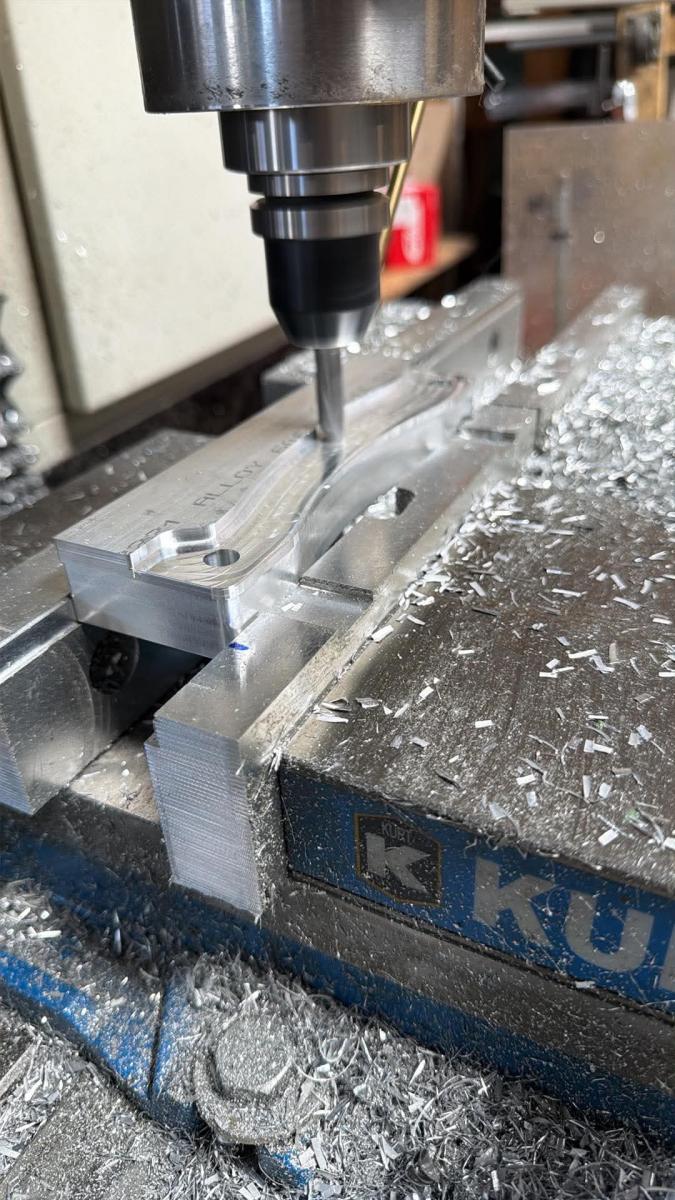
One of my favorite things about all that I am learning and doing is that I am sharing frequently with others. Not only do I write a lot here, I chat with other folks manufacturing stuff, and I was able to get a friend to CNC up some prototypes for us!
STAY TUNED FOR RESULTS! This is currently in progress as we speak, but I wanted to capture pictures here now in advance.
Rear Brake Caliper Bracket Capturing
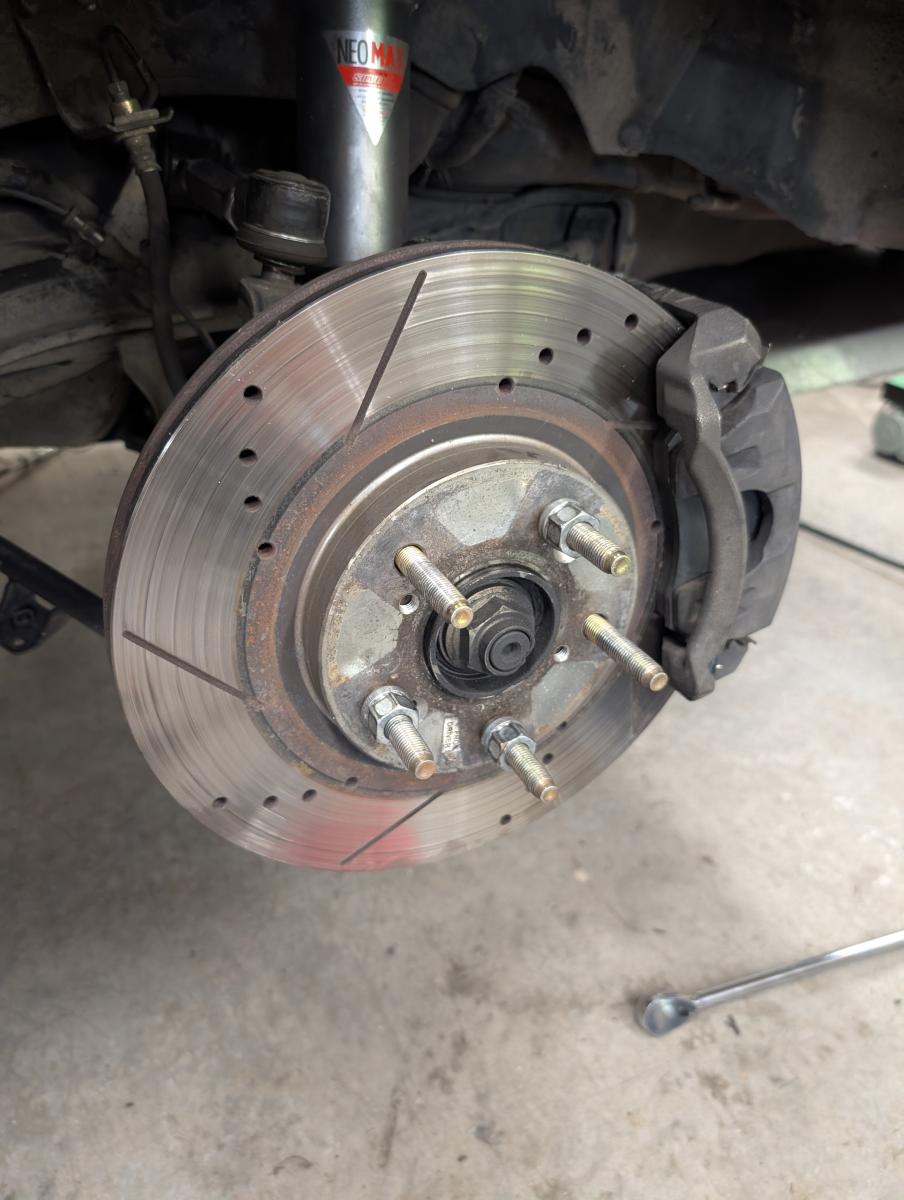
So early in the project to help maximize our braking potential and ability to endurace race this car, we moved the old front caliperse to the rear of the car. The original OEM rears were tiny and were thin without vanes. Moving the fronts to the rear ensured we incurred minimal costs and gained larger rotors with more thermal capacity. Brake balance would of course change, but the car was already heavily front balanced from the factory.
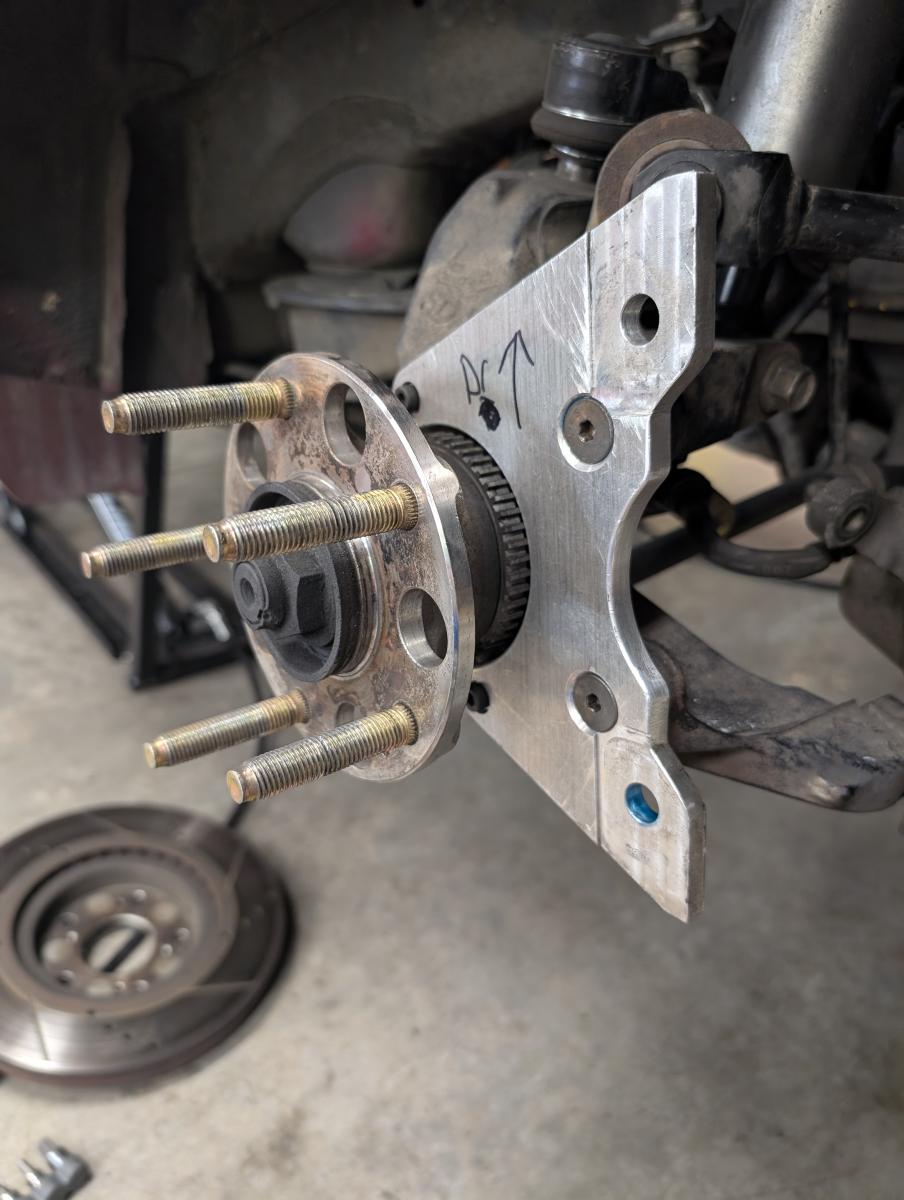
Here youc an see the bracket our awesome fabricator Dave Groundscore built for us out of 3/8" aluminum. It was freestyled a bit on a mill, but it has worked perfectly for us for 3 seasons and two full races and one win and seems to be as tank proof as ever. We probalby won't ever NEED to replace this, but after the failure on our front, it seems wise to capture what we have. Plus others may be interested in all of this so we can capture it to share.
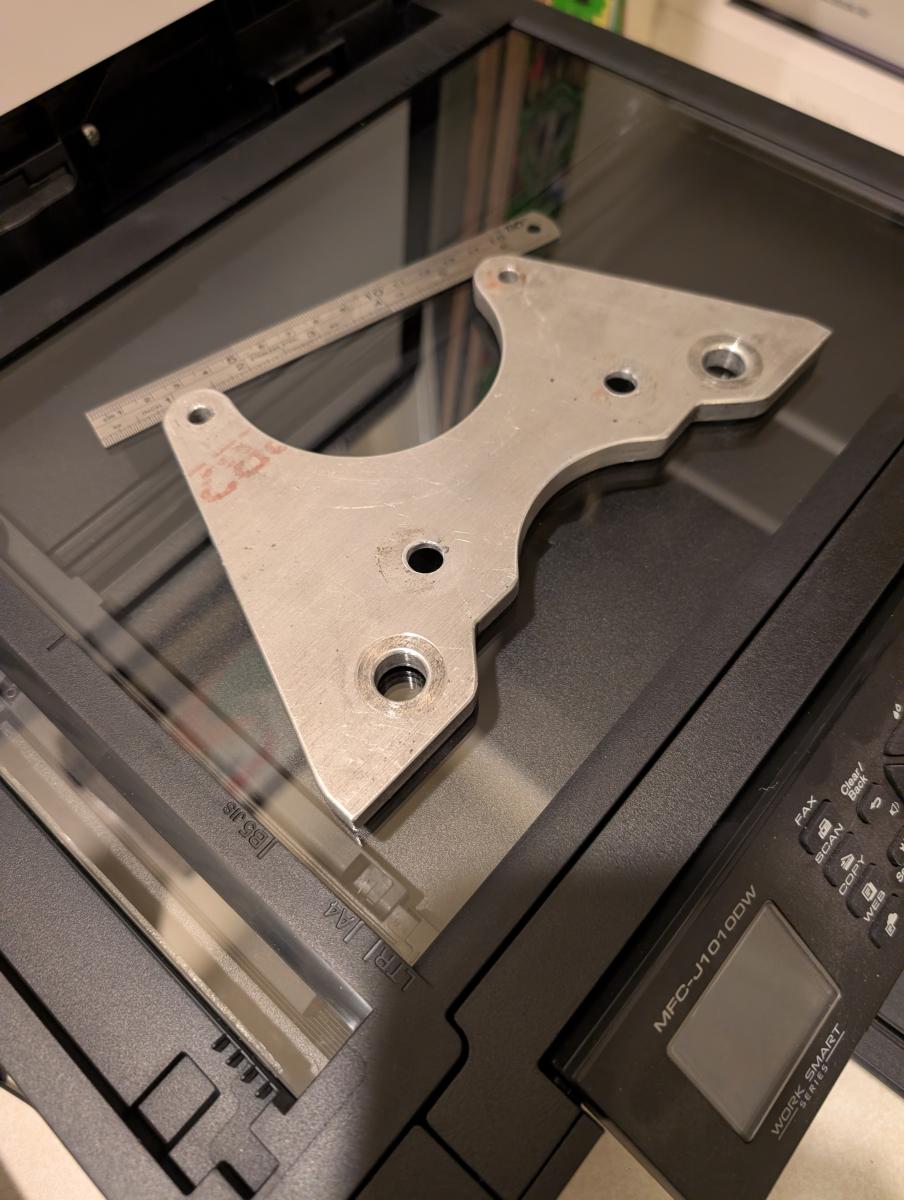
One of my favorite tricks for 3D design on a budget is using my cheap office printer flatbed scanner to scan items. I throw a flat ruler on the scanner as well and scale the image in OnShape to the ruler, and then I've got a 2D representation to work with.
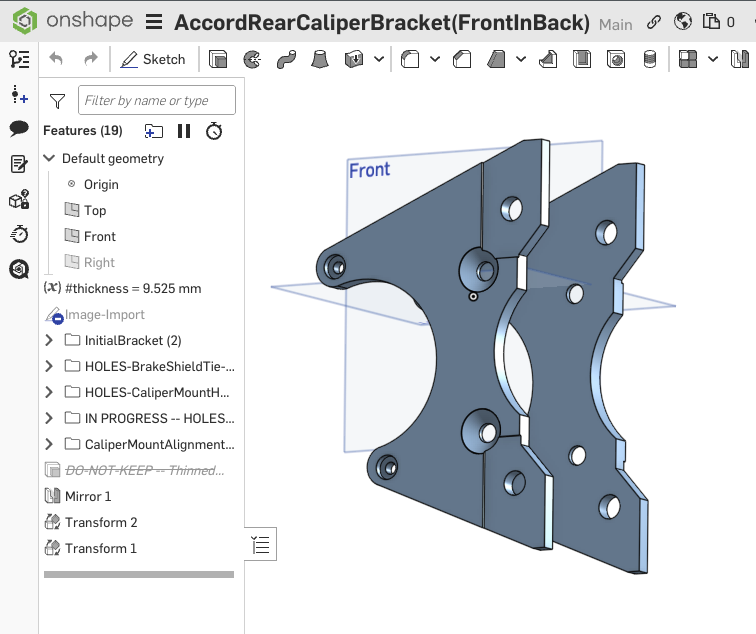
Here are the brackets designed up in OnShape. As you can see we've got both left and right, thanks to the mirror function of OnShape. It was a nice and easy few hour project for me, and a good excuse to exercise some of my growing CAD knowledge.
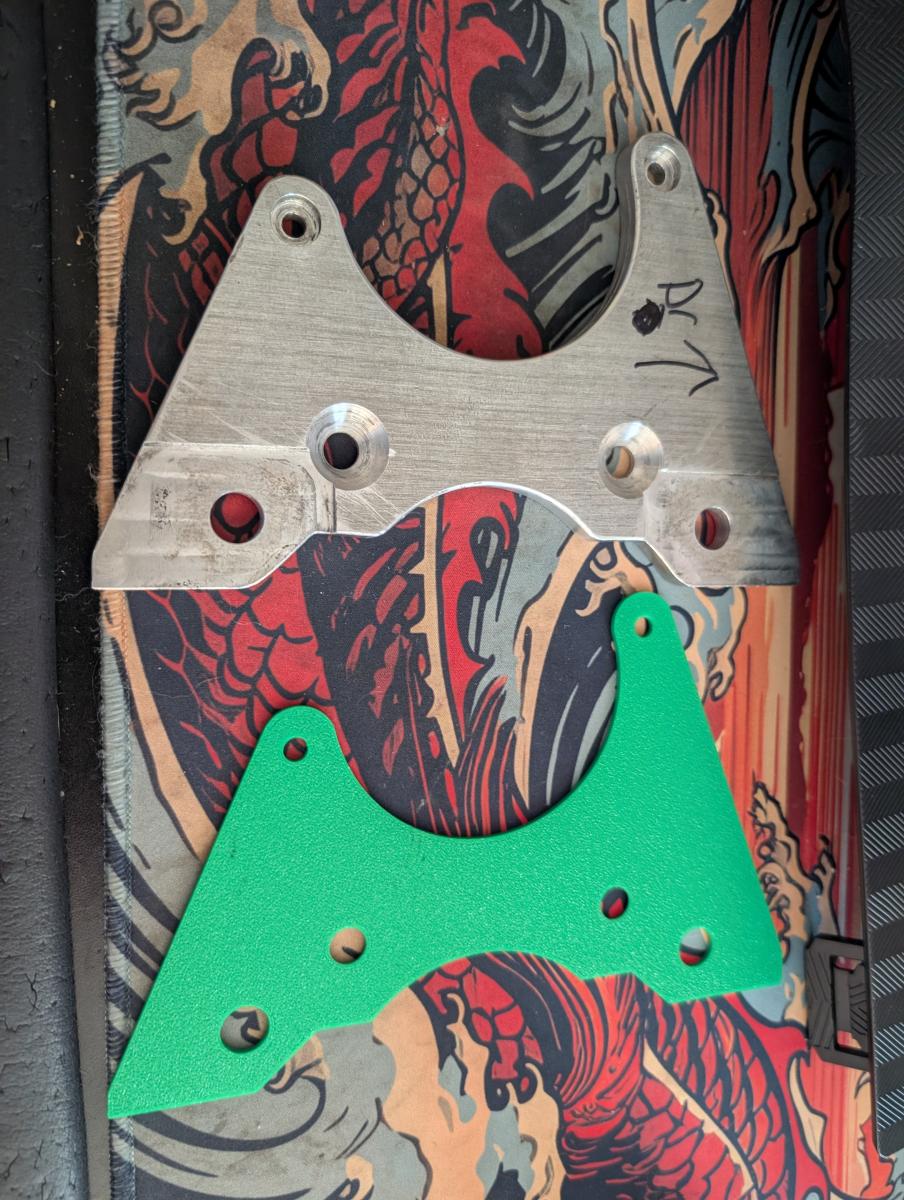
Here's another little trick I like to do to decrease print time and used material when prototyping. I adjust my object via split in OnShape to get just a smaller portion of the final product, which then lets me confirm my measurements are accurate without having to print the entire object worth of material.
For more information about getting this bracket on your car, shoot me an email!